Print Layout in Google Docs (Easiest Way in 2025)
In this article, we will show you how to turn on the print layout in Google Docs. Simply follow the steps below.
How to Turn on Print Layout in Google Docs
To turn on Print Layout in Google Docs, simply follow the process below:
1. Locate and Click on the “View” Menu
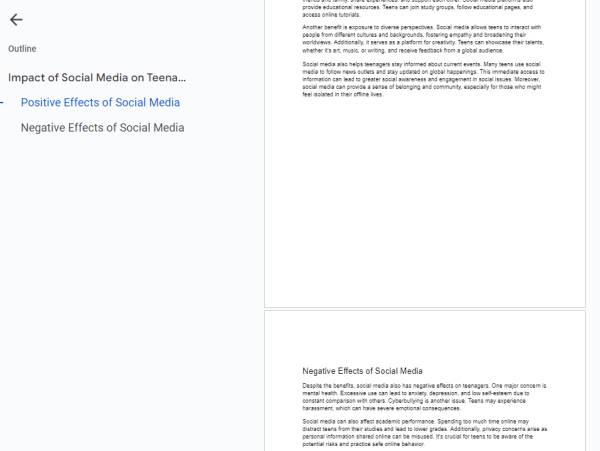
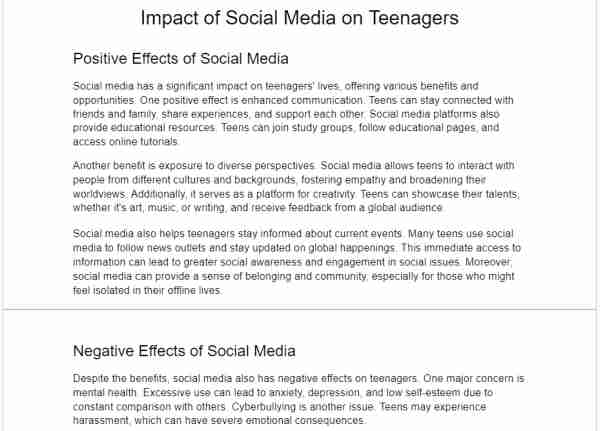
In our example, we will work with a document titled ‘Impact of Social Media on Teenagers,’ containing two pages.

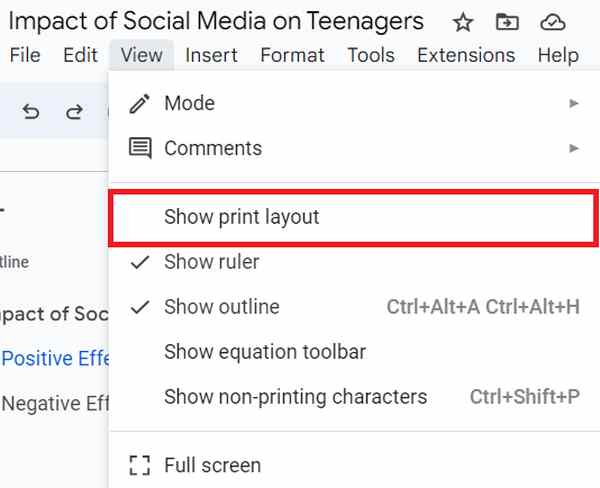
Look towards the top of the screen for the menu bar, which includes options like File, Edit, and View. Click on the View menu to expand it. This menu contains several display options that help you control how your document is presented.

2. Turn On Print Layout in the View Menu
Under the “View” menu, look for the Show Print Layout option and uncheck it. This action will switch the viewing mode of your document to Print Layout, showing page breaks and overall layout.

3. Check for Page Breaks and Margins to Verify Print Layout
After switching to Print Layout, examine your document to ensure it displays page breaks and margins. In our example, we will now see the break between page 1 and page 2.

We hope that you now have a better understanding of how to turn on the print layout in Google Docs. If you enjoyed this article, you might also like our article on how to print on both sides of the paper in Google Docs or our article on how to set the print area in Google Docs.


