Email Signatures in Google Docs (The Ultimate Guide for 2025)
In this tutorial, we will show you exactly how to create an email signature in Google Docs. Simply follow the steps below.

How to Make an Email Signature With Google Docs
Follow the steps below to make custom signatures in your emails using Google Docs.
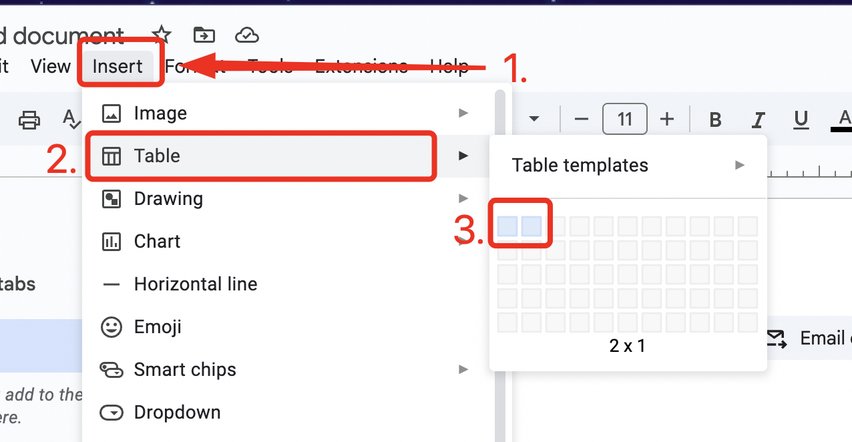
1. Insert a Table
Go to the “Insert” menu then select “Table.” Choose a “2×1” table to create a box that will contain your signature content.
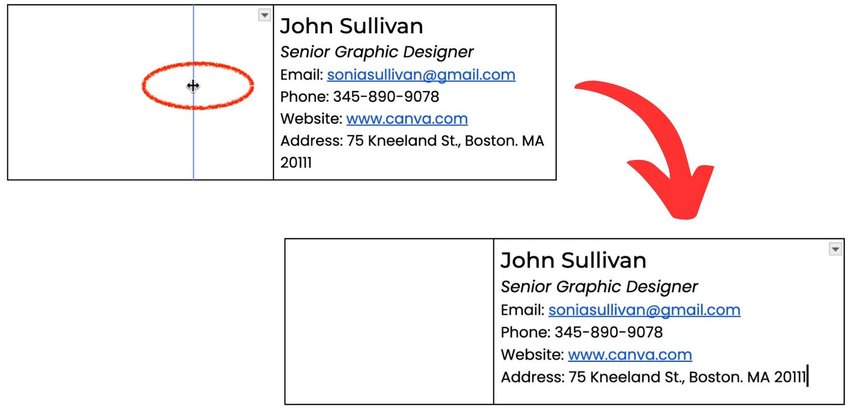
2. Add Text and Contact Information to the Right Cell
Enter details like your name, job title, company, and contact info in the right cell. Adjust the font style, size, and color to highlight specific details, like your name. Left-align the layout for a balanced, visually appealing design.
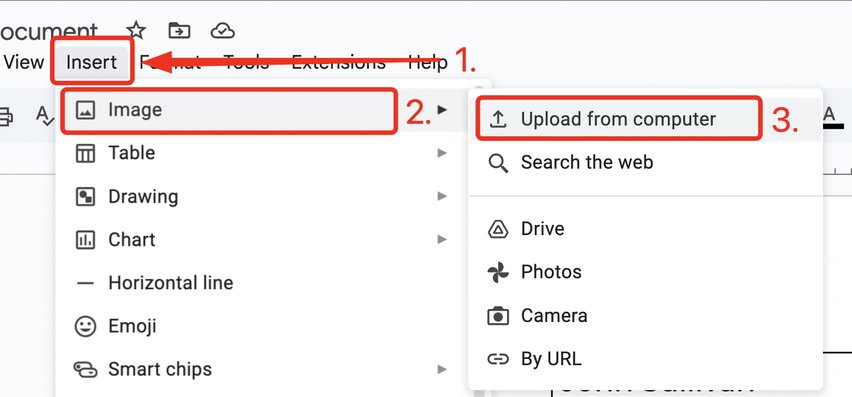
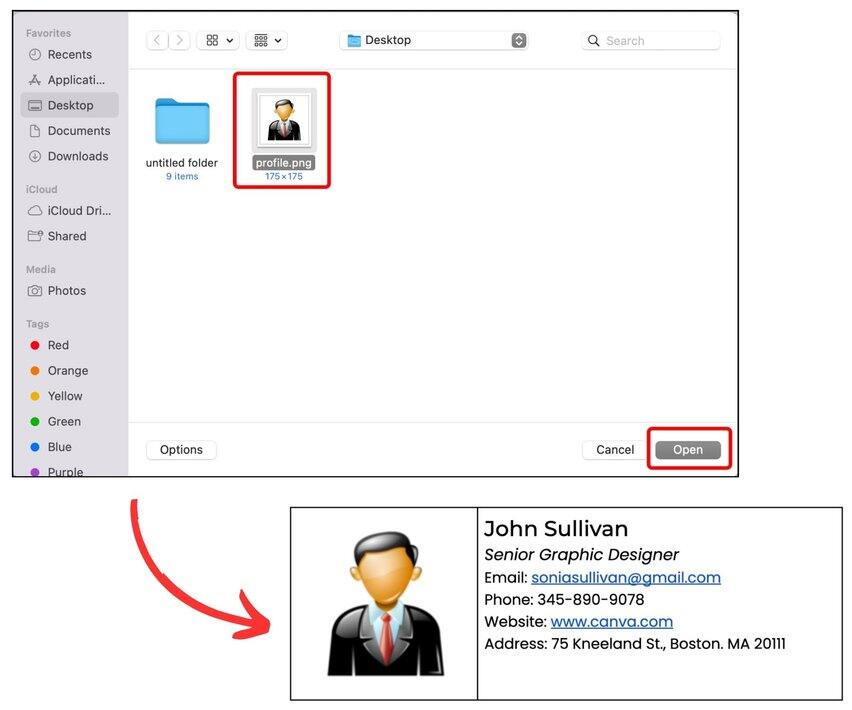
3. Insert an Image or Logo
Click on the left cell to insert an image next to the details. Open the “Insert” menu and select “Image” from the dropdown.
Choose “Upload from computer” to add an image from your device, or use “By URL” if you have a direct link to an image online.
In the prompt window, select your image and click “Open.” It will appear in the first column—adjust the size as needed.
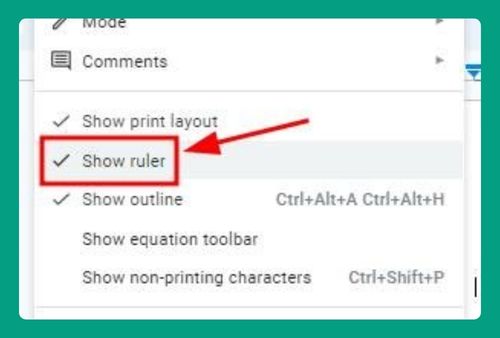
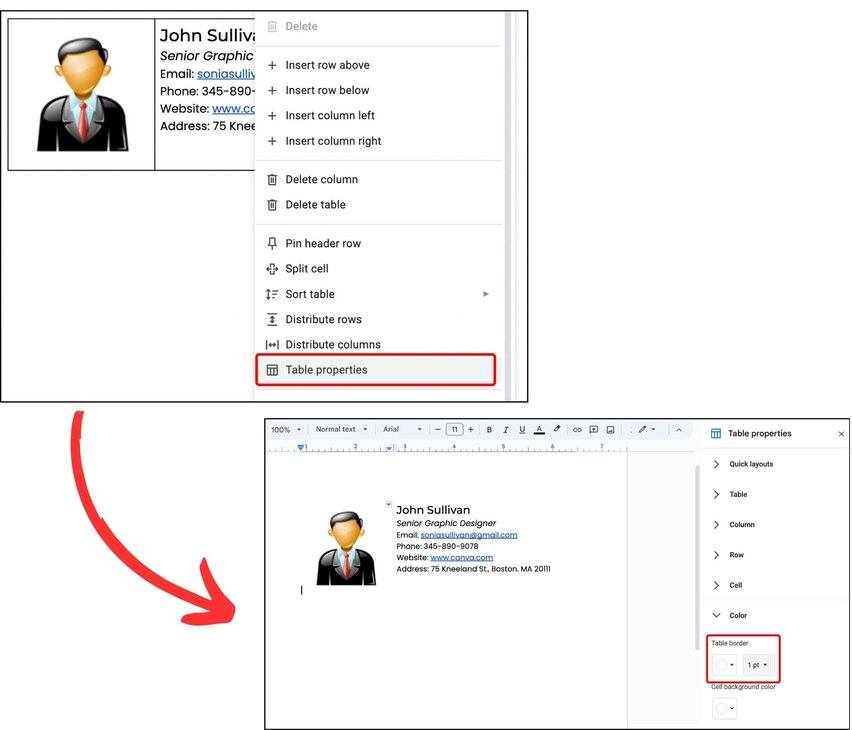
4. Remove Table Borders
Right-click on the table and select “Table properties” to remove the borders. Under “Table color,” set the border color to “white” or match it to your background color.
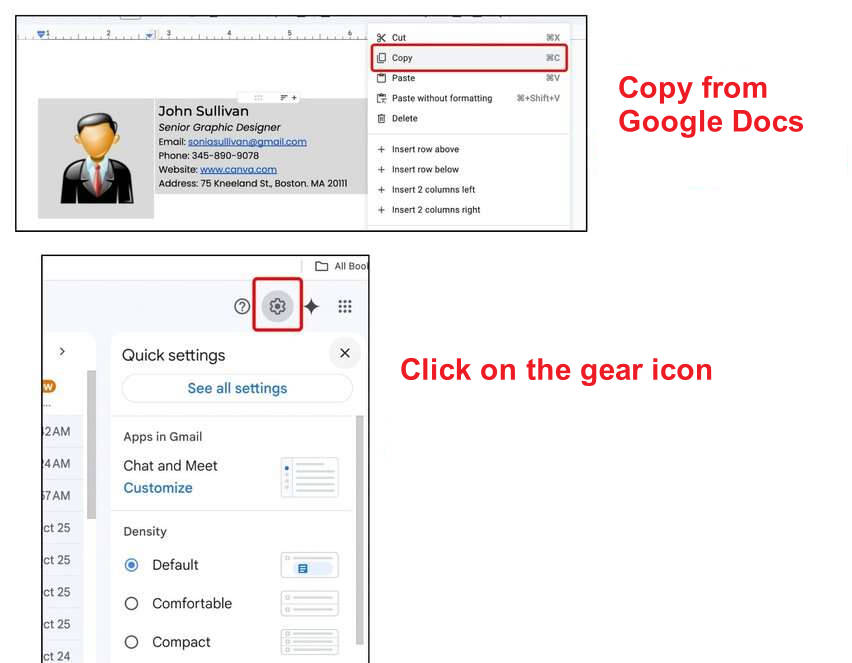
5. Copy and Paste Email Signature to the Email Settings
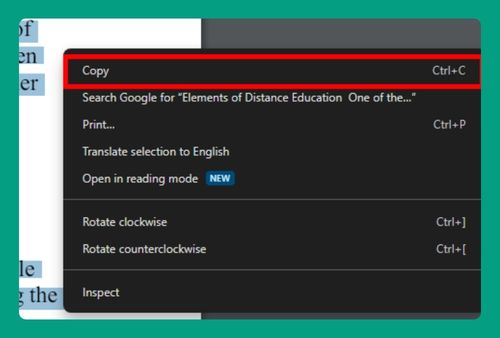
Select the entire table you created as your email signature. “Right-click” and choose “Copy.” Next, go to your email settings by clicking the “gear icon” in the upper-right corner of your screen.
Click “See all settings” and scroll down to find the “Signature” section. Select “Create new” and enter a title for your signature in the dialog box that appears.
In our example, we’ll name the signature “Personal Signature.” Finally, click “Create” to proceed.
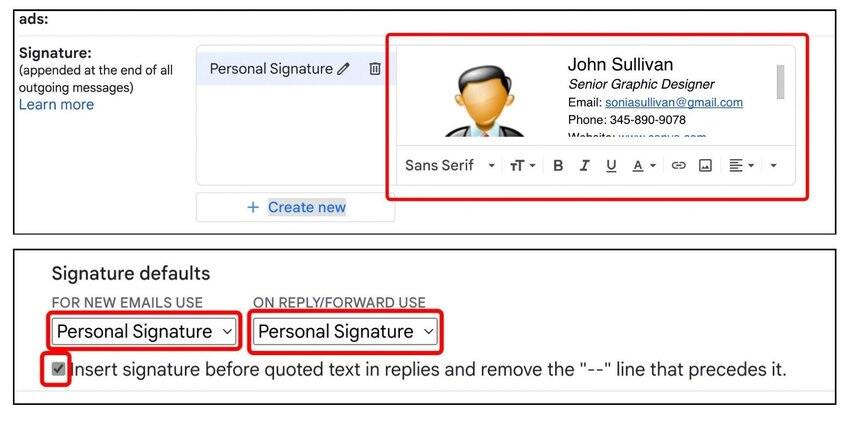
Paste the signature you created in Google Docs into the second column next to the name of your signature, which is “Personal Signature” in this example. Next, set “Personal Signature” as the default in both dropdown menus for “FOR NEW EMAILS USE” and “ON REPLY/FORWARD USE.”
Finally, “check” the box to remove the two-dash line before the signature.
Scroll down and click “Save Changes” to apply all configurations. Now, your custom signature will appear at the end of every email you send.

We hope that you now have a better understanding of how to create a custom email signature in Google Docs. If you enjoyed this article, you might also like our articles on how to insert your signature in Google Docs on iPad and how to add a signature box in Google Docs.