Insert a Signature in Google Docs on iPad (Easiest Way in 2025)
In this article, we will show you how to insert a signature in Google Docs on iPad. Simply follow the steps below.

Add a Signature in Google Docs on iPad
To put a signature in Google Docs on iPad, follow the process below.
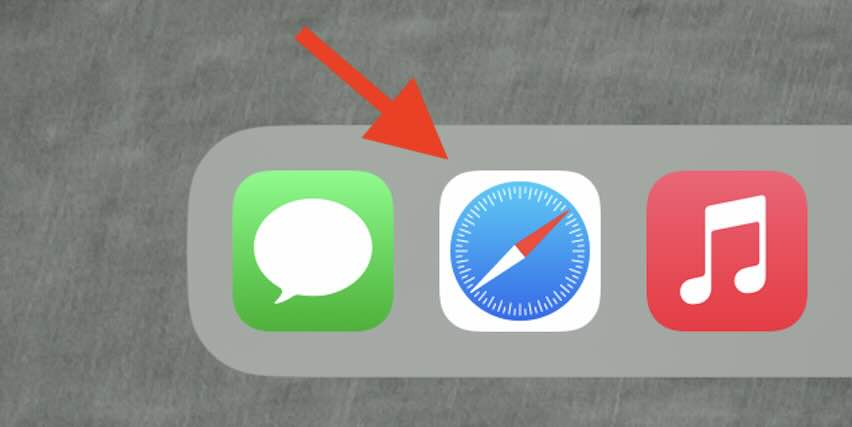
1. Open Google Docs in Safari
Since the Google Docs app on iPad doesn’t support the drawing feature, open Google Docs in the Safari browser. Go to Google Docs and sign in to your Google account if needed.
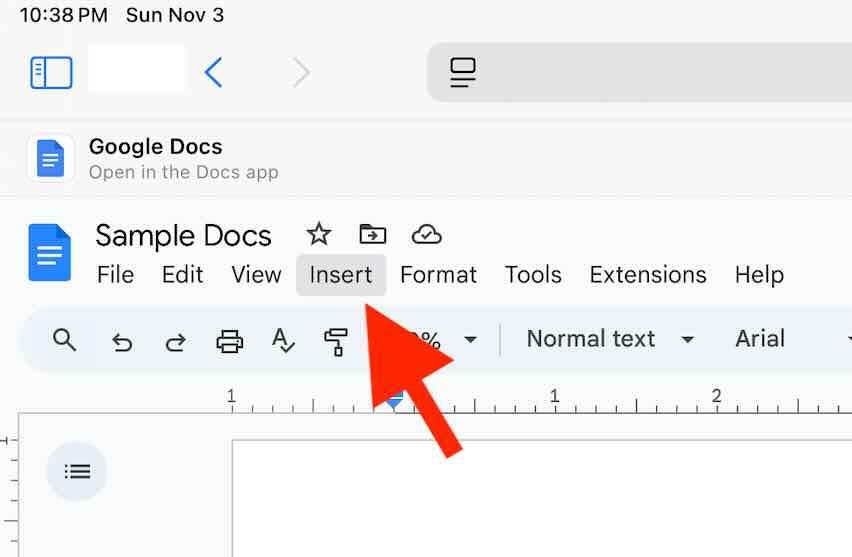
2. Open the Insert Menu
To start adding a signature, tap on the “Insert” menu located at the top of your Google Docs toolbar on iPad. This menu contains a range of options for adding different elements to your document.
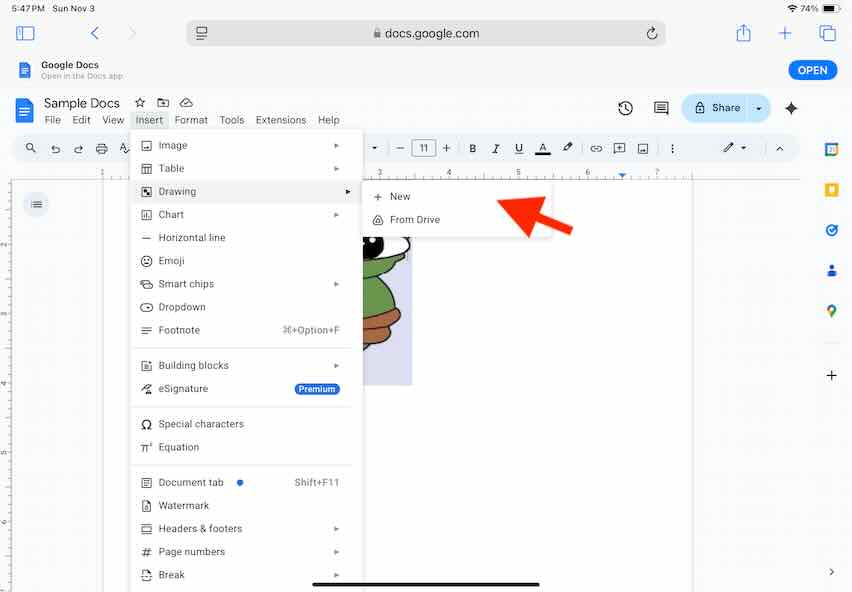
3. Choose Drawing Option
From the Insert menu, select “Drawing” and then tap “New.” This will open a blank drawing canvas where you can create your signature.
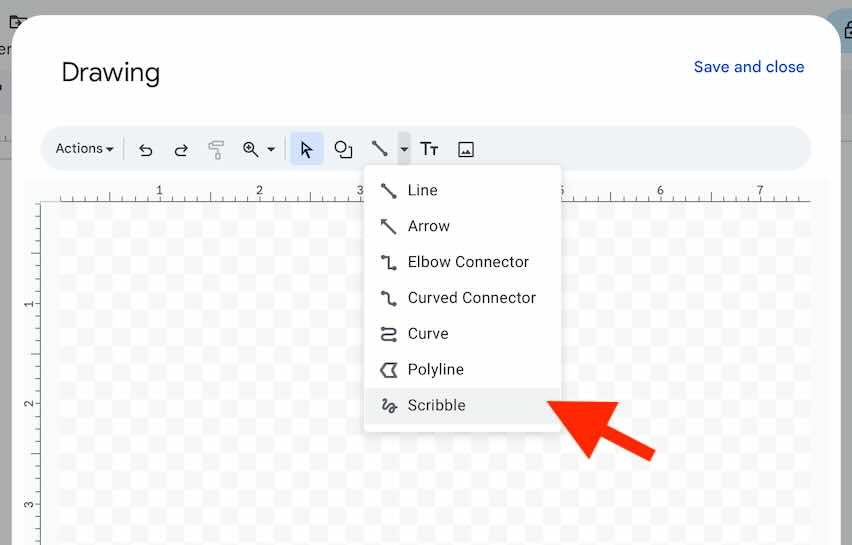
4. Select the Scribble Tool
In the drawing canvas, tap on the “Line” dropdown menu, then select “Scribble” from the options. This tool allows you to draw freely, making it easy to write your signature.
5. Add Your Signature
Now, use your finger or stylus to write your signature directly on the screen. Make sure it’s clear and readable.
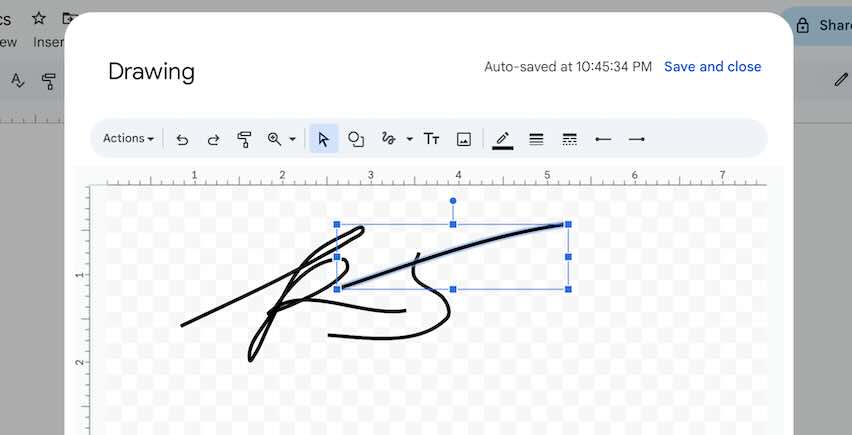
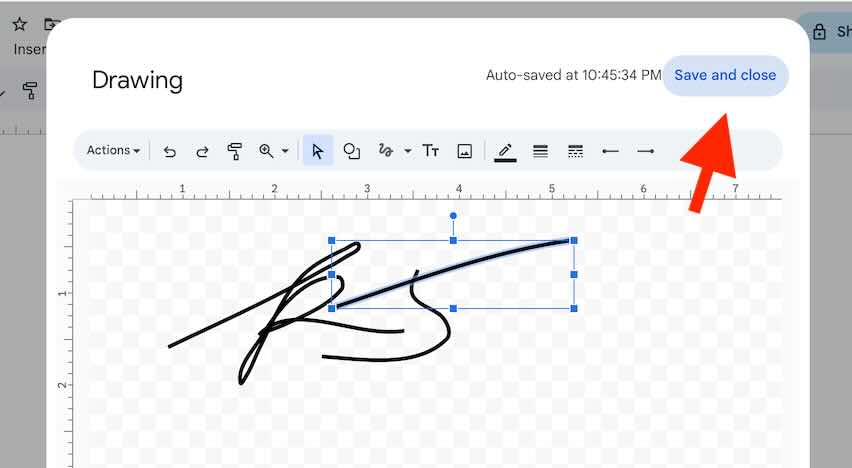
6. Adjust the Signature
After drawing, tap “Save and Close” in the top-right corner. The signature will automatically appear in your Google Doc. You can adjust its position by tapping and dragging it to the desired spot on the page.
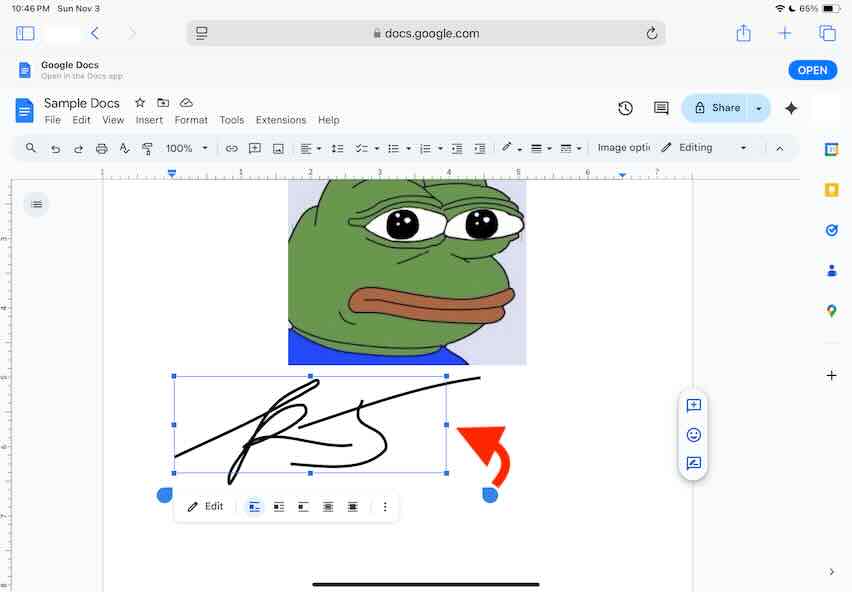
7. Resize or Move the Signature
If you want to change the size or location of the signature, tap on it once, then use the blue border handles to resize or move it. Position it wherever you’d like within the document.
We hope you now have a better understanding of how to place a signature in Google Docs on iPad. If you enjoyed this article, you might also like our articles on how to check viewer history on Google Docs and how to create an email signature in Google Docs.