How to Format Columns in Google Docs (Easiest Way in 2025)
In this article, we will learn how to format two columns in Google Docs. Simply follow the steps below.
How to Format Columns in Google Docs
Follow the steps below to create a two-column layout in Google Docs.
1. Select the Text You Want to Format
Click and drag to select the text you want to format into columns. If you want to format the entire document, use the shortcut Ctrl+A (Windows) or Cmd+A (Mac) to select all text.

2. Access the Columns Feature
With the text selected, click on Format in the top menu bar. From the drop-down menu, choose Columns. You will see options for one, two, or three columns, along with a More options… choice for further customization. Click on the number of columns you want to apply to your selected text.
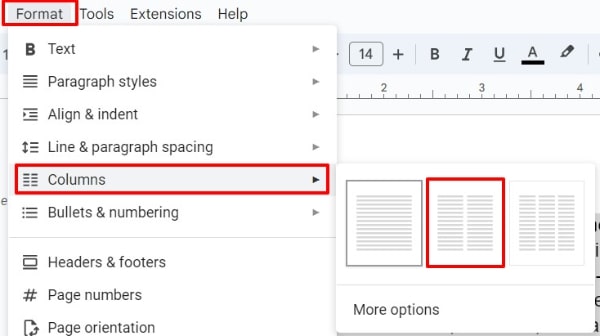
For this example, we will select two columns.
3. Customize Columns (optional)
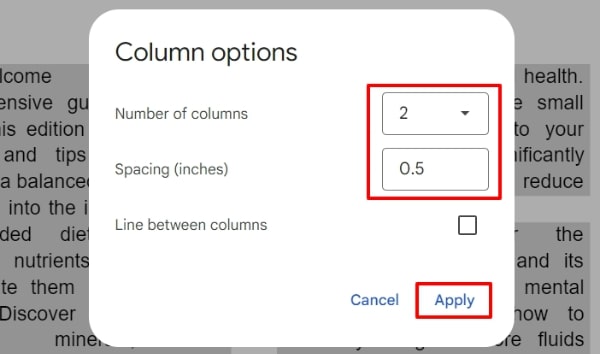
For more detailed settings, click on More options… to open a new dialogue box. Here, you can select the number of columns and also customize the spacing between columns (gutter) and whether you want a line to separate the columns. Click Apply when you are satisfied with your settings.
4. Review Your Document
After applying the columns, click anywhere outside the text selection to deselect the text. Review the document to ensure the text flows as expected in the new column layout. Adjust the text and column settings if necessary.

We hope that you now have a better understanding of how to format columns in Google Docs. If you enjoyed this article, you might also like our article on how you can show formatting marks in Google Docs and how to clear formatting in Google Docs.