How to Make an Up Arrow in Google Docs (Easiest Way in 2025)
In this tutorial, we will show you exactly how to make an up arrow in Google Docs. Simply follow the steps below.
Method 1: Create an Up Arrow in Google Docs Using Special Characters
Follow the steps below to add an up arrow in your Google Docs file using special characters.
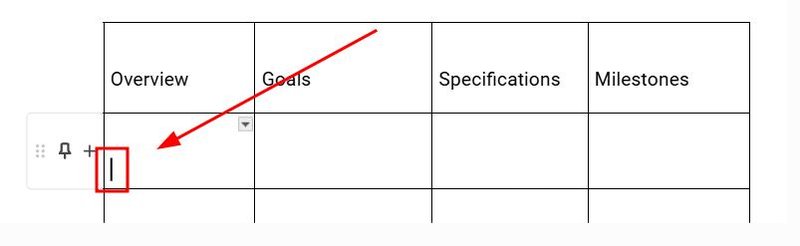
1. Position the Text Cursor
Click within the document where you want to insert the up arrow. Ensure the cursor is blinking, indicating you can type or insert content at that location.
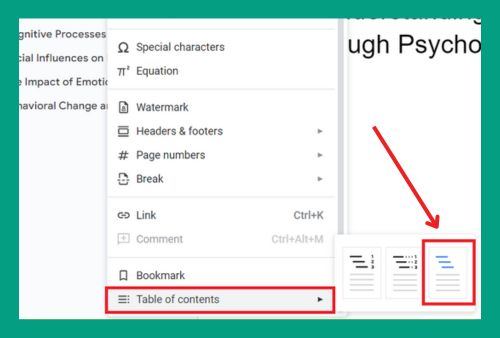
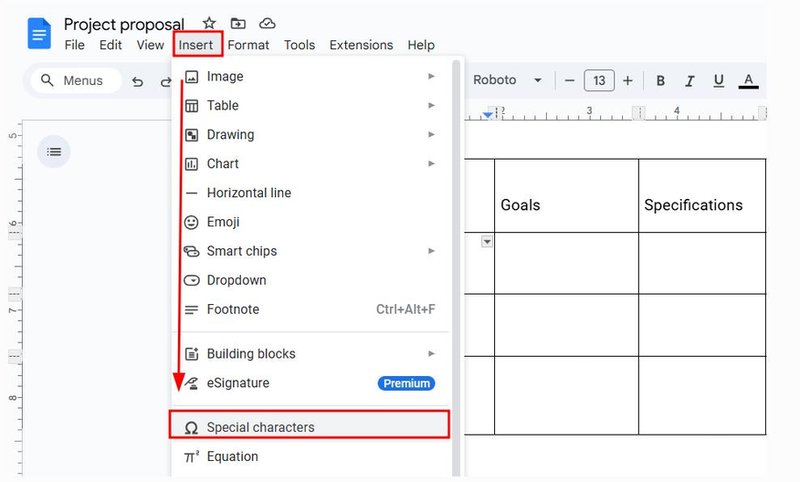
2. Access the Special Characters Menu
Go to the top menu and click on “Insert,” then choose “Special characters” from the dropdown. This opens a new dialog box where you can find various symbols.
3. Find the Arrow Symbol
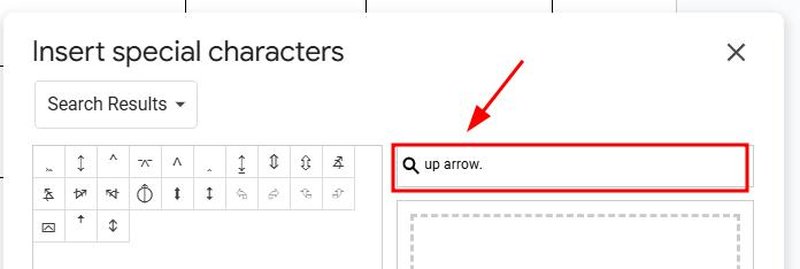
In the “Search” field of the Special Characters dialog, type “up arrow.” This will display different arrow symbols. Look for the simple up arrow (↑).
4. Insert the Arrow
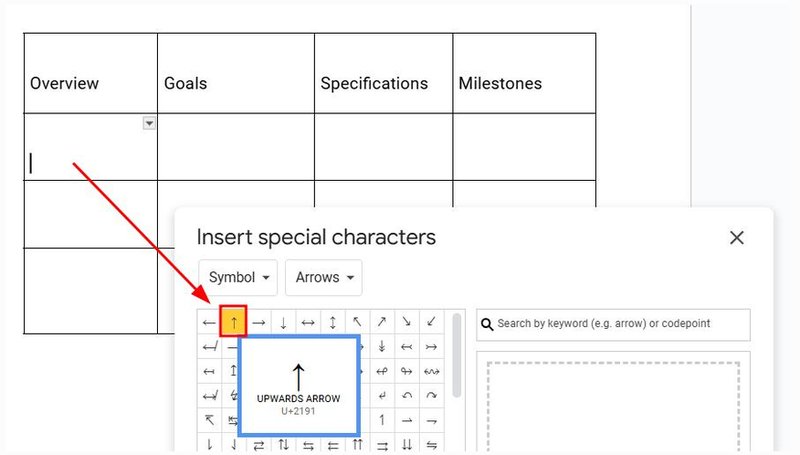
Click on your preferred up arrow to add it to your document at the position of your cursor.
5. Modify the Arrow Size (Optional)
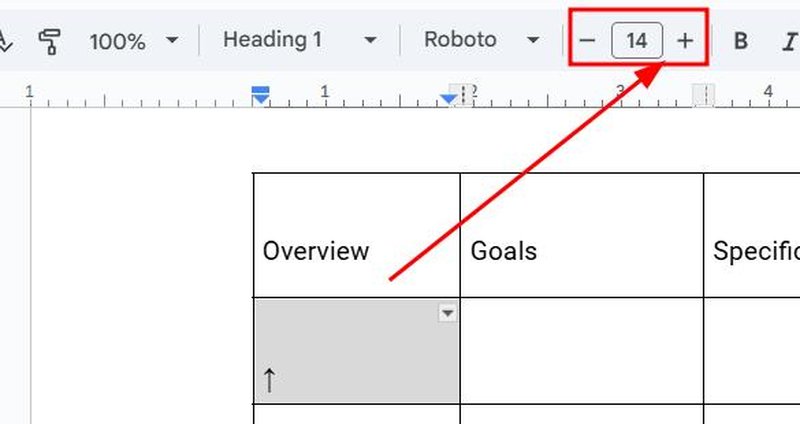
To change the size of the arrow, highlight it by clicking and dragging over it, then adjust the font size in the toolbar at the top of the document, just like adjusting any text.
6. Automatic Saving
Google Docs automatically saves your changes as you work, so there’s no need to manually save the document.
Method 2: Make an Up Arrow in Google Docs Using the Drawing Tool
Follow the steps below to create an arrow tool using the drawing tool in Google Docs.
1. Access the Drawing Tool
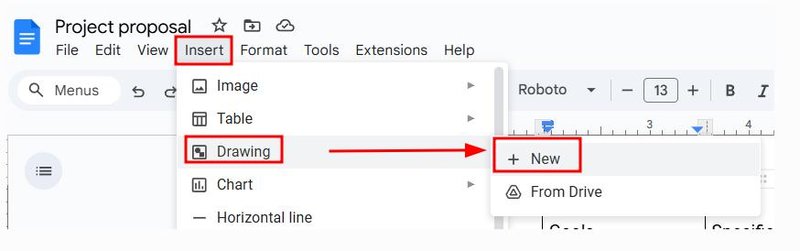
In your Google Docs document, navigate to the “Insert” menu located in the top toolbar. Click on it, then choose “Drawing” and select “+ New” from the submenu that appears.
2. Select the Line Tool
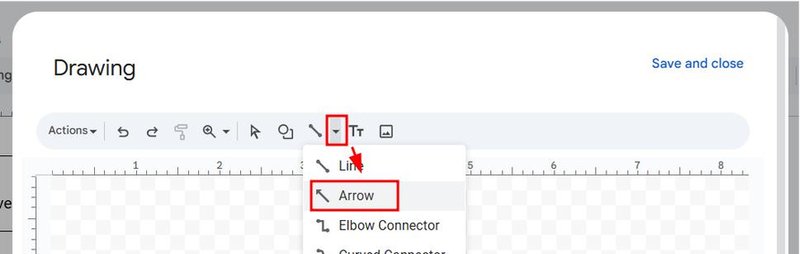
Inside the drawing canvas, you will find various tools in the upper toolbar. Click on the line tool icon, which usually shows a plain line.
From the dropdown that appears, select the arrow option—specifically the line that ends with an arrowhead, suitable for creating directional arrows.
3. Draw the Arrow
To draw an up arrow, click and hold your mouse pointer at the point where you want the tail of the arrow to begin. Drag the mouse upwards while holding down the “Shift” key; this helps keep your line straight and vertical.
Release the mouse button when you’ve reached the desired length of your arrow.

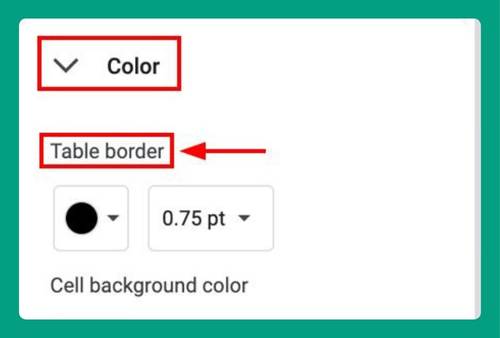
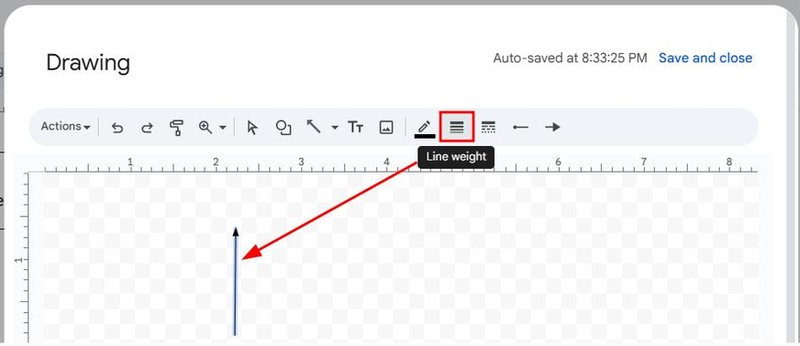
4. Customize the Arrow
After drawing the arrow, you might want to customize its appearance. With the arrow selected (click on it if it’s not), use the toolbar options to change the thickness by selecting different line weights and adjust the color using the color picker tool.
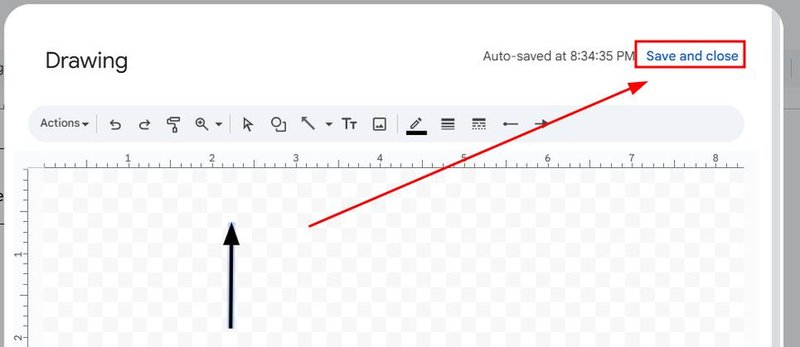
5. Save and Insert the Drawing
Once your arrow is ready and styled to your liking, click the “Save and Close” button located at the top right of the drawing window.
This will automatically insert the arrow into your main Google Docs document, where you can integrate it with your text and other content.
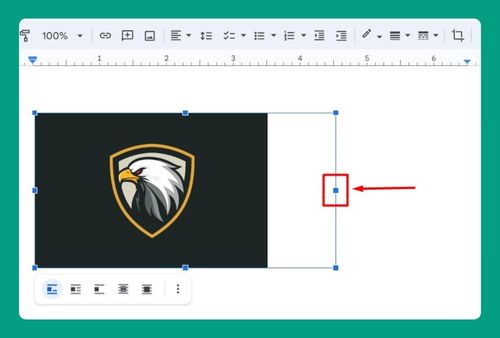
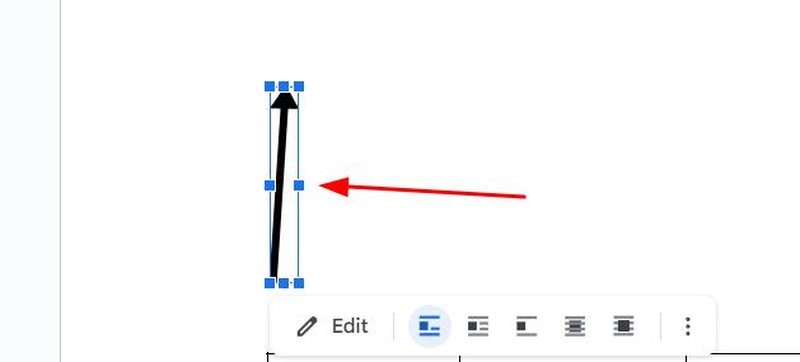
6. Adjust Placement and Size
After the arrow is inserted, you may need to adjust its placement or size to better fit your document’s layout. Click on the arrow to select it, then drag it to the desired location.
To resize, drag any of the blue square handles that appear at the corners of the selected arrow.
We hope you now have a better understanding of how to add an up arrow in Google Docs. If you enjoyed this article, you might also like our articles on how to add multiple rows in Google Docs and how to make a down arrow in Google Docs.