How to Move Images in Google Docs on iPad (2025 Update)
In this article, we will show you how to move images in Google Docs on iPad. Simply follow the steps below.

Adjust Images in Google Docs on iPad
To position images in Google Docs on iPad, follow the process below.
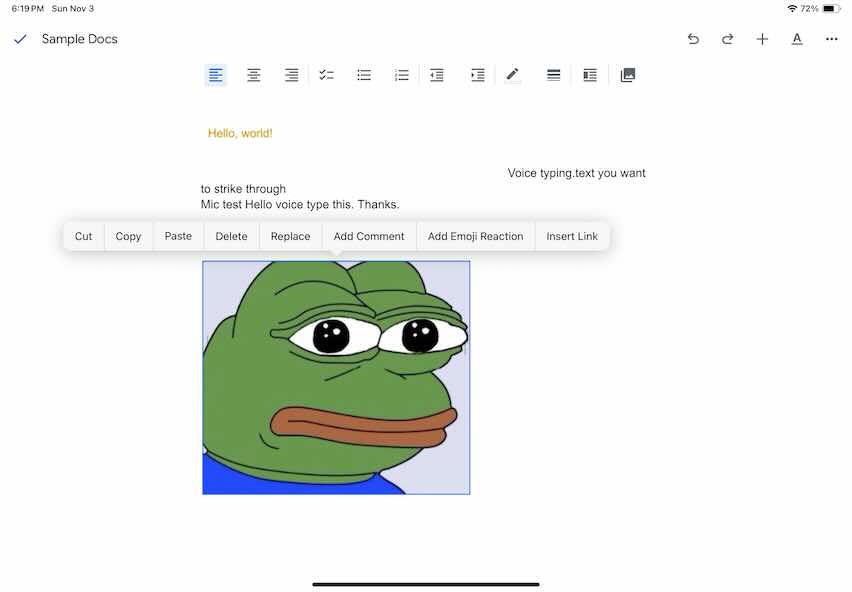
1. Tap the Image You Want to Move
Tap the image in your document. A blue border will appear around it, confirming it’s selected and ready to be moved within the document.
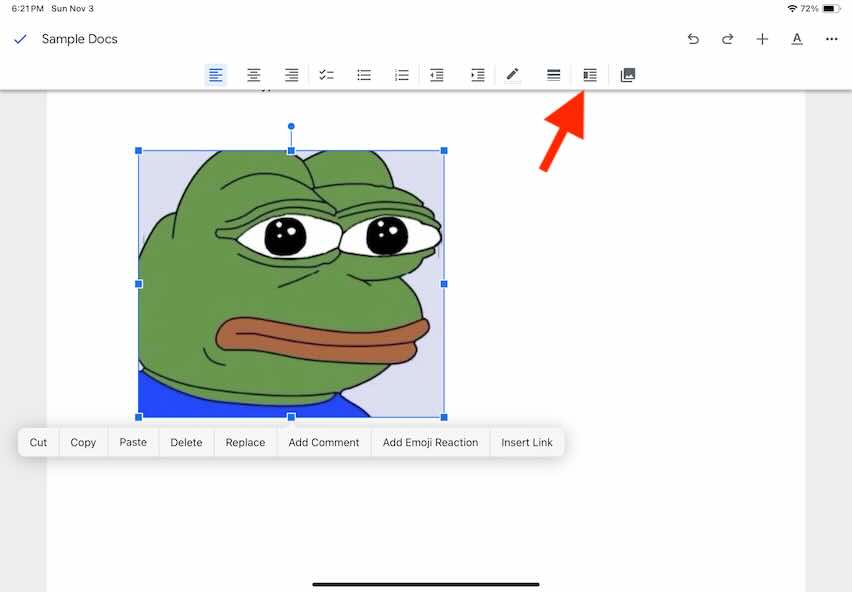
2. Access the Format Options
With the image selected, look for the toolbar at the top. Tap on the ‘Text Wrapping’ icon. This will bring up options to control image alignment and text wrapping.
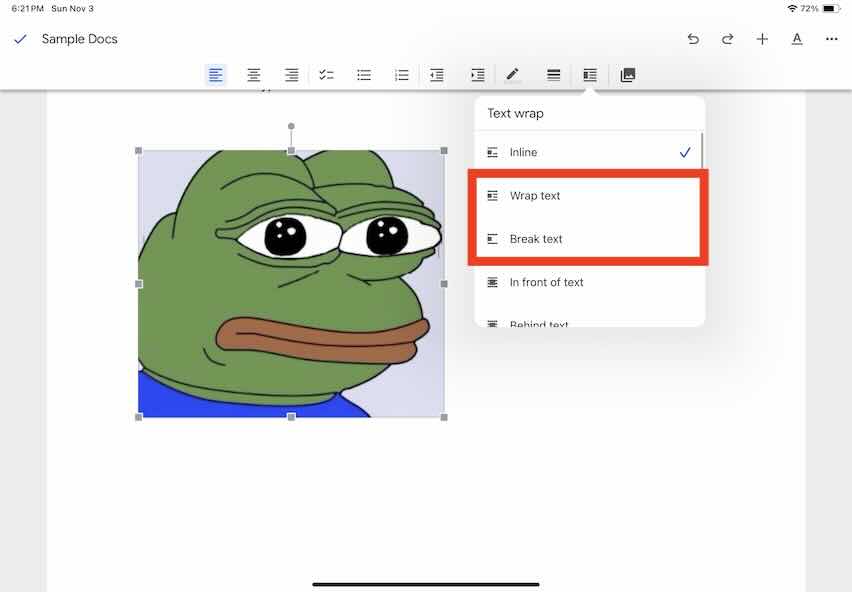
3. Set Text Wrapping
From the ‘Text Wrapping’ section, you’ll see options like ‘In line with text,’ ‘Wrap text,’ and ‘Break text.’ Choose ‘Wrap text’ or ‘Break text’ to allow easier movement of the image without impacting text layout.
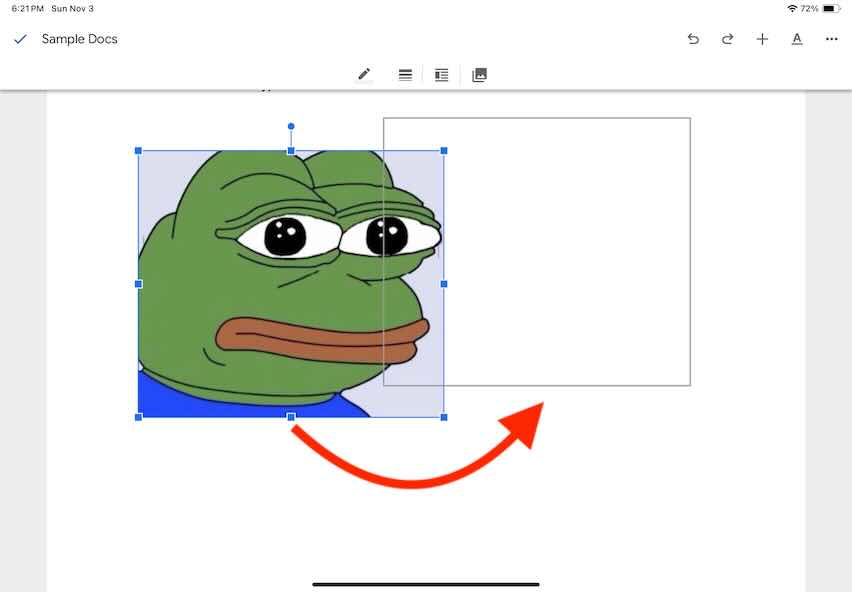
4. Drag the Image to Your Desired Location
Press and hold the image, then drag it to the spot you want. Release it once the image is in the right position.
We hope you now have a better understanding of how to move pictures in Google Docs on iPad. If you enjoyed this article, you might also like our articles on how to delete an image on Google Docs and how to save an image from Google Docs on Mac.