How to Layer Images in Google Docs (Easiest Way in 2025)
In this article, we will show you how to layer images in Google Docs. Simply follow the steps below.

Layer Images in Google Docs
To layer images in Google Docs, follow the process below.
1. Insert Multiple Images Into the Document
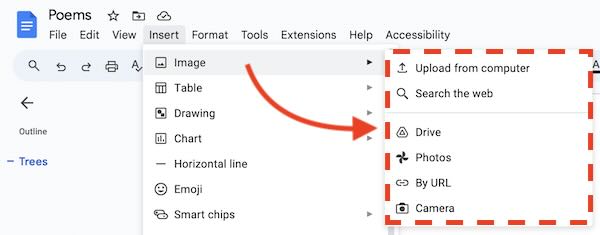
To start layering images, you need to insert more than one image. Click “Insert” from the top menu, select “Image,” and choose your source to upload the images. Repeat the process for each image you want to layer.

2. Adjust the Image Sizes
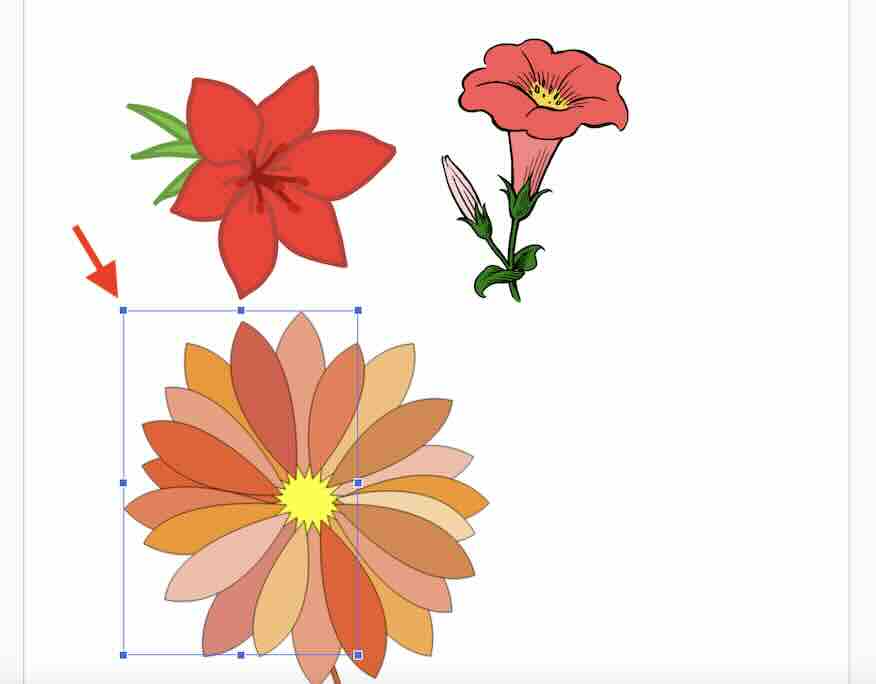
Once the images are in the document, resize them by clicking on each image and dragging the corner handles. Resize the images so they fit well with each other when layered.

3. Set Text Wrapping to Allow Layering
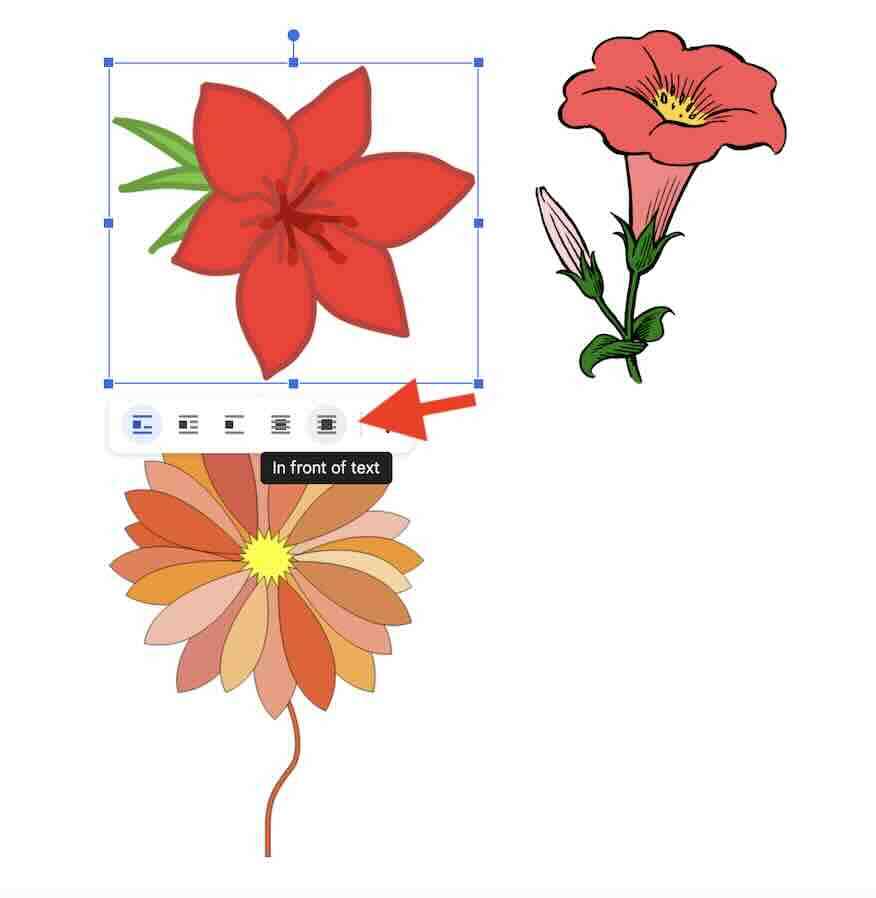
For each image, click on it and select the “Text wrapping” option from the toolbar. Choose “In front of text” for all the images you want to layer. This will allow the images to overlap without affecting the text layout.

4. Manually Position the Images
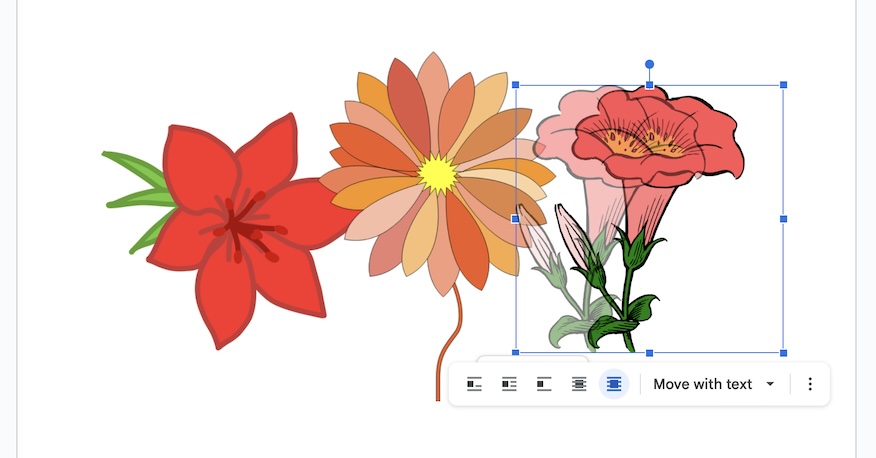
Now, click and drag each image to manually layer them. Move them on top of or beside each other depending on how you want them to be arranged. Adjust until you get the desired layered effect.

We hope you now have a better understanding of how to layer images on Google Docs. If you enjoyed this article, you might also like our article on send images back in Google Docs or our article on how to write on an image in Google Docs.


