Insert a Row Below in Google Docs Shortcut (Easiest Way in 2025)
In this tutorial, we will show you exactly how to use the shortcut to insert a row below in Google Docs. Simply follow the steps below.

How to Insert a Row Below in Google Docs
Follow the steps below to insert rows below in Google Docs using a shortcut.
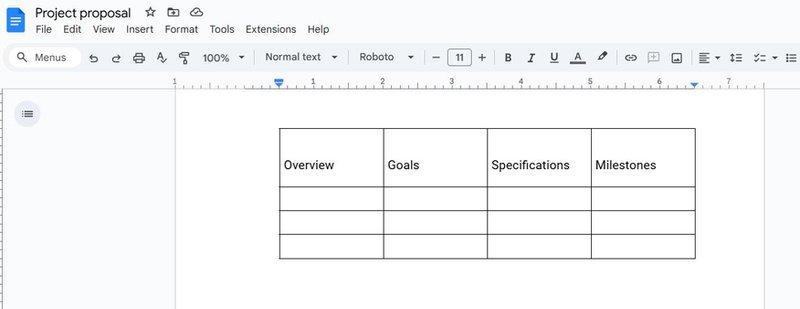
1. Find the Table in Your Document
Locate the table within your document where you wish to insert a new row. Click on the table to ensure it is active and ready for modification.
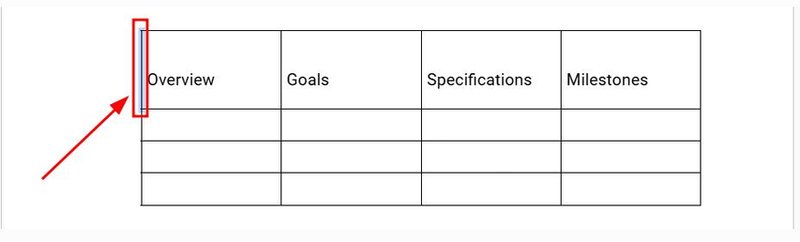
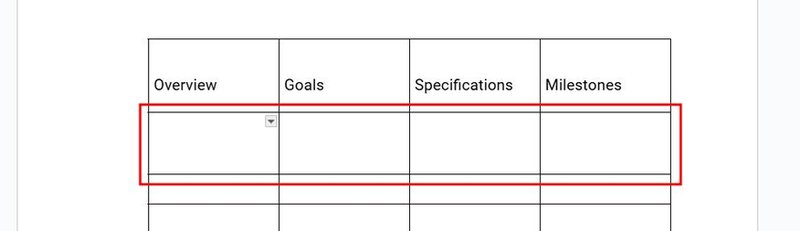
2. Highlight the Row Where You Want to Insert Below
Click on the left margin of any cell in the row below which you want to add a new row. This action will select the entire row, signaling it’s ready for modification.
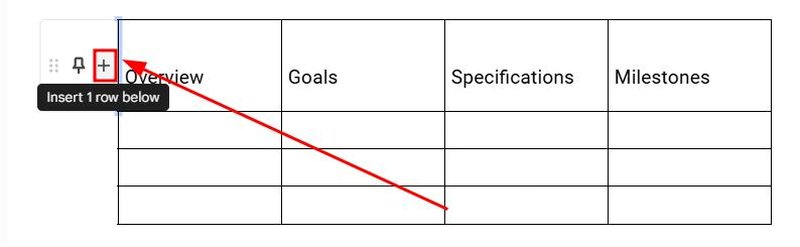
3. Click on the “Insert 1 row below” Icon
Hover over the left margin of the selected cell until you see a plus icon appear. Click this icon labeled “Insert 1 row below” to add a new row immediately underneath.
4. Adjust Column Widths if Necessary
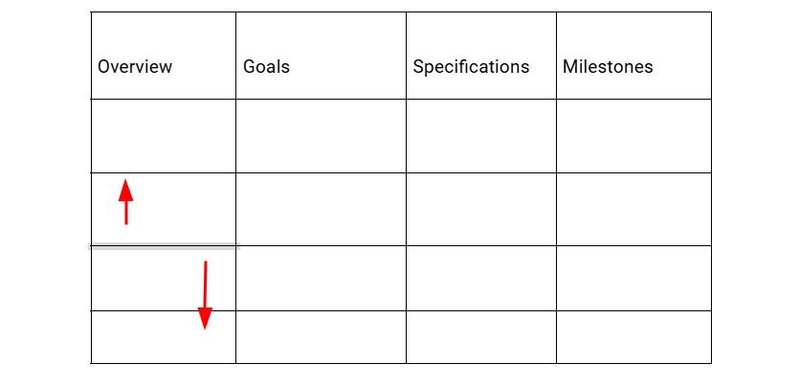
After inserting the new row, it will automatically match the height of the row above it.
You can adjust the heights of the rows below the added row if needed by clicking and dragging the horizontal borders of the cells.
5. Review and Finalize Your Table Layout
Inspect the updated table to ensure that the new row integrates seamlessly with the existing content. Make adjustments to the column widths if necessary to maintain the table’s overall aesthetic and functionality.

We hope you now have a better understanding of how to use the shortcut for inserting a row below in Google Docs. If you enjoyed this article, you might also like our articles on how to delete rows on Google Docs and how to insert multiple rows in Google Docs.