How to Show Non-Printing Characters in Google Docs (2025)
In this article, we will show you how to show non-printing characters in Google Docs. Simply follow the steps below.
Show Non-Printing Characters in Google Docs
Here’s how to show non-printing characters in Google Docs:
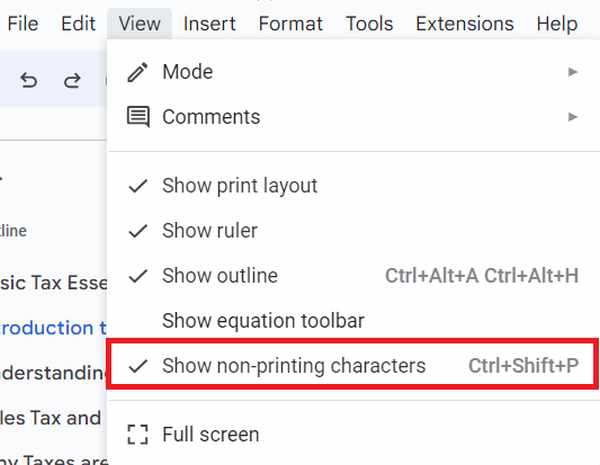
1. Access the ‘View’ Menu on the Google Docs Toolbar
Find the ‘View’ menu in the toolbar at the top of the Google Docs window. This menu allows you to adjust how you see content in your document.

2. Activate the ‘Show Non-Printing Characters’ Option
In the ‘View’ dropdown menu, you will find various settings that alter your document’s appearance. Look for ‘Show Non-Printing Characters’ and select it to reveal hidden formatting symbols.

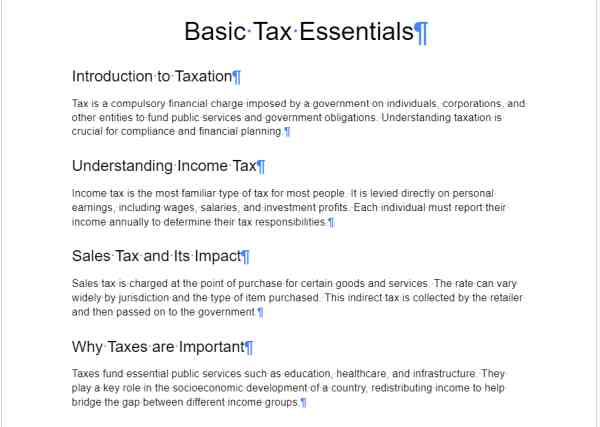
In our “Basic Tax Essentials” example document, we will now see dots for spaces, pilcrows (¶) at the end of paragraphs, and right arrows for tabs. These help us understand text alignment and spacing.

We hope that you now have a better understanding of how to show non-printing characters in Google Docs. If you enjoyed this article, you might also like our article on how to print poster size in Google Docs or our article on how to rearrange pages on Google Docs.


