Add Border to Image on Google Docs (Easiest Way in 2025)
In this article, we will show you how to add borders to images in Google Docs. Simply follow the steps below.
How to Add a Border to an Image in Google Docs
To add a border to an image on Google Docs, follow the process below.
1. Insert the Image
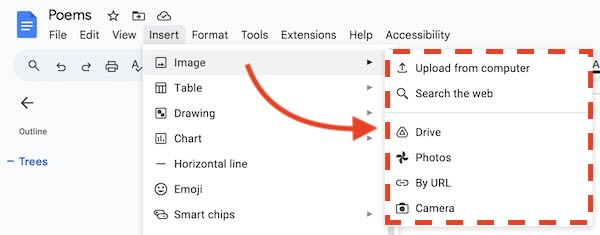
In your Google Docs document, go to the top menu and click Insert. Hover over Image and choose your image source (upload from your computer, the web, or Google Drive). Once the image is inserted, click on it to select it.
2. Add a Border
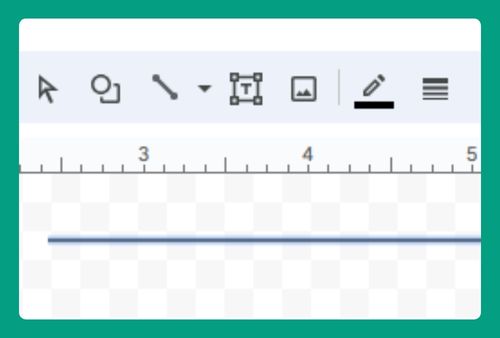
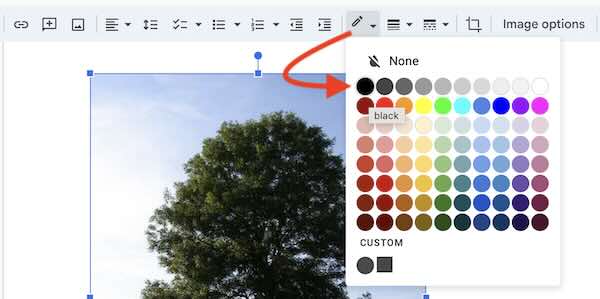
Once the image is selected, look at the editing tray above the document. Here, you’ll see options to add a border. Click on the Border Color icon and choose your preferred color for the border.
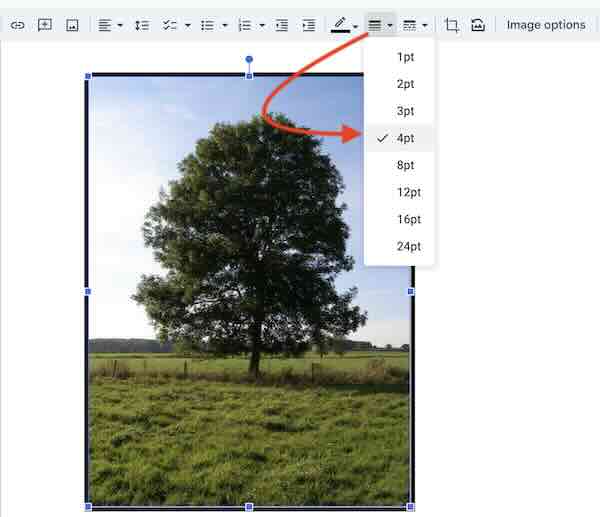
3. Adjust Border Thickness
Next to the Border Color icon, you’ll find the Border Weight option. Click on it to adjust the thickness of your border to the size you prefer.
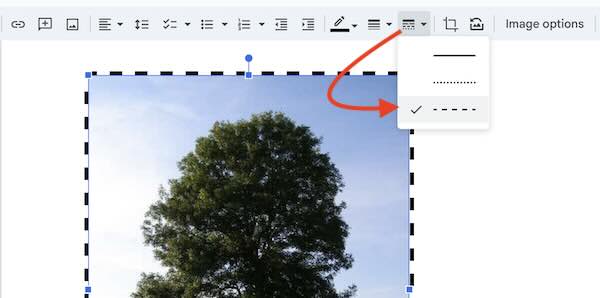
4. Customize the Border Style
To further customize the look, use the Border Dash icon to select between solid, dotted, or dashed lines for your border.
We hope you now have a better understanding of how to add a border to an image on Google Docs. If you enjoyed this article, you might also like our article on how to make images transparent in Google Docs or our article on Google Docs image error exclamation mark.