Custom Bullet Points in Google Docs (The Ultimate Guide for 2025)
In this article, we will show you exactly how to create custom bullet points in Google Docs. Simply follow the steps below.

How to Make Custom Bullet Points in Google Docs
Custom bullet points can be created in Google Docs using two effective methods: the ‘Bullet List Menu‘ for quick style changes and the ‘Insert Special Characters‘ Window for more advanced customization. We will discuss how to use each method in the following sections.
Method 1: Using the Bullet List Menu
Here’s how to create bullet points in Google Docs using the bullet list menu:
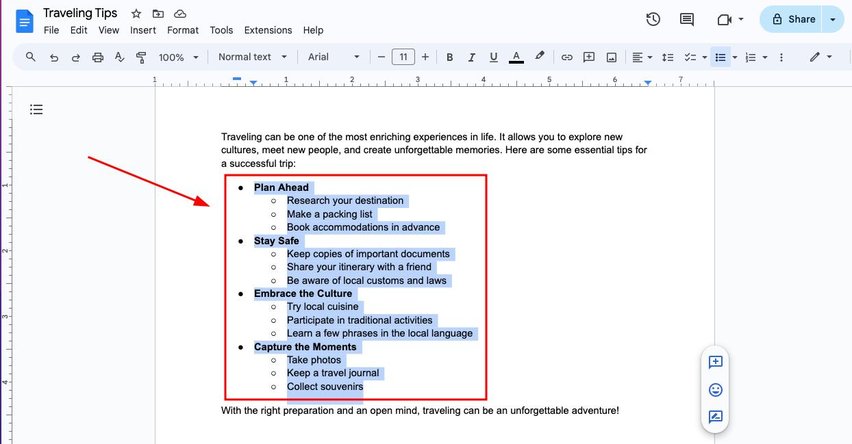
1. Select the Text of the Bulleted List
Highlight the text of the bulleted list you want to customize. This step is essential to ensure you only change the bullet points you wish to modify.
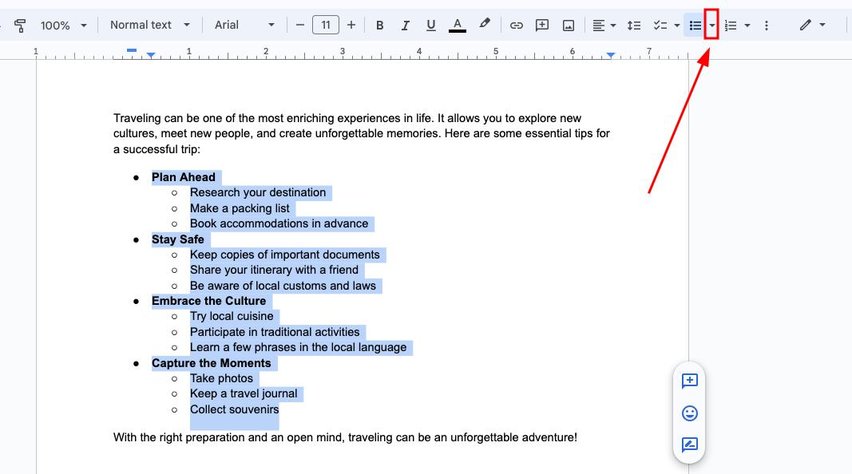
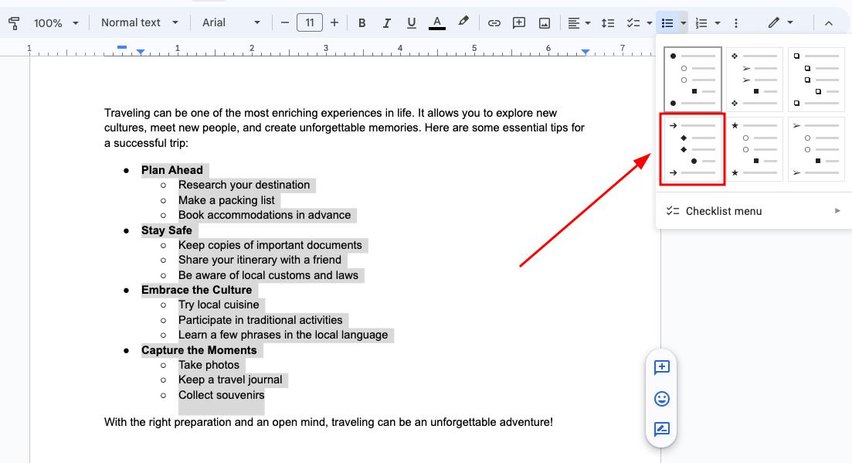
2. Click the Arrow Next to the Bulleted List Icon
Locate the arrow next to the bulleted list icon in the toolbar. Clicking this arrow opens a dropdown menu with additional bullet options.
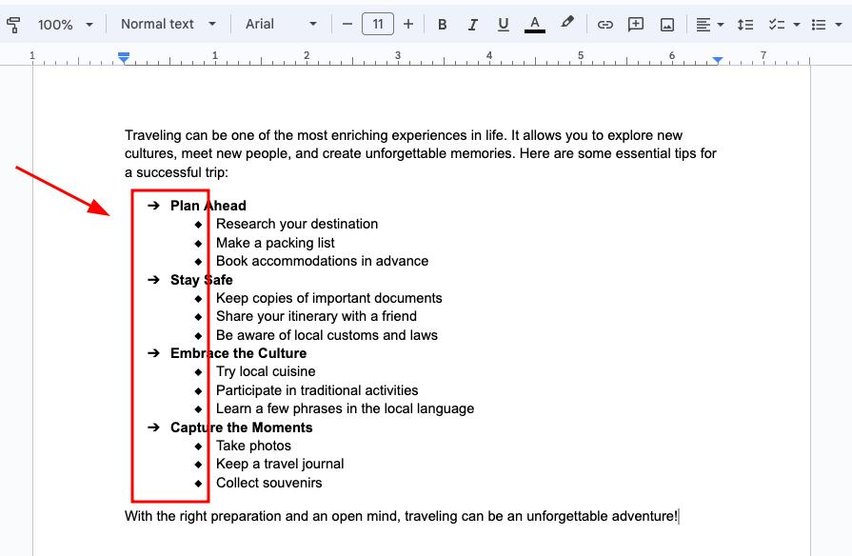
3. Choose a Pre-Made Combination of Bullet Styles
From the dropdown menu, select a pre-made combination of bullet styles. This allows for a quick and easy way to change the appearance of your bullet points.
This method allows you to quickly apply existing styles to your bullet points, making the process efficient and straightforward.
Method 2: Using the Insert Special Characters Window
Follow the steps below to make a bullet point using the ‘Insert Special Characters‘ Window.
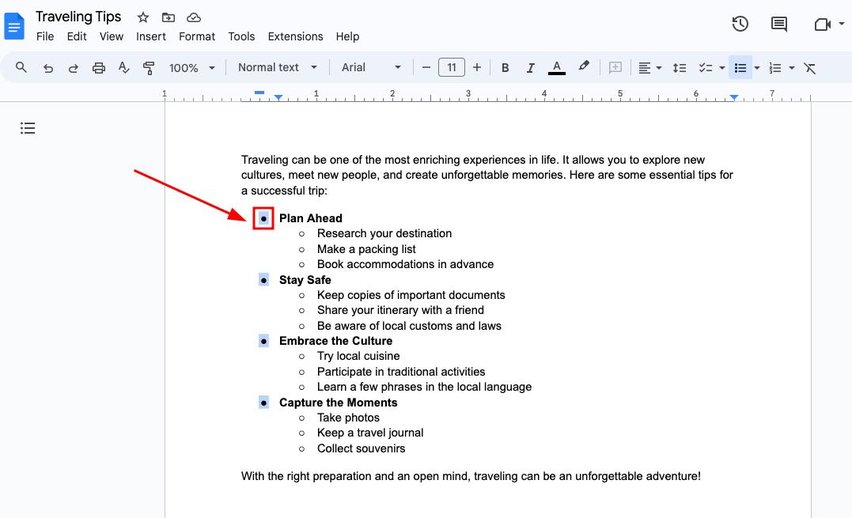
1. Select One Bullet to Highlight Bullets of the Same Level
Click on any bullet in the list you want to change. This action ensures that all bullets in the same lane will be affected.
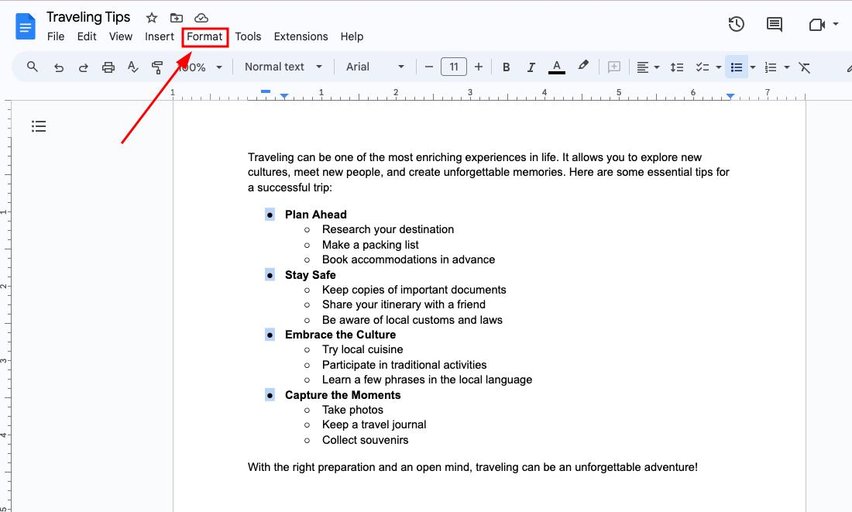
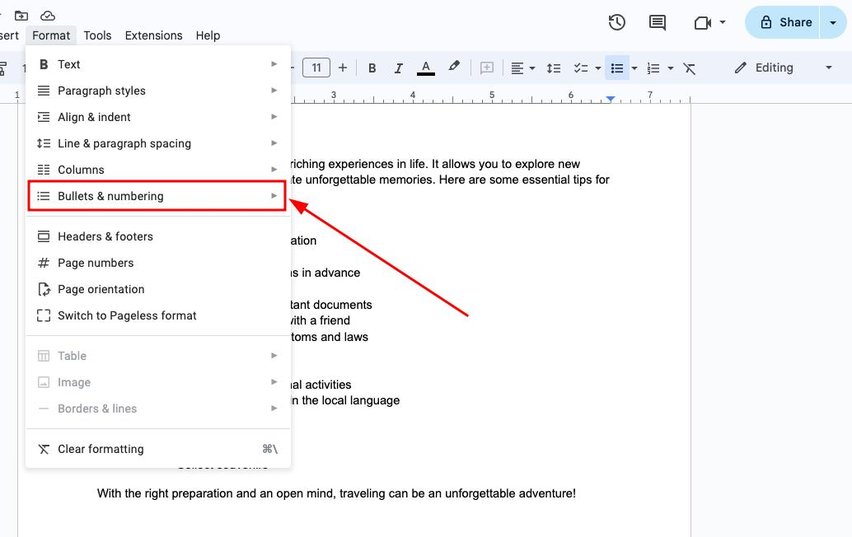
2. Open the Format Menu at the Top of the Page
Go to the top menu and click on “Format.” This menu provides various formatting options for your document.
3. Navigate to Bullets & Numbering
Hover over the “Bullets & numbering” option in the dropdown menu. This will reveal additional bullet-related settings.
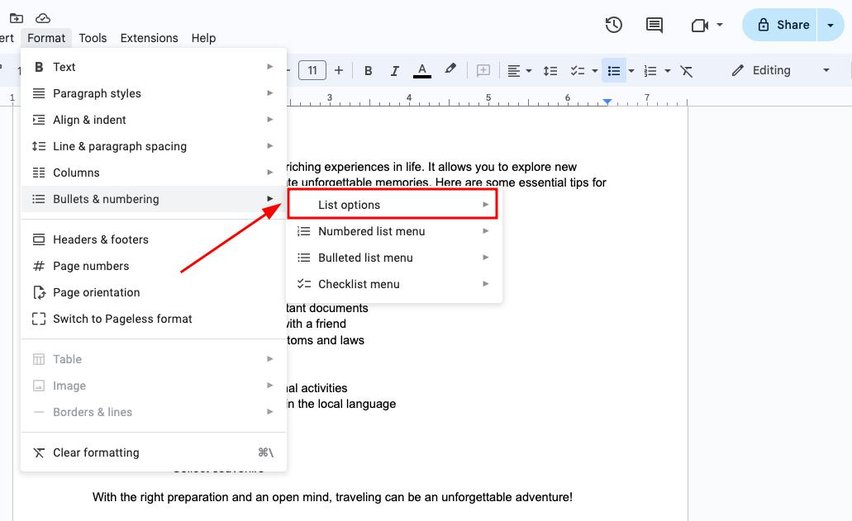
4. Select List Options to Access More Styles
Click on “List options” from the submenu. This step lets you explore different bullet settings and styles.
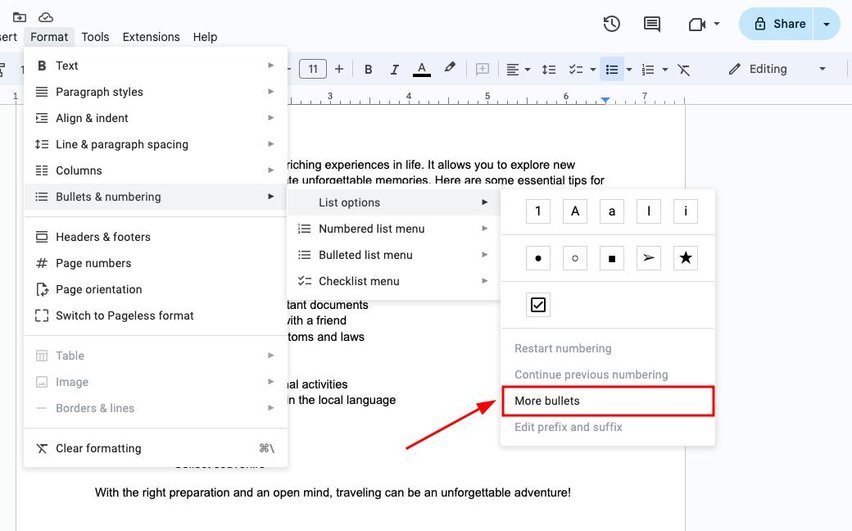
5. Click on More Bullets for Additional Choices
Select “More bullets” to open a new window with various bullet options. This allows you to see a wider selection of bullet styles.
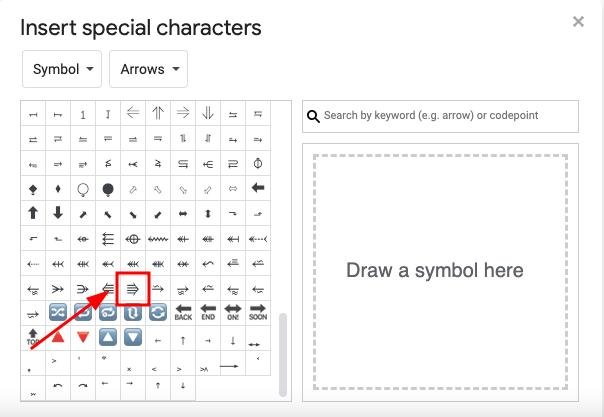
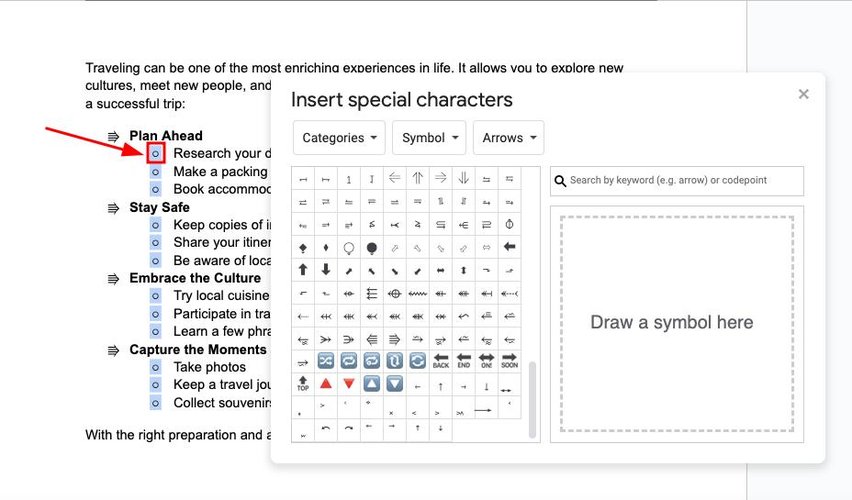
6. Choose Your Desired Icon for the Current Bullet Level
Browse through the options and select your preferred icon for the current bullet level. This customization allows you to create a cohesive look for your bullet points.
7. Highlight Another Level of Bullets
Without closing the insert special characters window, select another level of bullets you want to customize. This will highlight that level for changes.
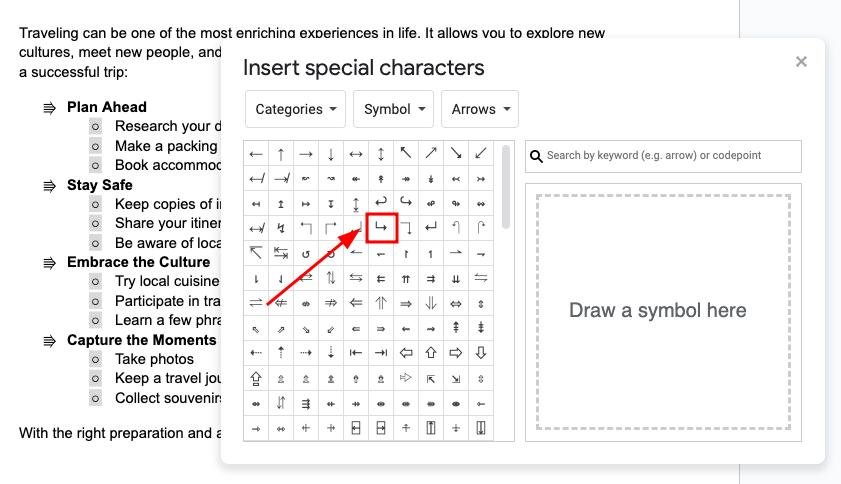
8. Select the Icon for the Highlighted Level
Choose the icon from the insert special characters window that you want the highlighted level to change into.
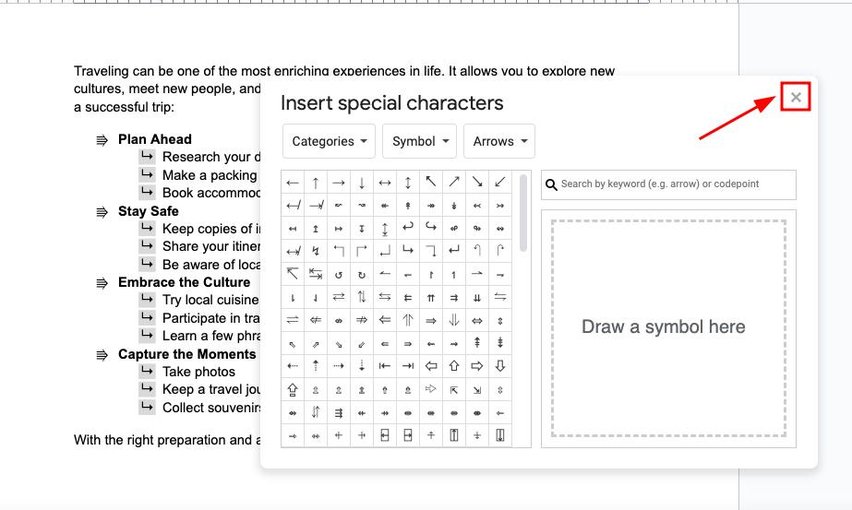
9. Repeat for Other Levels of Bullets
Continue selecting and choosing icons for the other levels of bullets as needed. Once done, click the “X” to exit the insert special characters window.
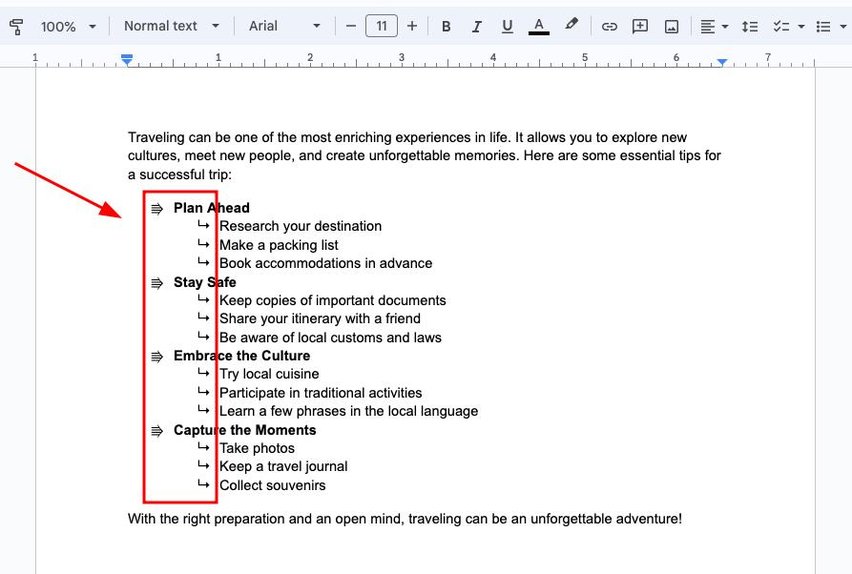
This method gives you more control over the style of your bullets. You can choose from a variety of icons, adding a unique touch to your document.
We hope that you now have a better understanding of how to customize bullet points in Google Docs. If you enjoyed this article, you might also like our articles on how to make two bullet columns in Google Docs and how to put bullet points side by side in Google Docs.