How to Edit a Header in Google Docs (Easiest Way in 2025)
In this tutorial, we will show you exactly how to edit a header in Google Docs in just a few simple steps. Read on to learn more.

Edit a Header in Google Docs
Follow the steps below to edit a Google Docs header.
1. Double-Click the Top of the Page to Edit Header
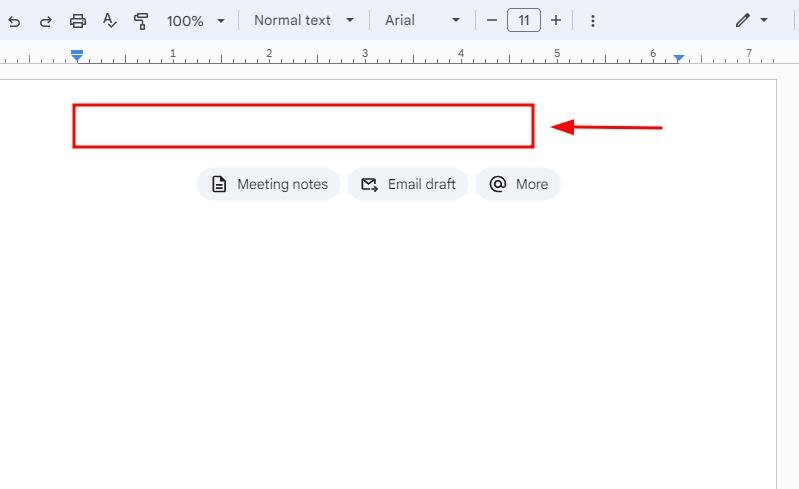
To edit the header, double-click the top section of your document as shown below. This action will allow you to make changes directly in the header area.
2. Type or Modify the Content in the Header Area
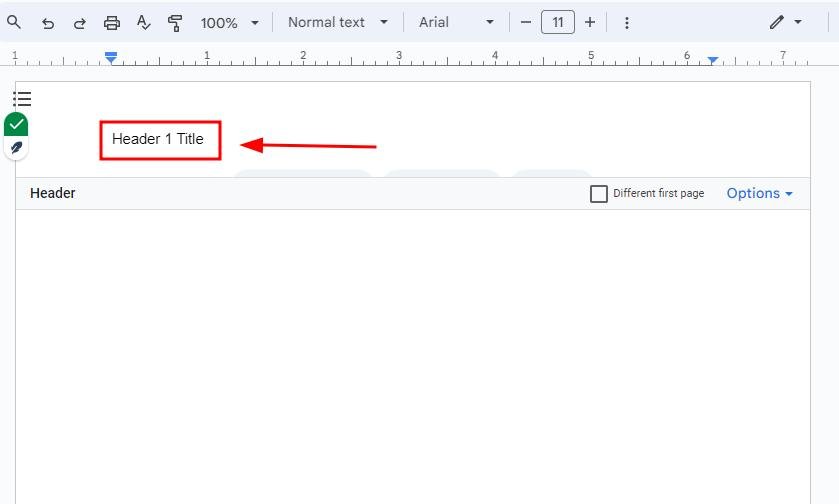
Click in the header area to add or modify text. You can enter a title, page number, or any other information you want in the header.
3. Select and Format the Header Text as Needed
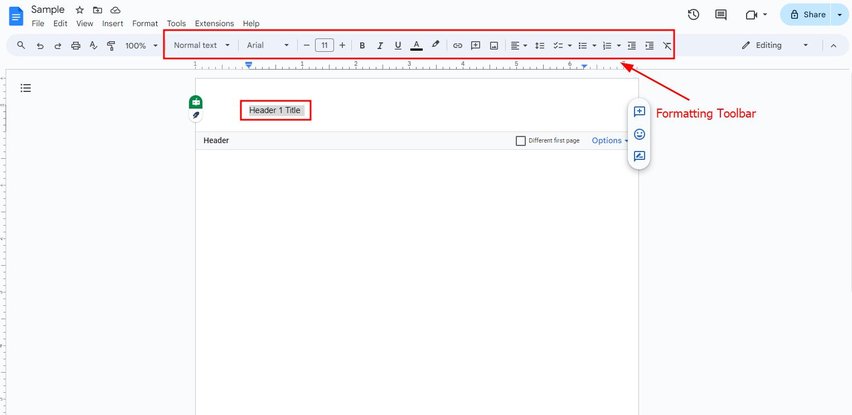
Highlight the text in the header to change its appearance. Use the formatting toolbar to adjust font, size, alignment, or any other style preferences.
4. Click Outside the Header to Save and Exit Editing Mode
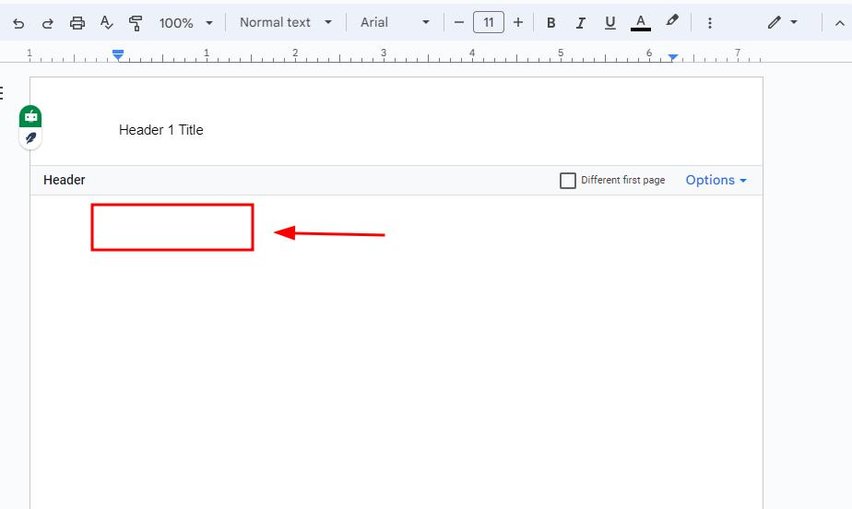
Once you’ve finished editing, click anywhere outside of the header, just like as shown below, or press “ESC.” This will close the header section and return you to the main document.
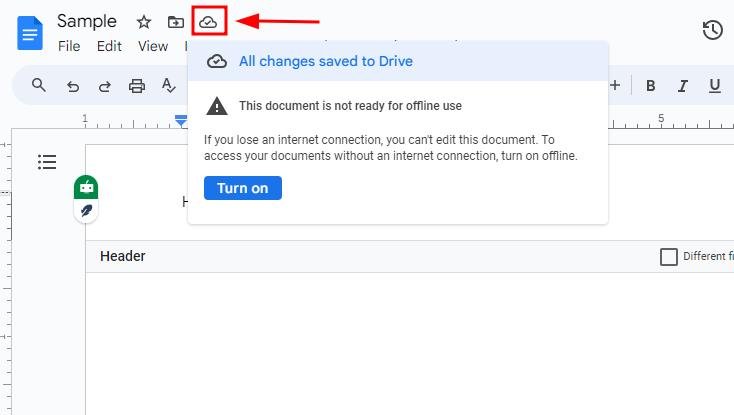
5. Verify Changes Are Saved Automatically
Google Docs automatically saves all edits. Confirm the changes you made to the header by clicking on the cloud icon at the top of the page.
We hope that you now have a better understanding of editing a header in Google Docs. If you enjoyed this article, you might want to check our articles on how to fix if you can’t remove headers in Google Docs and how to add numbers to headings in Google Docs.


