How to Make an APA Table in Google Docs (Easiest Way in 2025)
In this article, we will show you exactly how to make an APA table in Google Docs. Simply follow the steps below.

APA Table of Contents in Google Docs
Follow the steps below to create an APA style table in Google Docs.
1. Create a Bold Table Label
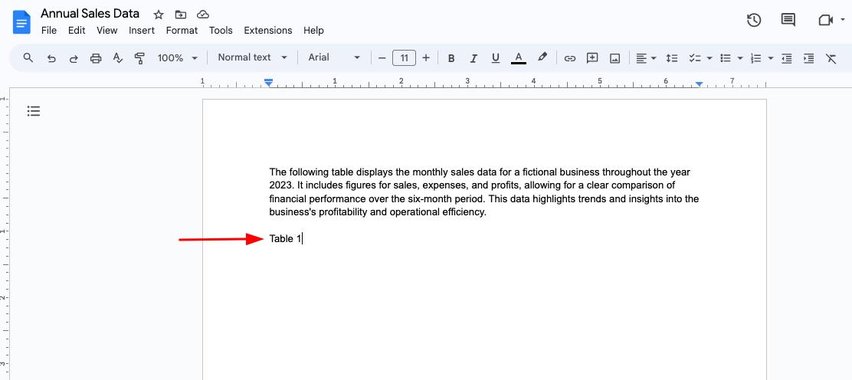
Navigate to the section of your document where you want to insert the table. Ensure this is the desired location for clarity and organization.
Once you’ve identified the spot, write “Table #” based on the order of your table (e.g., “Table 1,” “Table 2,” etc.).
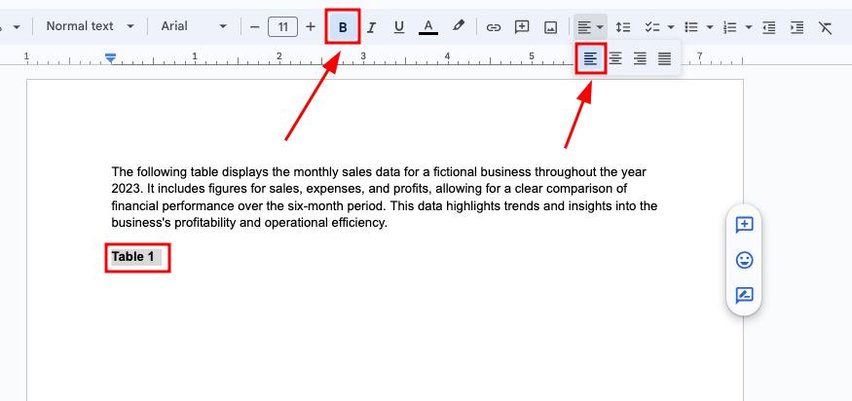
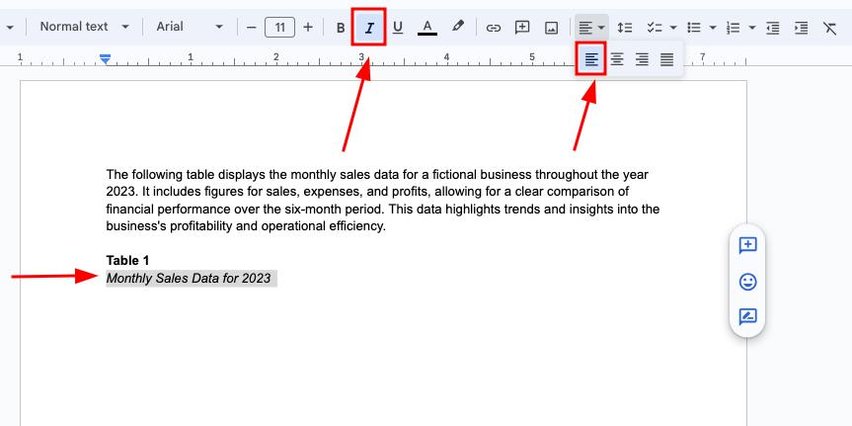
Highlight the text, then click the bold icon in the toolbar. Next, click the align & indent icon, and select left align to format it correctly.
2. Write the Table Title in Italics Below the Label
Below the table label, write your table title. Highlight the title and click the italicize icon in the toolbar to format it properly. Click on the left align icon under the Align & Indent in the toolbar to ensure it is left-aligned.
3. Insert a Table by Selecting Rows and Columns
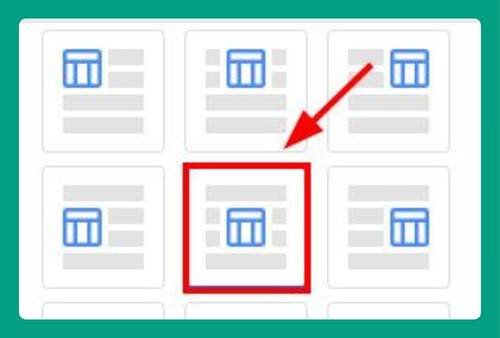
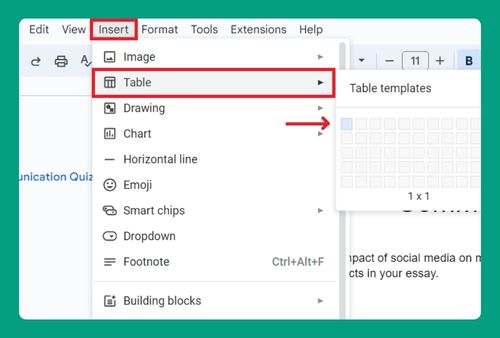
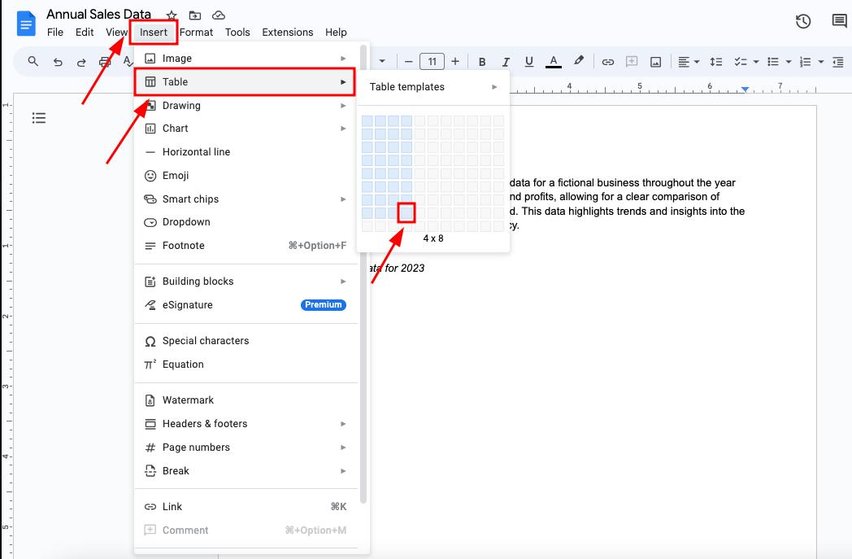
Go to the “Insert” menu at the top. Select “Table” and choose the number of rows and columns you need. Decide on the structure based on the data you will present. This step creates the framework for organizing your information.
4. Fill in Headings for Each Column and Enter Data
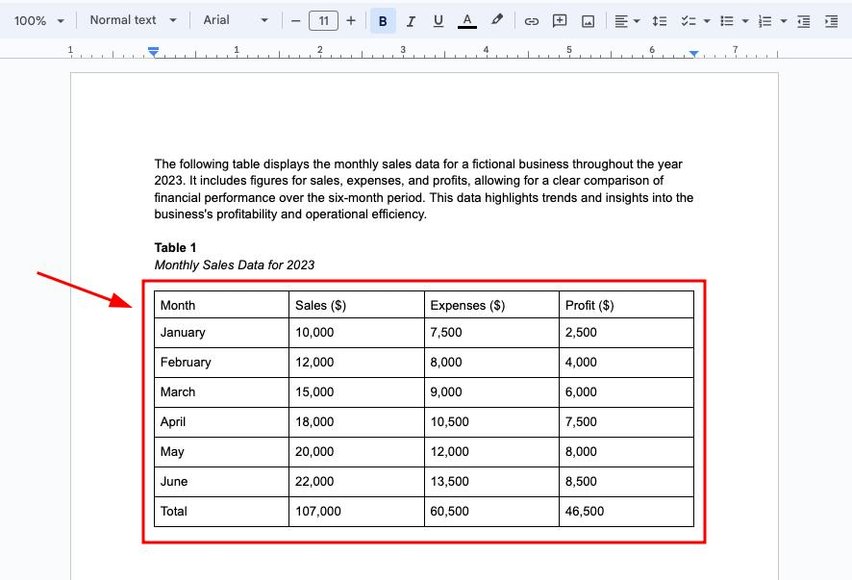
Enter the headings in the first row of the table. Then, fill in the relevant data in the subsequent rows.
5. Center Align the Column Headings for Clarity
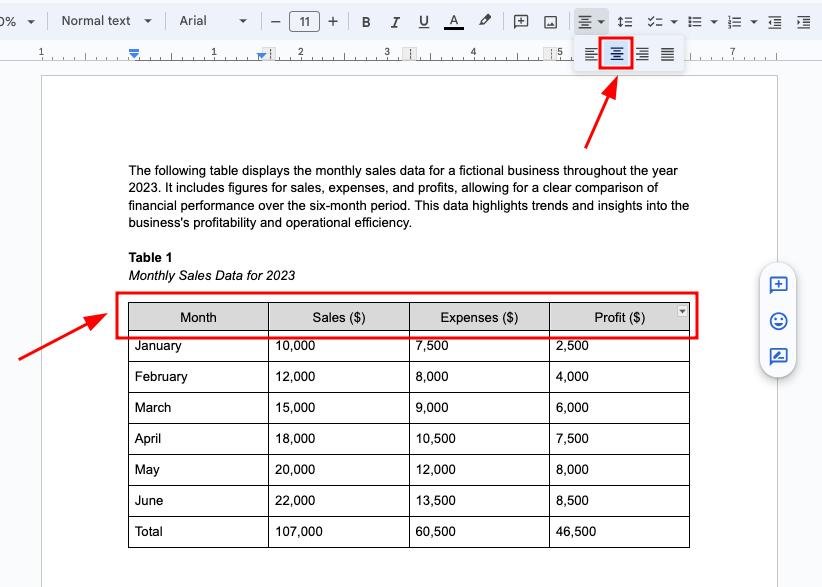
Highlight the first row containing the column headings. Click the center align icon under the Align and Indent section in the toolbar. Center aligning the headings makes them stand out.
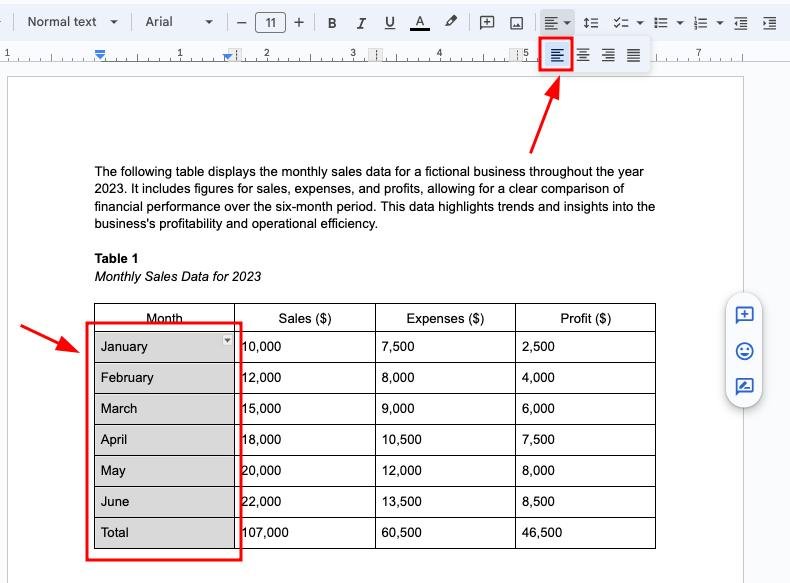
6. Left Align the Data in the First Column for Readability
Highlight the first column of data. Click the left-align icon under the Align & Indent section in the toolbar. Left-aligning this column maintains consistency with common data presentation styles.
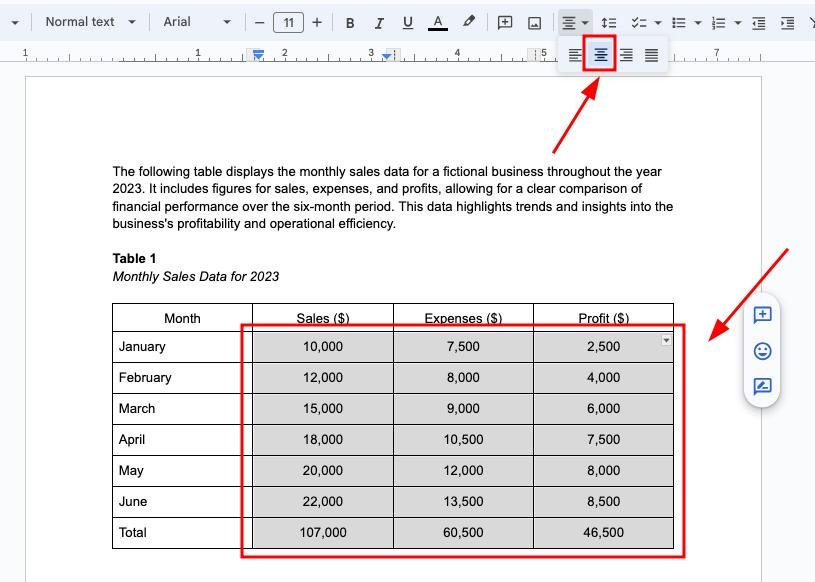
7. Center Align the Remaining Data for a Uniform Appearance
Highlight the rest of the table and click the center align icon under the Align & Indent section in the toolbar.
Center aligning the remaining data creates a uniform look. This formatting is typical in APA tables.
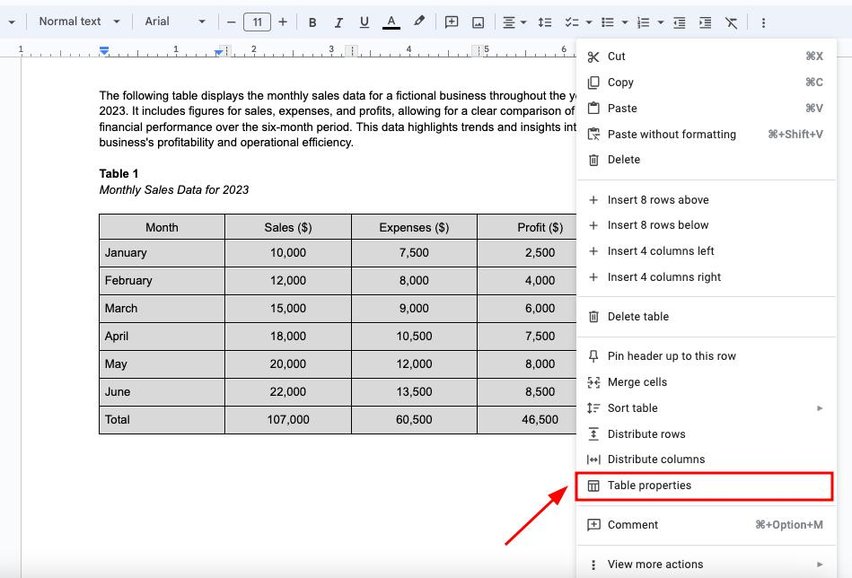
8. Remove All Borders from the Table for a Clean Look
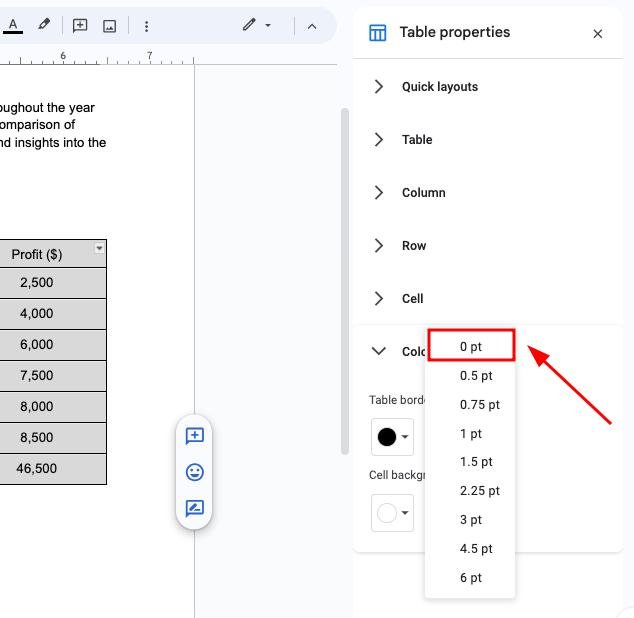
Highlight the entire table. Right-click and select “Table properties.”
Under Table properties, click “Color.” Then, select “Table border.”
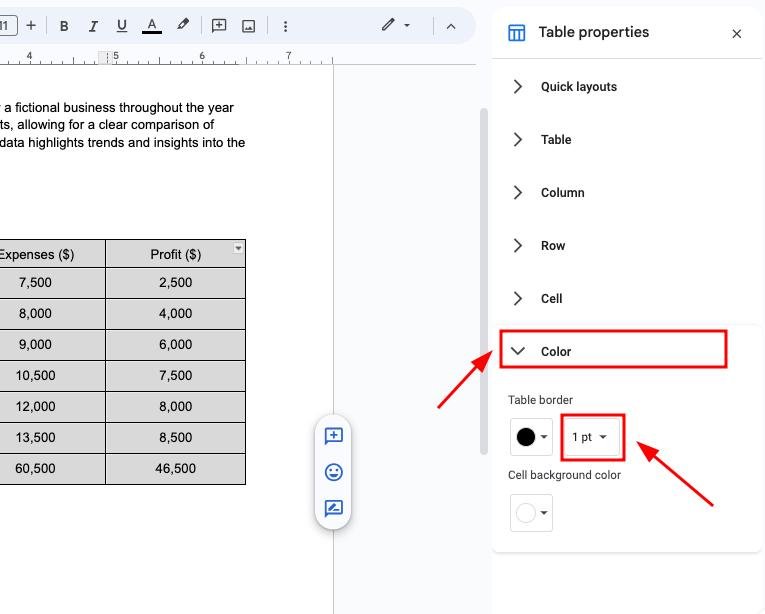
Then, select “0 pt” to remove the border.
9. Add Essential Horizontal Borders Where Needed
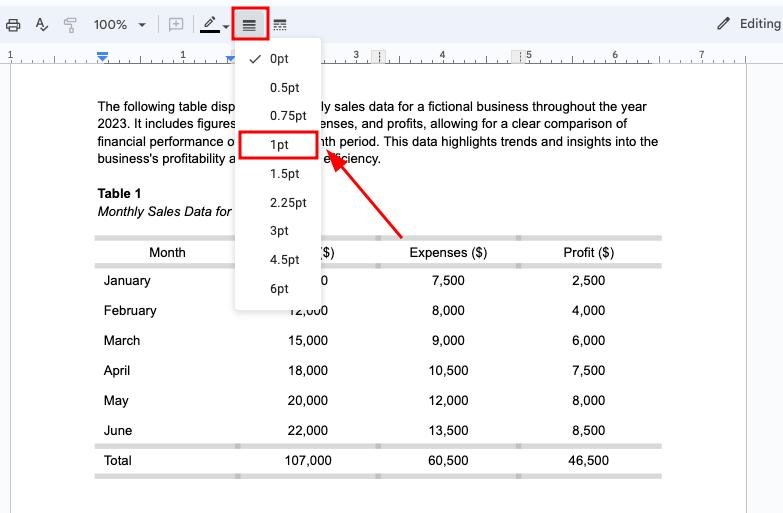
Hold the Shift key and select the essential horizontal lines of the table. Select borders at the top and bottom of the table, beneath the column headings, and to separate any row containing totals or summaries.

Then, click on the border width icon in the toolbar at the top and select “1 pt” to add the selected essential horizontal lines back. This formatting avoids vertical borders between data.
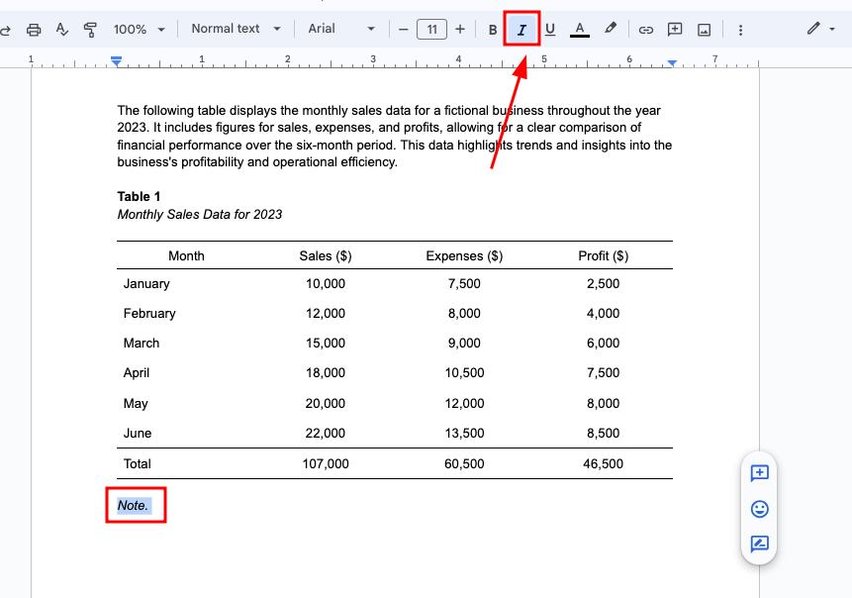
10. Add a Note Below the Table for Additional Context
Below the table, type “Note.” and italicize this word. Highlight the word “Note:” and click the italicize icon in the toolbar.
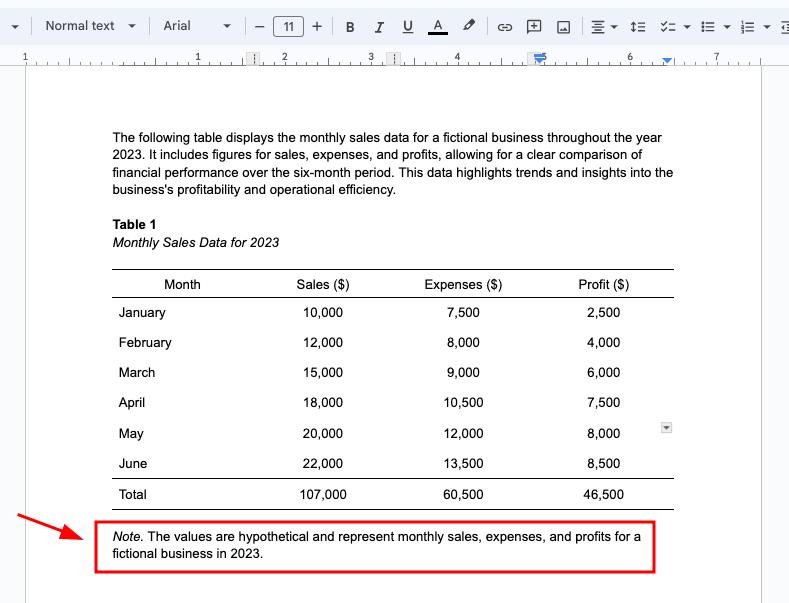
Then write your actual note sentence without italics. Proper formatting helps distinguish the note from the rest of the content.
We hope that you now have a better understanding of how to make an APA style table in Google Docs. If you enjoyed this article, you might also like our articles on how to fix issues when you can’t delete a table in Google Docs and how to create alternating colors in Google Docs table.