How to Align Bullet Points in Google Docs (Easiest Way in 2025)
In this article, we will show you exactly how to align bullet points in Google Docs. Simply follow the steps below.

How to Align Bullets in Google Docs
Follow the steps below to make aligned bullets in Google Docs.
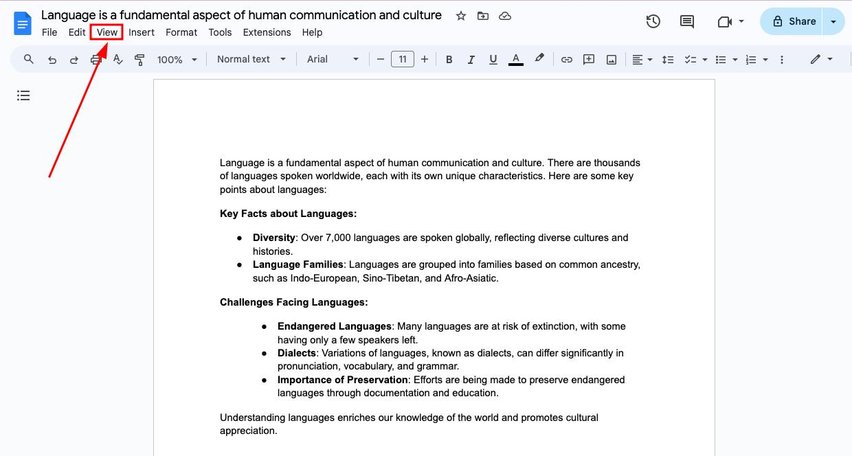
1. Select “View” from the Top Menu
Click on “View” in the top menu of Google Docs. This step opens a dropdown menu that allows you to access various display options for your document.
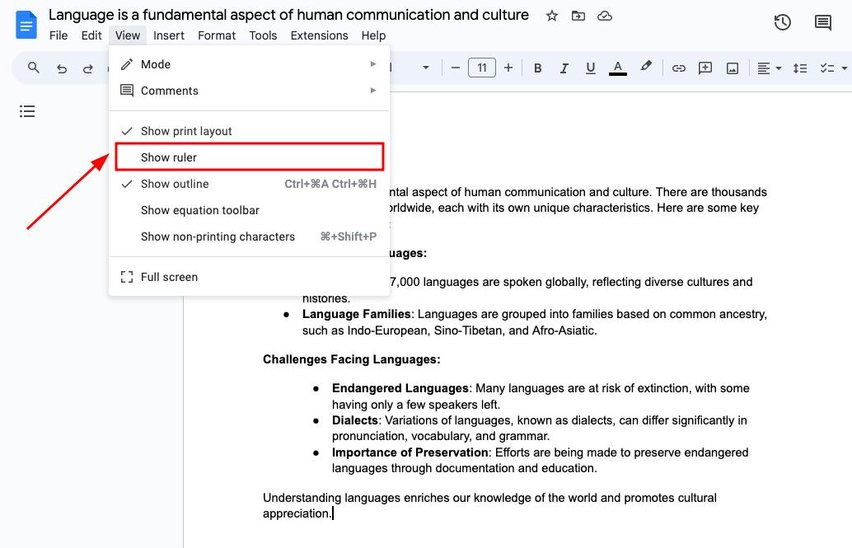
2. Click “Show Ruler” to Enable the Ruler
From the dropdown menu, check the box next to “Show ruler.” Enabling the ruler provides a visual guide for aligning your bullet points. It helps you position text accurately within the document.
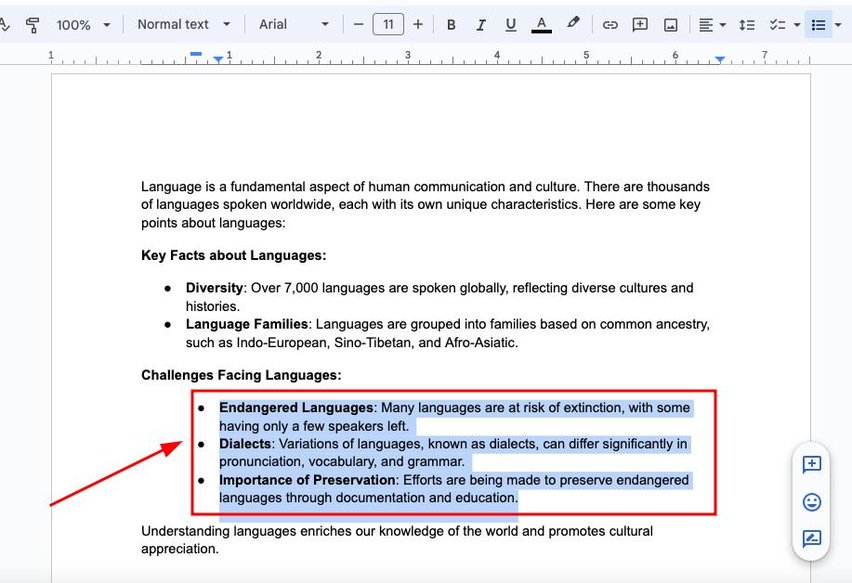
3. Select the Bullet Line or Lines You Want to Align
Click on the bullet point line or lines you want to align. Make sure the cursor is positioned on the specific line.
Selecting the bullet line allows you to adjust its alignment individually. This ensures you can focus on the exact point that needs correction.
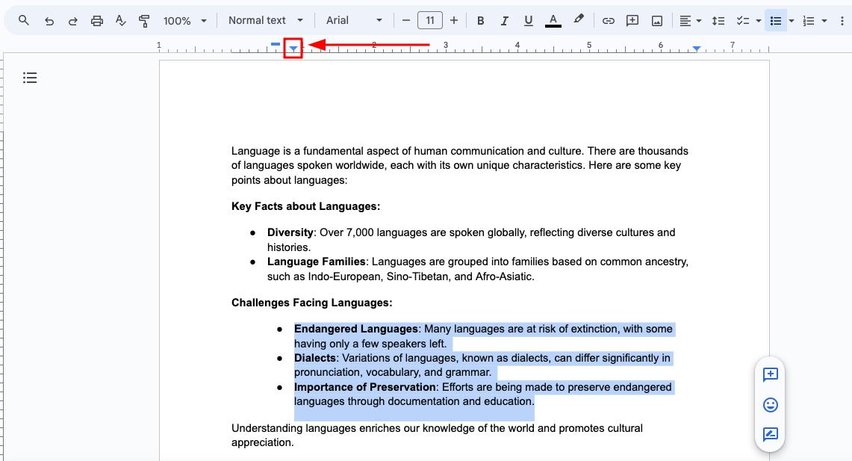
4. Move the Arrow on the Ruler to Adjust Indentation
Look for the arrow on the ruler. Move this arrow to align the bullet point to your desired location.
Moving the arrow adjusts the indentation of your bullet point. This step is crucial for setting the initial alignment.
5. Use the Vertical Line on the Ruler as an Alignment Guide
Observe the vertical line on the ruler. Use it as a guide to ensure your bullet point is aligned with the rest of the document.
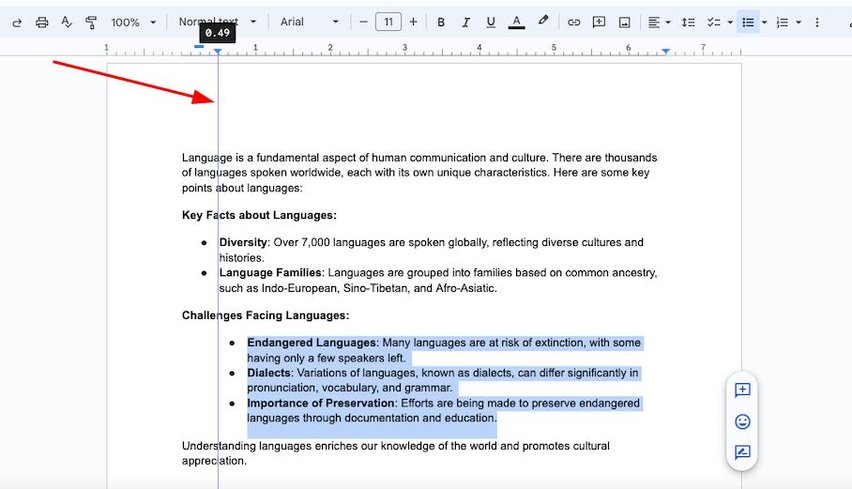
Using the vertical line helps maintain consistent formatting throughout your document. This ensures a professional and tidy appearance.

We hope that you now have a better understanding of how to align a bullet point in Google Docs. If you enjoyed this article, you might also like our articles on how to make smaller bullet points in Google Docs and how to make two columns of bullet points in Google Docs.