How to Add a Signature Box In Google Docs (Easiest Way in 2025)
In this tutorial, we will show you exactly how to add a signature box in Google Docs. Simply follow the steps below.

Signature Boxes on Google Docs
Follow the steps below to insert a signature box in your Google Docs.
1. Install a Sign Request Extension
Click on the “Extensions” menu and select “Add-ons”. In the side menu that appears, choose “Get add-ons”. This will open the “Google Workspace Marketplace”, where you can find and install an add-on that enables sending signature requests directly from Google Docs.

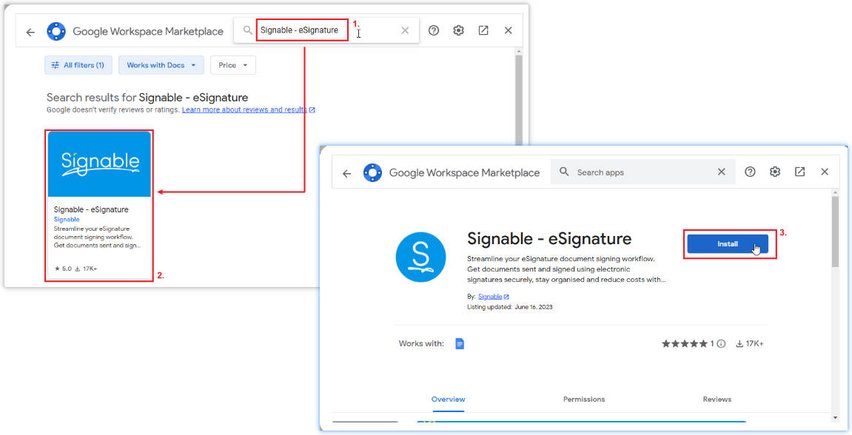
On the Google Workspace Marketplace search bar, type “Signable – eSignature” then click “Enter”. On the search results, click on the Signable add-on then click “Install”.
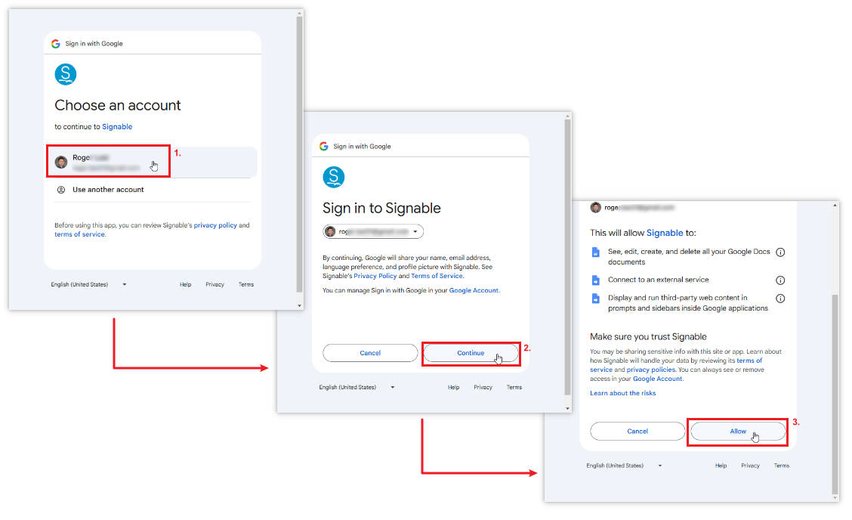
When you click Install, you’ll be prompted to grant a few account permissions, similar to other add-ons. Select the account associated with your Google Docs document, then click “Continue”.
A permissions page will open, listing the access required by the add-on. Scroll down and click “Allow” to confirm. The add-on should now be installed and ready to use in Google Docs.
2. Register and Activate and Account With Signable
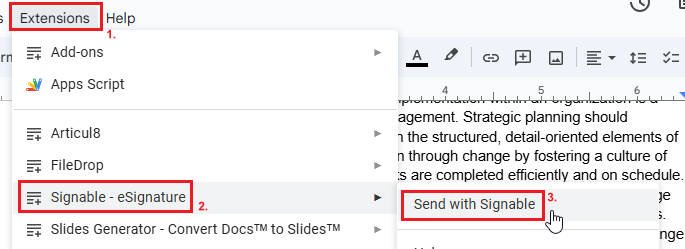
In the Google Docs file you want signed, click on the “Extensions” menu and select “Signable – eSignature”. From the side menu that appears, choose “Send with Signable”. This will open a side panel where you can create an account needed to send the signing request.
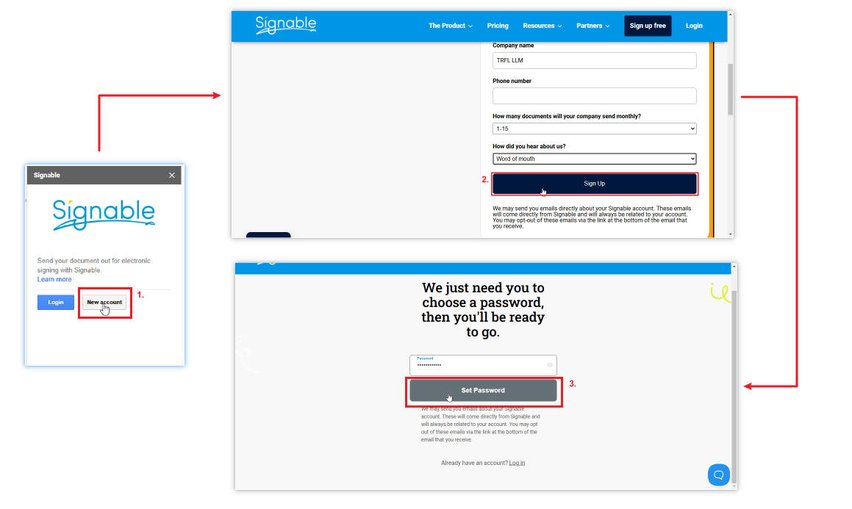
In the add-on’s side panel, click “New Account”. This will open a new tab in your browser where you can set up your account.
Enter the required details, then click “Sign Up”. Next, you’ll be prompted to create a password; nominate a password and click “Set Password” to complete the setup.
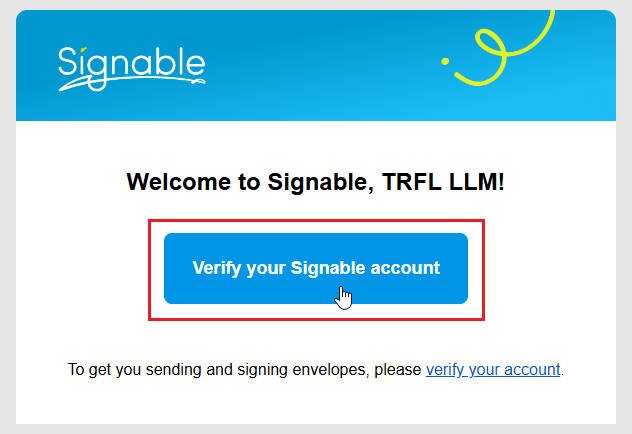
Next, open the email you used to sign up and click the link sent to “Verify your Signable account”. Once verified, you can close the email tab and return to your Google Docs.
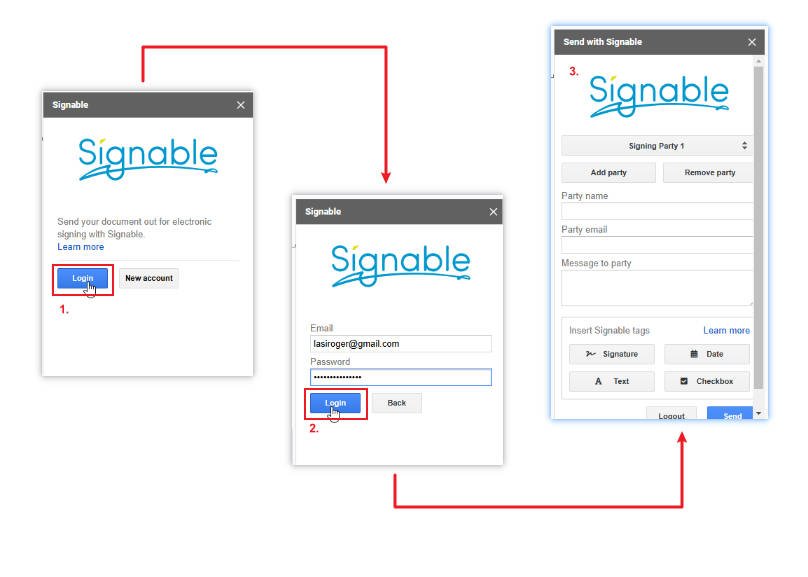
Return to the Signable side panel. Now that your account is verified, click “Login”. Enter your registered email and chosen password, then click “Login” again. This will unlock the Signable features.
3. Send Sign Requests
Place your cursor where the signature is required. Enter the name of the person who needs to sign in the “Party name” field and their email address in “Party email”.
Optionally, add a short message in “Message to party”. Next, click the “Signature” tag, and finally, click “Send”.
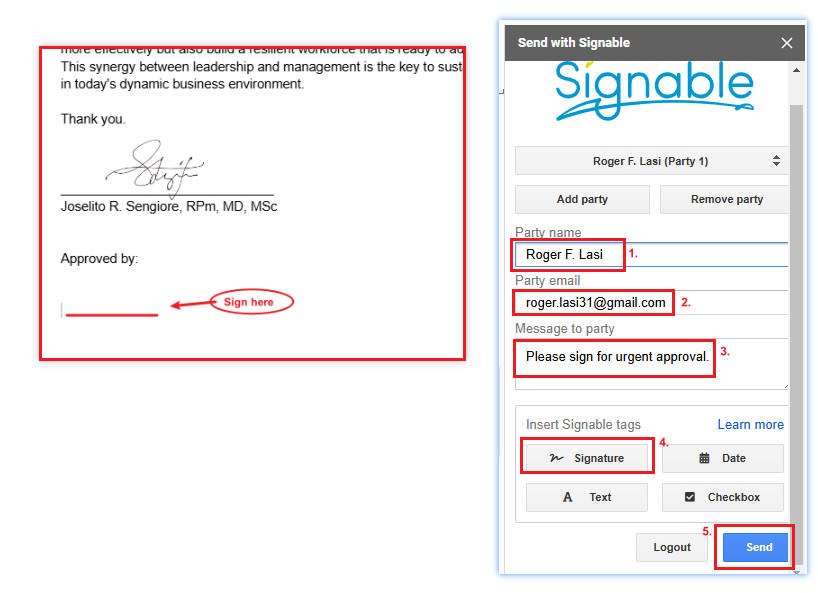
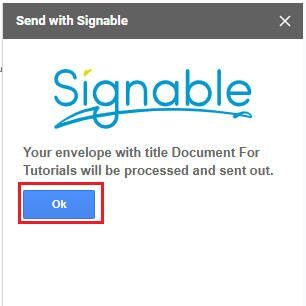
That’s it! Your document has now been sent to the recipient’s email for their signature.
4. Download the Signed Document
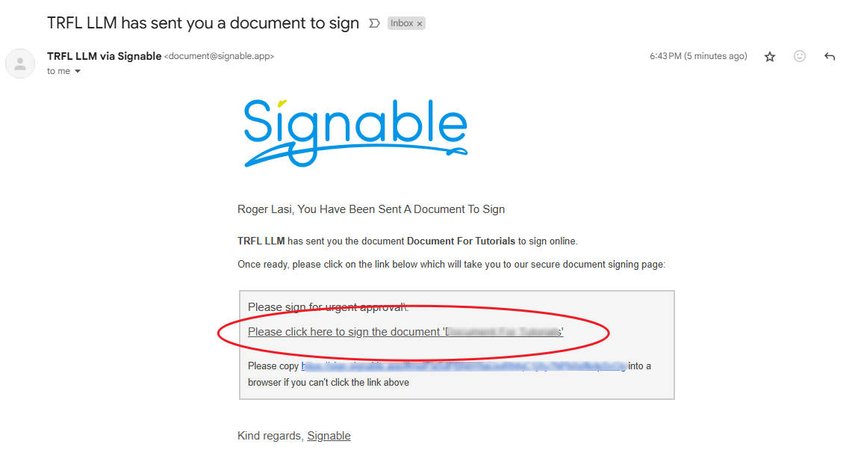
The recipient will receive an email notification shortly. They’ll be prompted to “click to open” the document for signing.
After clicking the link, they’ll be directed to the Signable webpage, where they can sign the document by either drawing their signature or uploading an image of it. Once completed, they’ll be asked to “confirm” the signature before submitting the document back to you.
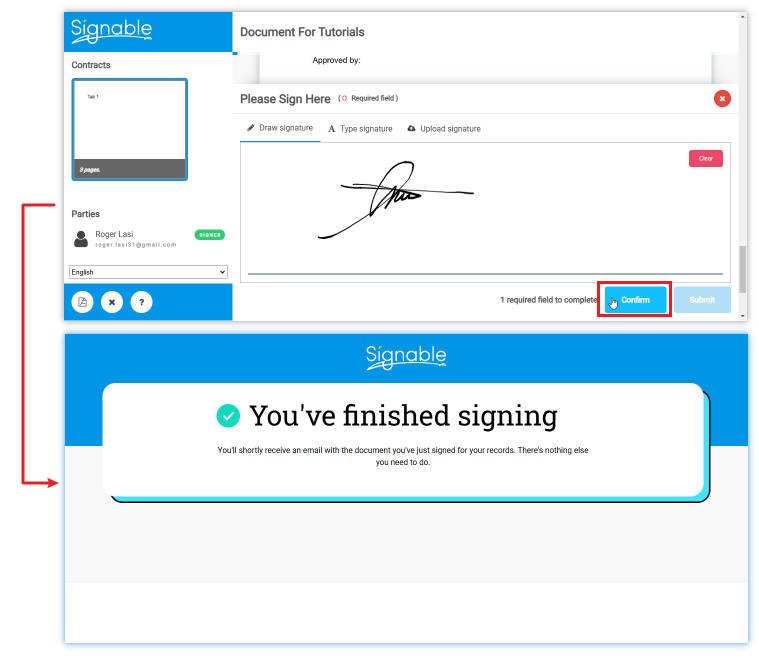
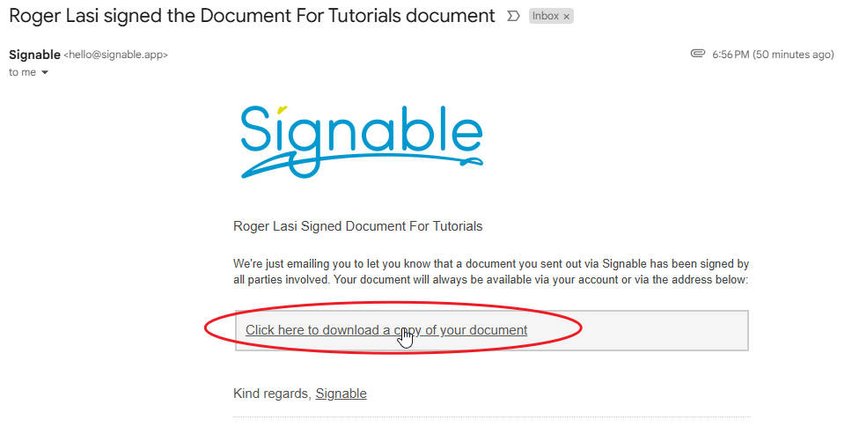
After they click “Submit“, Signable will send you a notification. You can then “download a PDF copy” of the signed document, along with the audit history log for added security and verification of the document process.
We hope that you now have a better understanding of how to add signature boxes to Google Docs. If you enjoyed this article, you might also like our articles on how to create an email signature in Google Docs and how to add a signature in Google Docs.