How to Find Plagiarism in Google Docs (Easiest Way in 2025)
In this article, we will show you exactly how to find plagiarism in Google Docs. Simply follow the steps below.
Find Plagiarism in Google Docs
Follow the steps below to check for plagiarism in Google Docs.
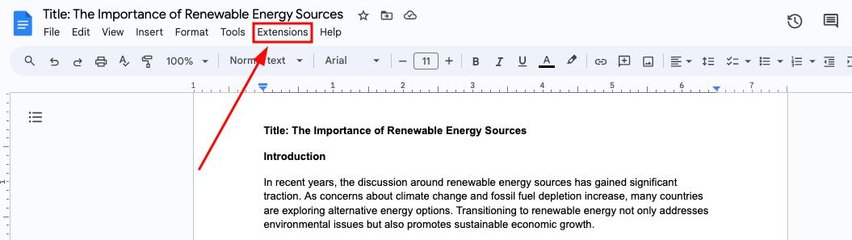
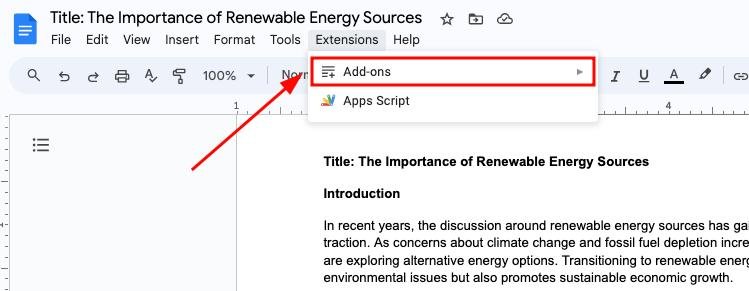
1. Open the Extensions Menu
Navigate to the top menu in your Google Document and click on “Extensions” to access the add-ons feature.
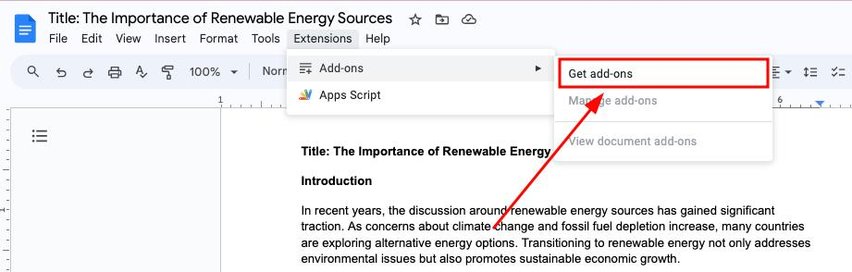
2. Access the Add-ons Section
In the drop-down menu, hover over “Add-ons” to view related options.
3. Find and Click Get Add-ons
From the submenu, select “Get add-ons” to open the Google Workspace Marketplace.
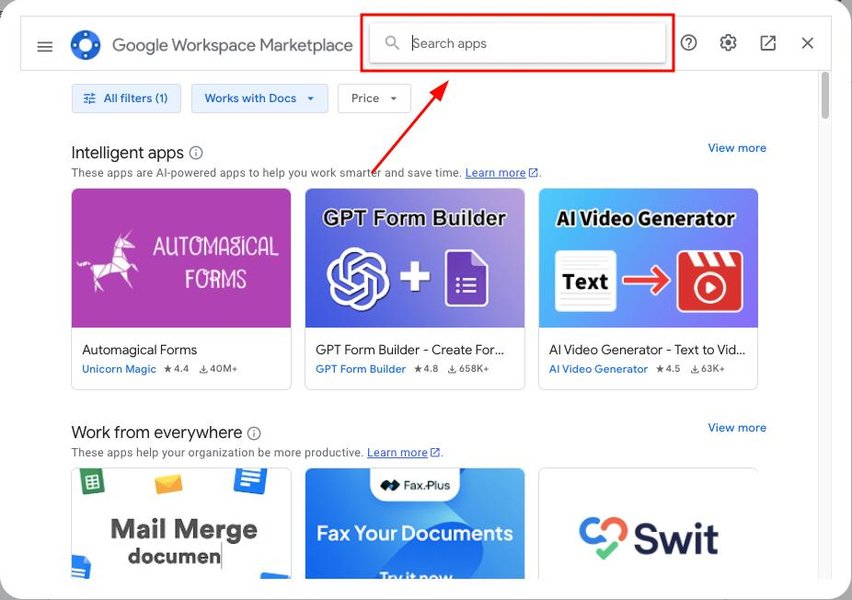
4. Locate the Search Bar in the Marketplace
A new window will appear. Find the search bar at the top of this window to search for add-ons.
5. Search for a Plagiarism Checker
Type “plagiarism checker” in the search bar and press enter to find relevant add-ons.
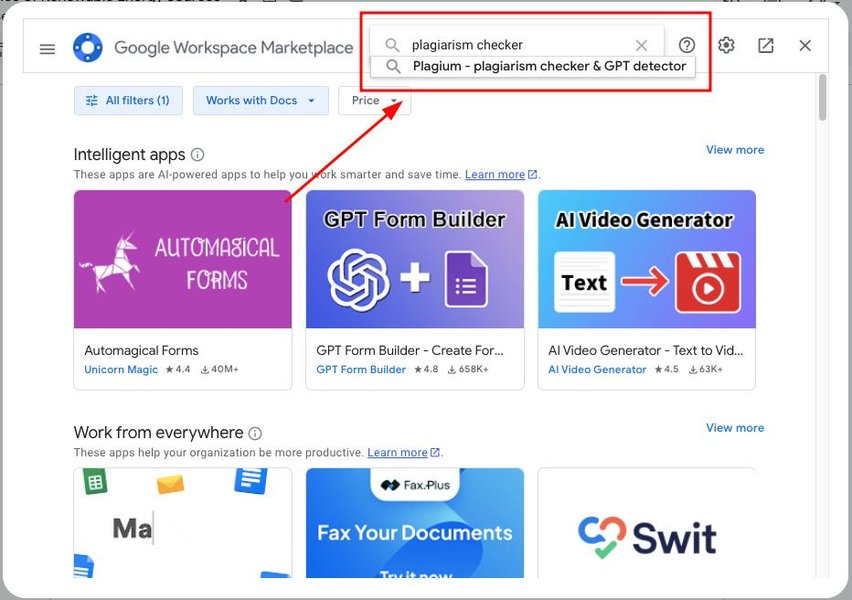
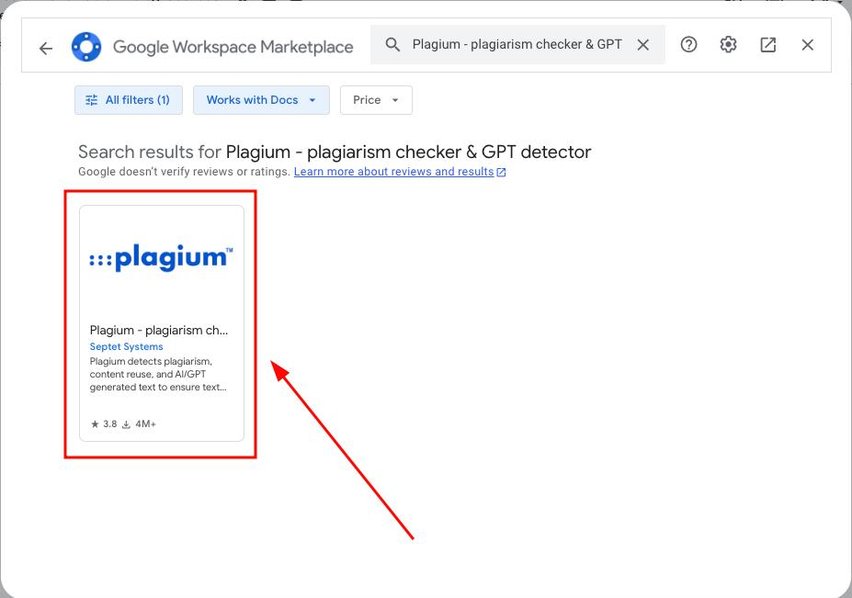
6. Choose the Plagium Add-on
From the search results, find and select “Plagium” to begin the installation process.
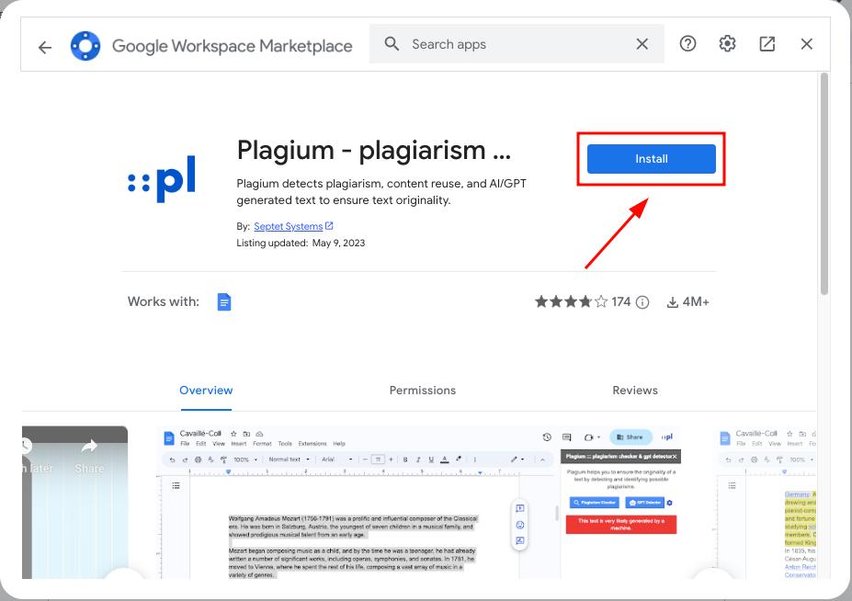
7. Install the Plagium Add-on
Click the “Install” button to add Plagium to your Google Docs.
8. Select Your Google Account
Choose the Google account you want to use with Plagium to continue the installation.

9. Confirm Installation by Clicking Continue
Click “Continue” to proceed with the setup of the Plagium add-on.

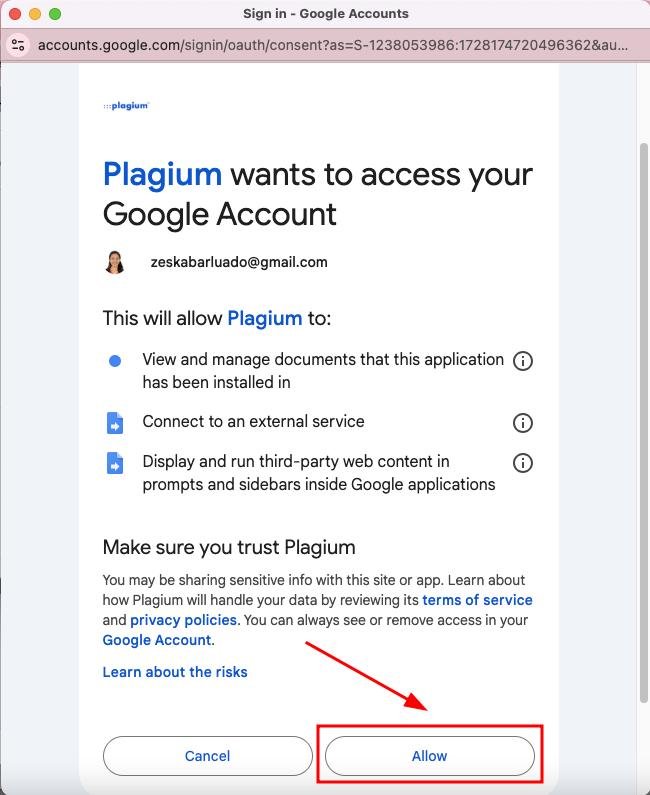
10. Grant Permissions by Clicking Allow
When prompted, click “Allow” to grant the necessary permissions for Plagium to function.
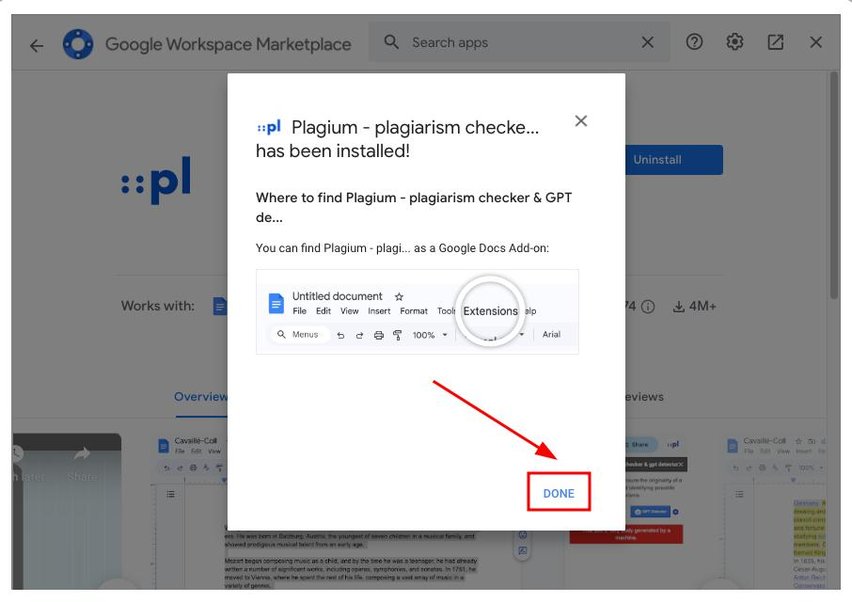
11. Complete Installation and Click Done
After Plagium has been installed, a confirmation will appear. Click “Done” to finish the process.
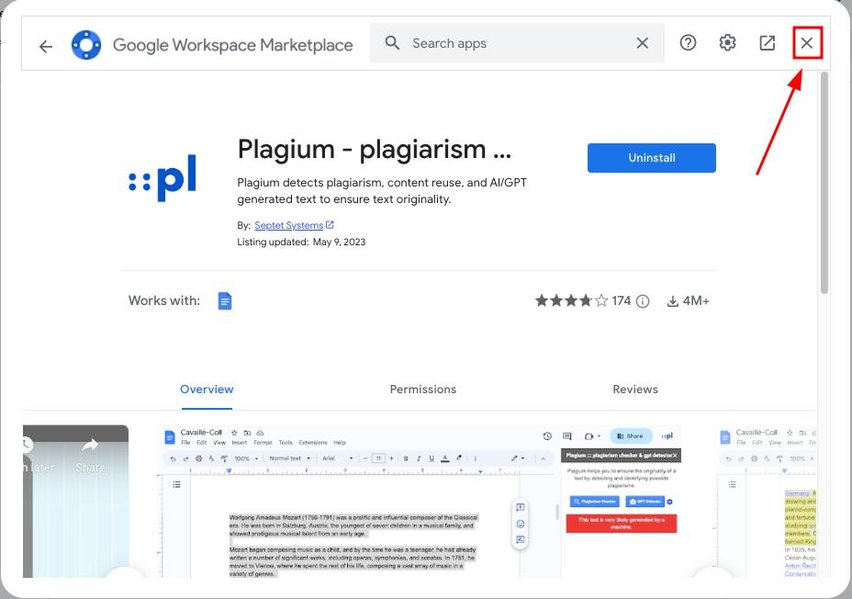
12. Close the Marketplace Window
Click the “X” in the upper right corner of the window to return to your Google Document.
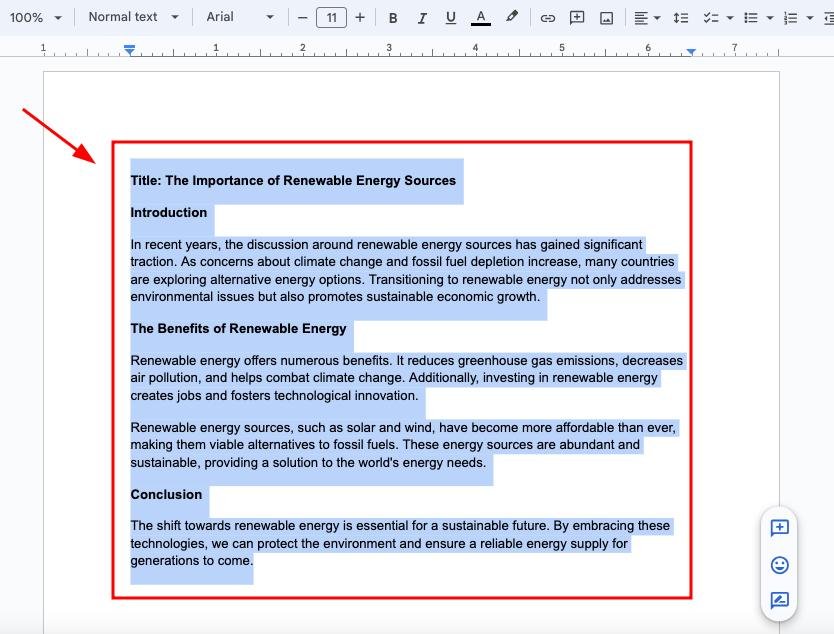
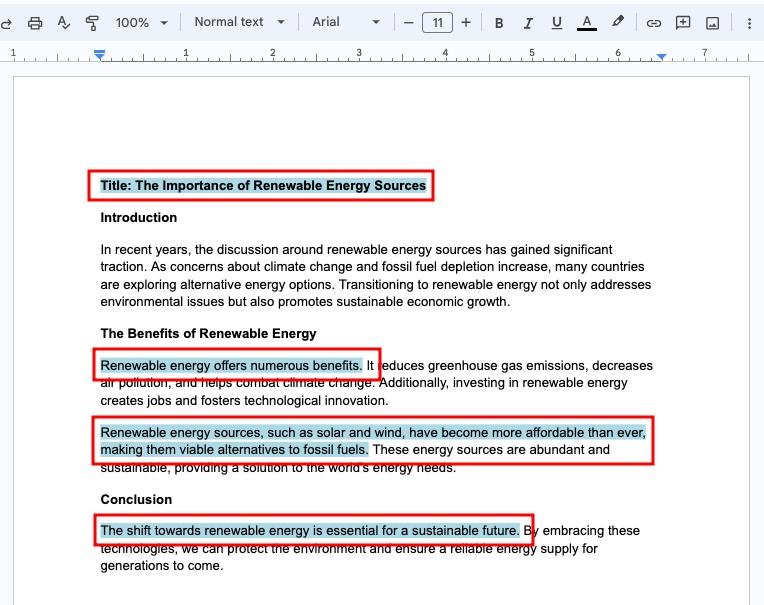
13. Highlight the Text for Plagiarism Check
Select and highlight the text you want to check for plagiarism in your document.
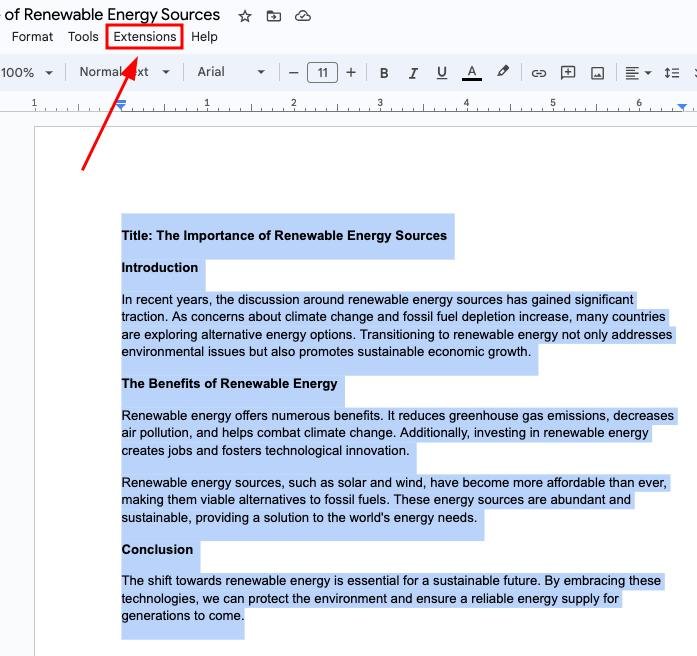
14. Reopen the Extensions Menu
Select the “Extensions” tab again to access your installed add-ons.
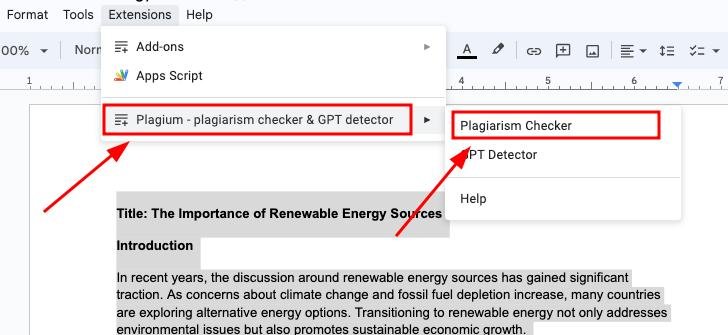
15. Use Plagium to Check for Plagiarism
Hover over “Plagium – plagiarism checker & GPT detector,” then select “Plagiarism Checker” to start the checking process.
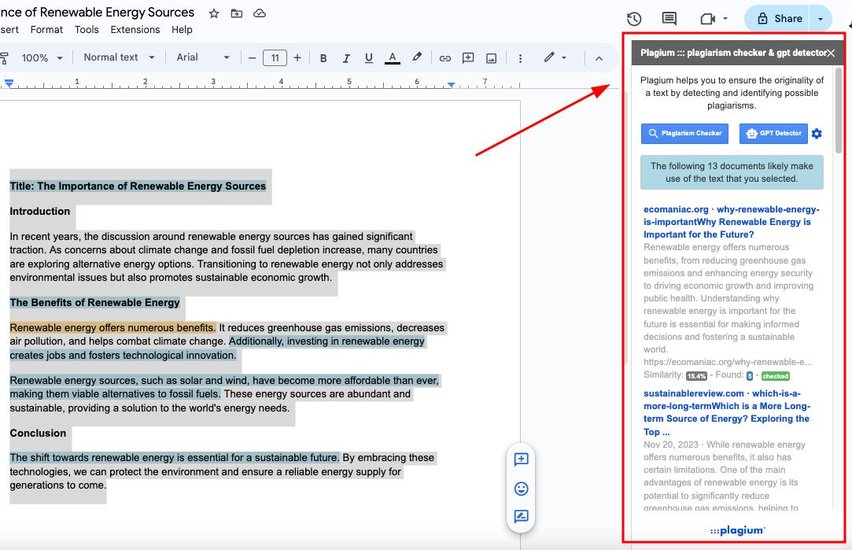
16. View the Plagium Sidebar
A sidebar for Plagium will appear on the right side of your document. It will show documents that indicate possible plagiarism.
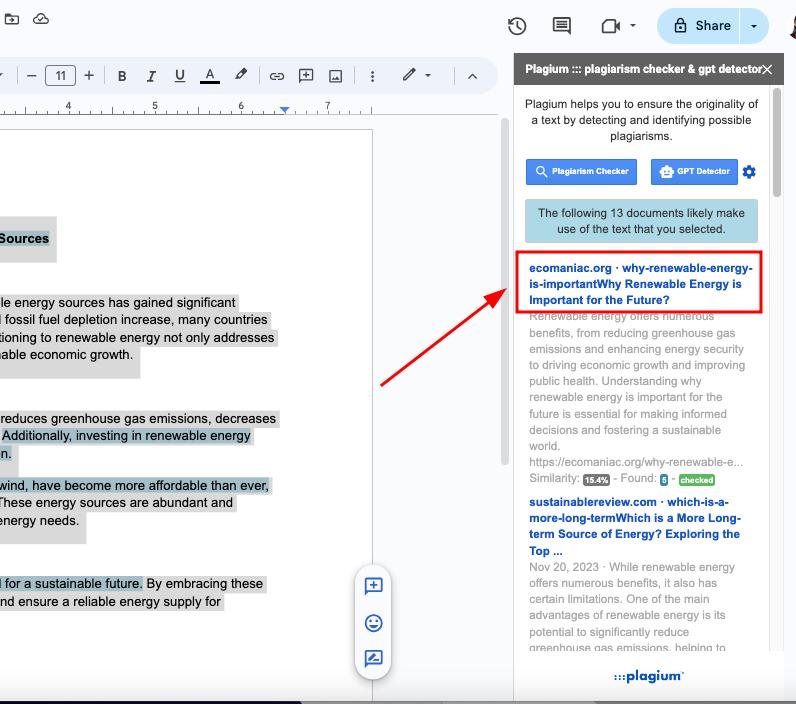
17. Select an Article to Check
Click on the article you want to check for comparisons against your text.
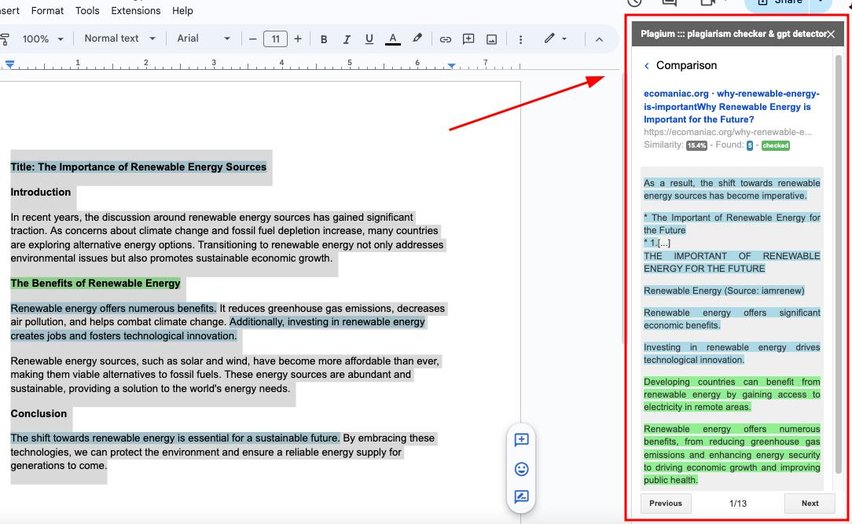
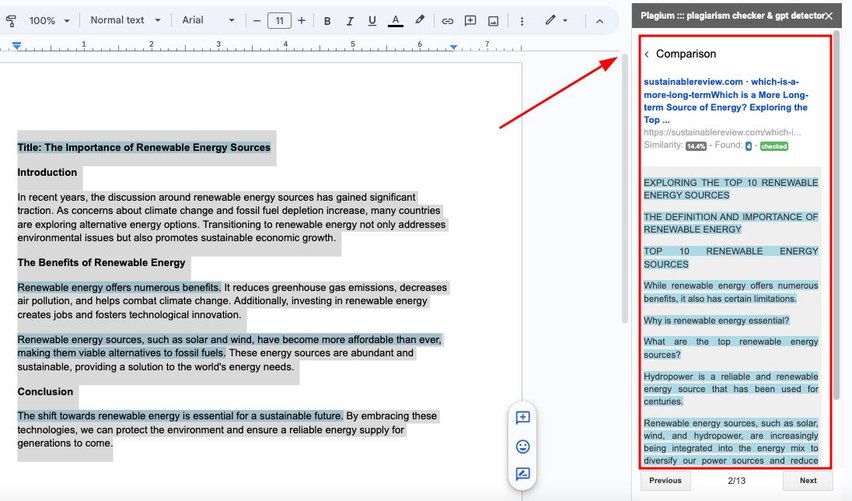
18. Review Highlighted Comparisons
You will see a comparison between the selected article and your text, with similarities highlighted for easy review.
19. Navigate Through Other Documents
Click “Next” to proceed to another article and check its comparison with your document.
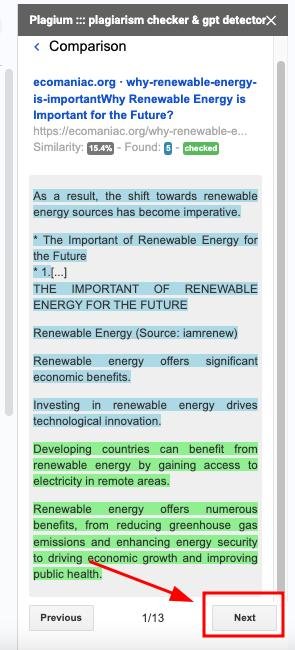
20. Continue Checking Comparisons
Review the comparison with the rest of your document as needed.
21. Visit the Original Article
You can click on the site link to redirect you to the actual article.
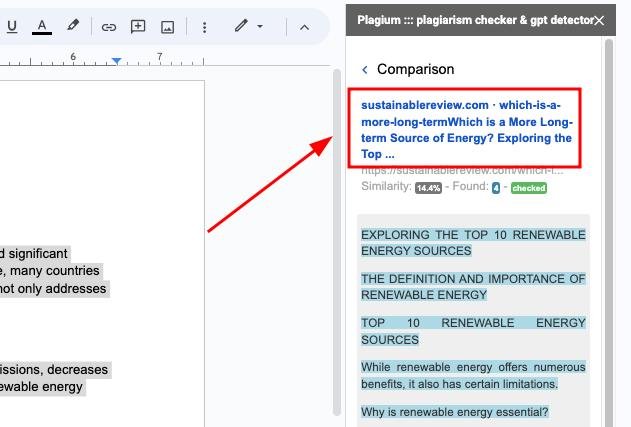
This allows you to learn more and check the full contents of the article.

22. Revise Your Document Accordingly
Go back to your Google Document and revise your text based on the findings from the plagiarism check. You can paraphrase the flagged sections or add proper citations as needed. Ensure that your final document is original and properly attributed before finishing.
We hope that you now have a better understanding of detecting plagiarism in Google Docs. If you enjoyed this article, you might also like our articles on how to find double spaces in Google Docs and how to find synonyms in Google Docs.