Where to Find Shapes in Google Docs (Easiest Way in 2025)
In this article, we will show you exactly where to find shapes in Google Docs. Simply follow the steps below.

How to Find Shapes on Google Docs
Follow the steps below to locate shapes in Google Docs.
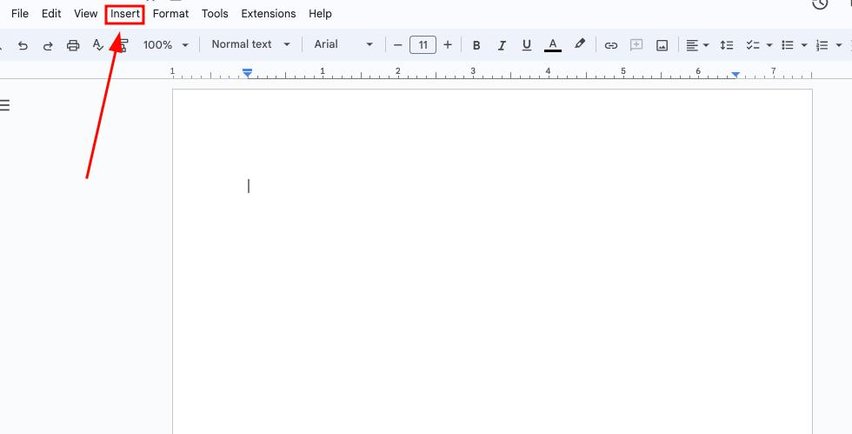
1. Click on the “Insert” Menu to Access Shape Options
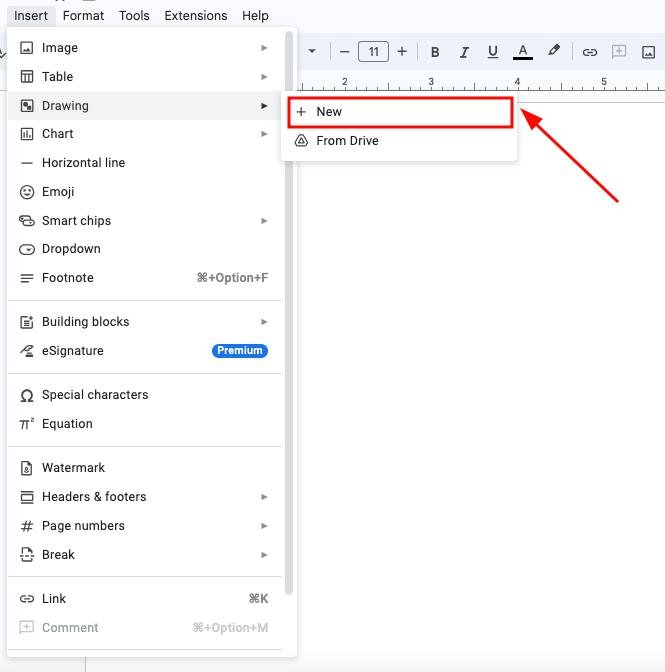
Look at the top menu bar and find the “Insert” option. Click on it to open a dropdown menu. This menu contains various options for adding elements to your document, including shapes.
2. Open the “Drawing” Tool to Create Shapes
In the dropdown menu, hover over “Drawing.”
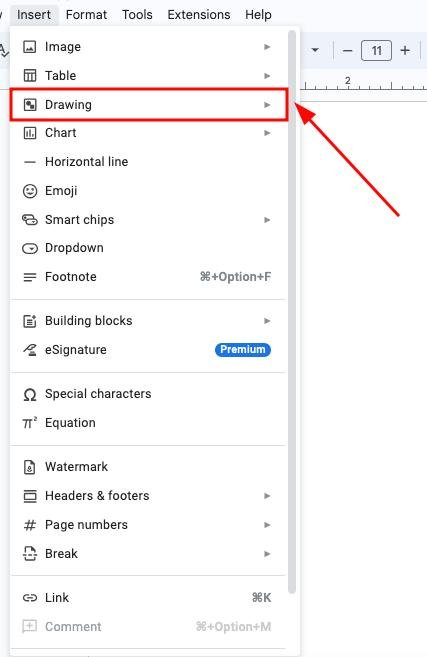
Then, click on “+ New.” This action will open a drawing dialogue box, allowing you to create and customize your shapes.
3. Select Your Desired Shape from the “Shape” Toolbar
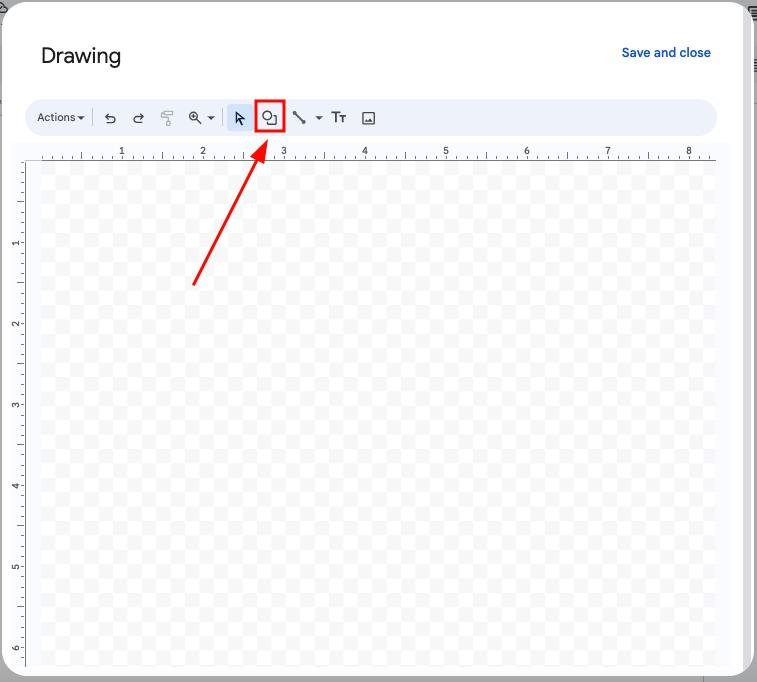
Once in the drawing dialogue box, click on the Shape icon in the toolbar.
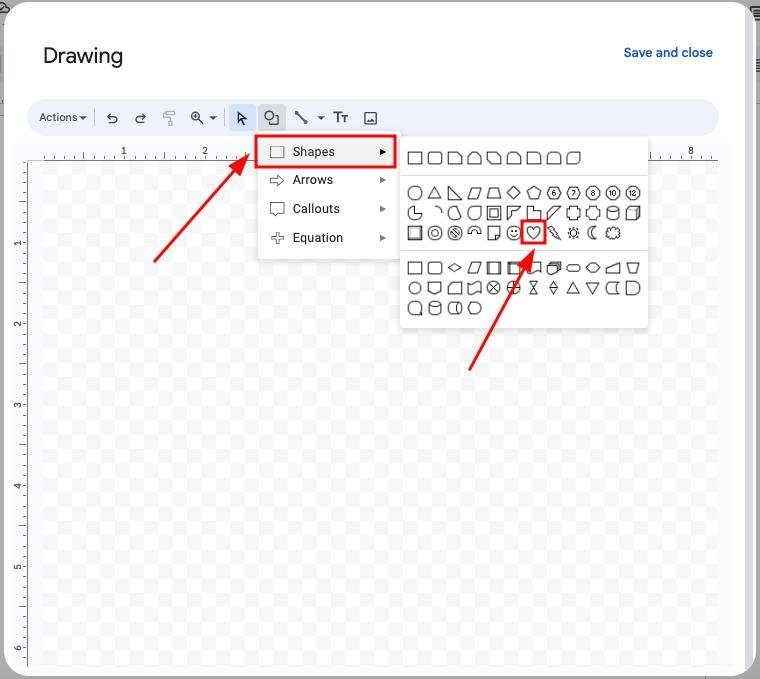
Hover over “Shapes,” and a variety of options will appear. Select the shape you want to insert into the document.
4. Draw and Customize Your Selected Shape
Click and drag on the canvas to draw the shape you selected. This action will create a shape of the size you desire. After drawing the shape, you can customize it using the options in the toolbar.
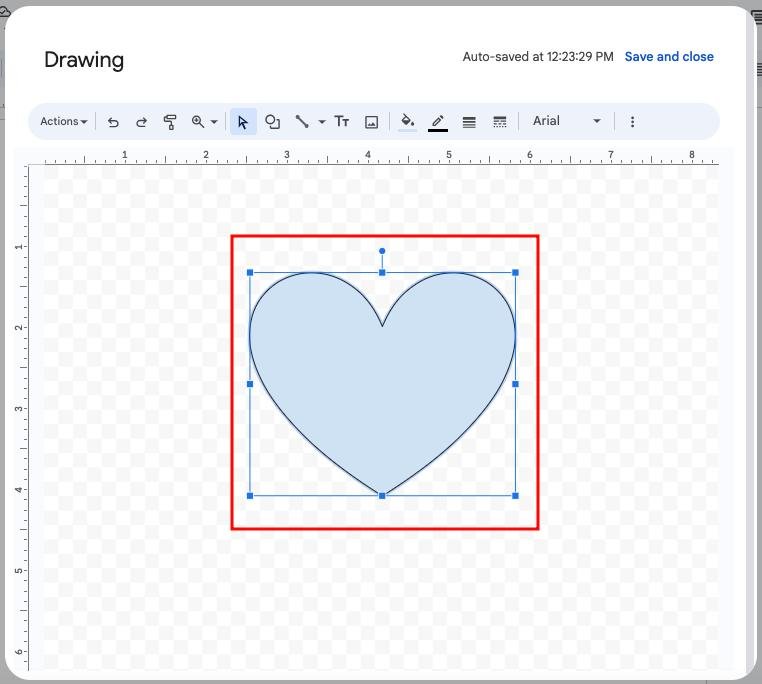
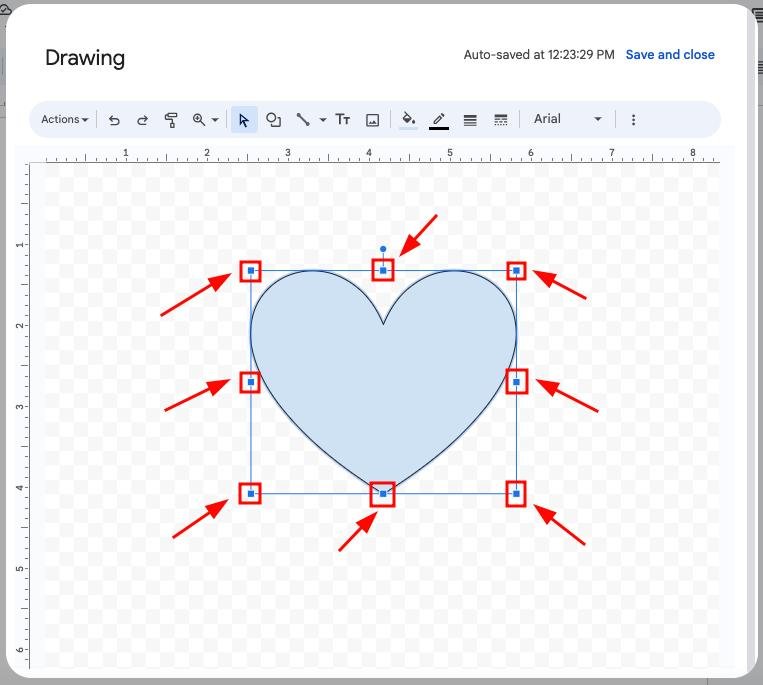
To resize the shape, click and drag the corner handles. This allows you to make it larger or smaller as needed.
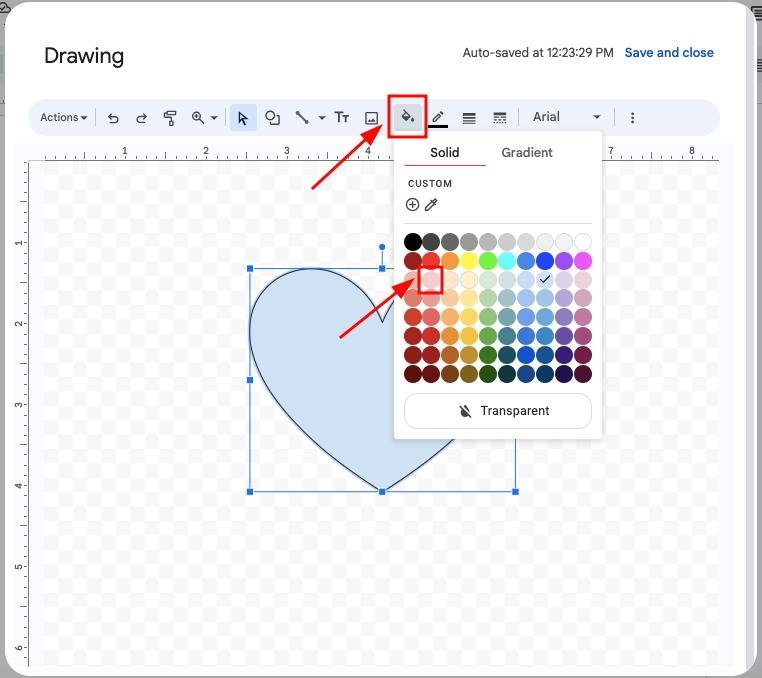
You can also change the shape’s appearance by adjusting the fill color and border style. To modify the fill color, click on the Fill Color icon in the toolbar and choose your desired color from the palette.
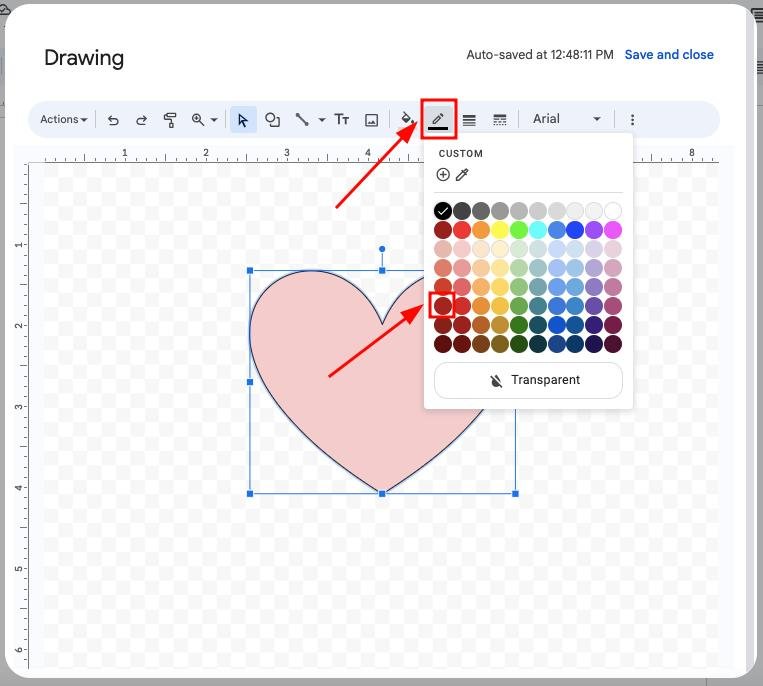
For the border, click on the Border Color icon to select a different color for the outline.
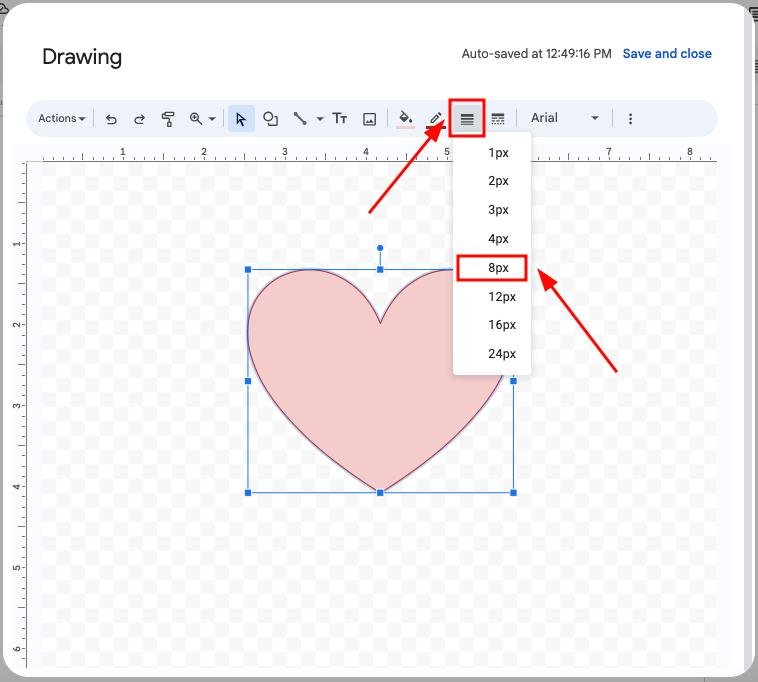
Then, you can adjust the Border Weight to make the outline thicker or thinner according to your preference.
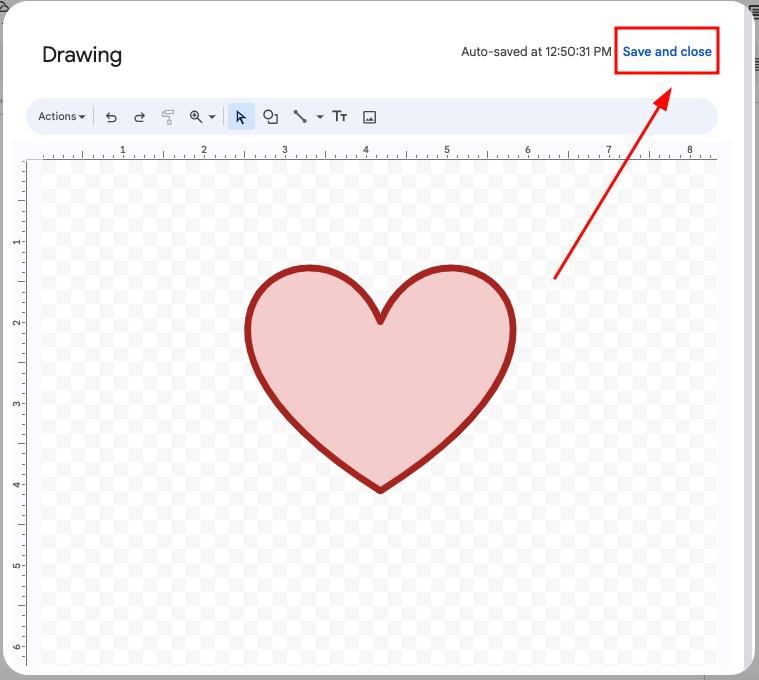
5. Save Your Drawing and Insert It into the Document
After customizing your shapes, click “Save and Close” in the upper right corner of the drawing dialogue box. The shapes will be inserted into your document at the cursor’s location.
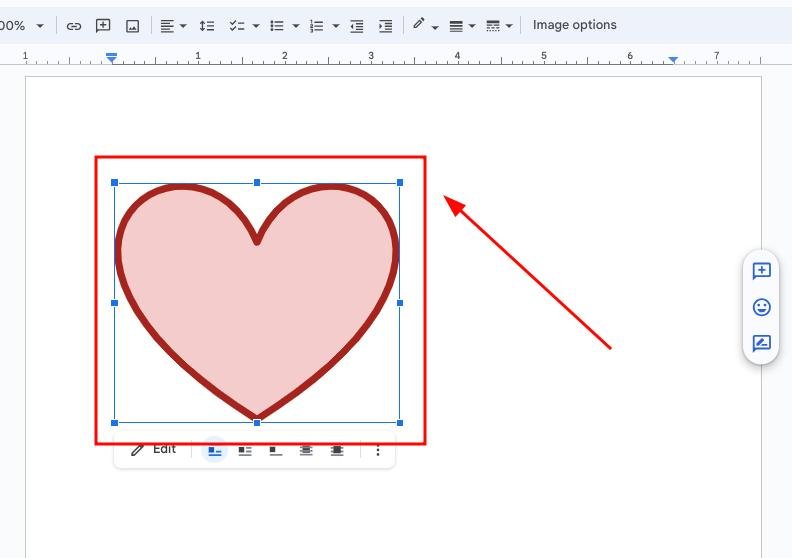
6. Move and Resize the Inserted Shape as Needed
Click on the inserted shape in your document. You can drag it to reposition it or use the corner handles to resize it. This allows you to place the shape exactly where you want it within the text or on the page.
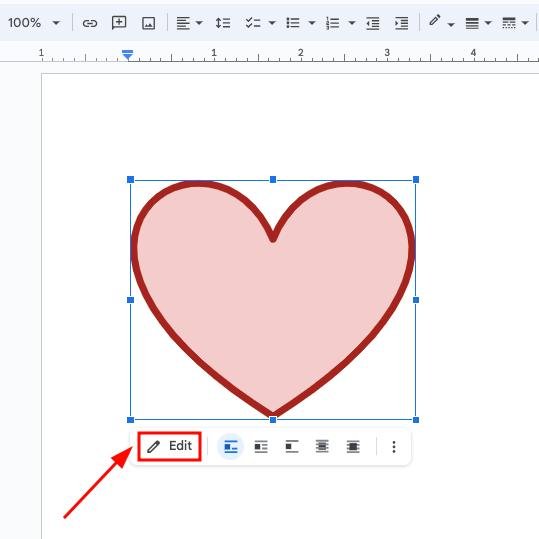
7. Edit the Shape to Make Any Necessary Changes
If you need to make changes to the shape, click on it and then select “Edit” from the toolbar that appears. This will reopen the drawing dialogue box, allowing you to modify the shape as necessary.
We hope that you now have a better understanding of how to access shapes in Google Docs. If you enjoyed this article, you might also like our articles on how to find edit history in Google Docs and how to find double spaces in Google Docs.