How to Wrap a Table in Google Docs (Easiest Way in 2025)
In this tutorial, we will show you exactly how to wrap a table in Google Docs in just a few simple steps. Read on to learn more.
Wrap Tables in Google Docs
Follow the steps below to wrap tables on Google Docs.
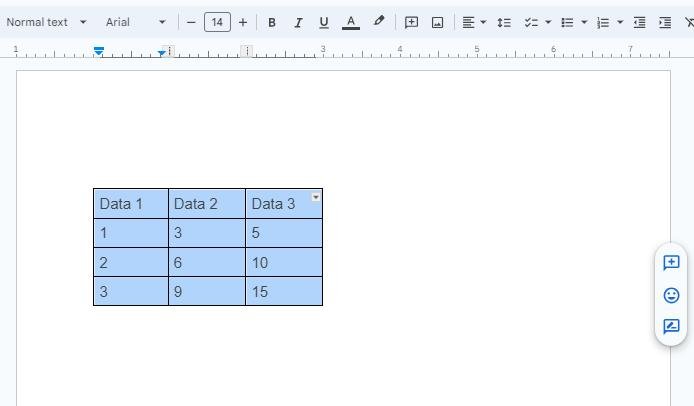
1. Click and Drag to Highlight the Entire Table
Click and drag over the table to highlight it. This step ensures that you can apply wrapping settings to the correct table.
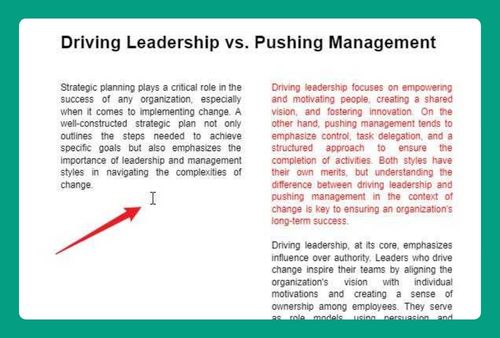
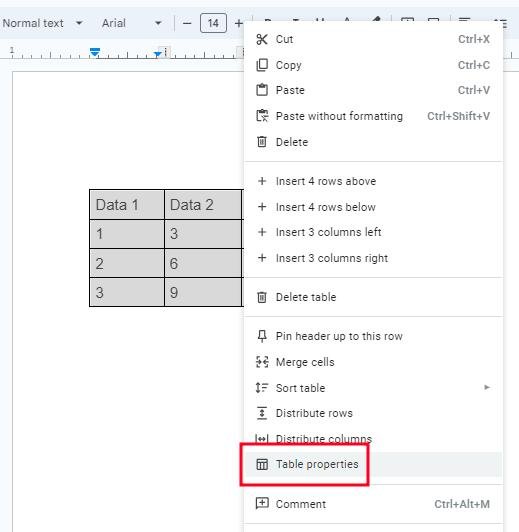
2. Right-Click the Table and Open Table Properties
Right-click on the selected table and choose “Table properties.” This will open a menu where you can modify the wrapping and alignment settings for your table.
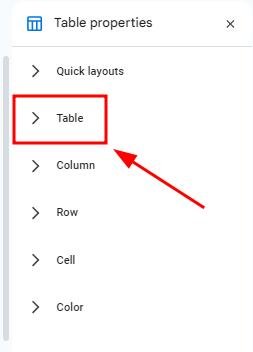
3. Click “Table” in the Table Properties Window”
In the “Table properties” window, click the “Table” section to open it and see the wrapping options.
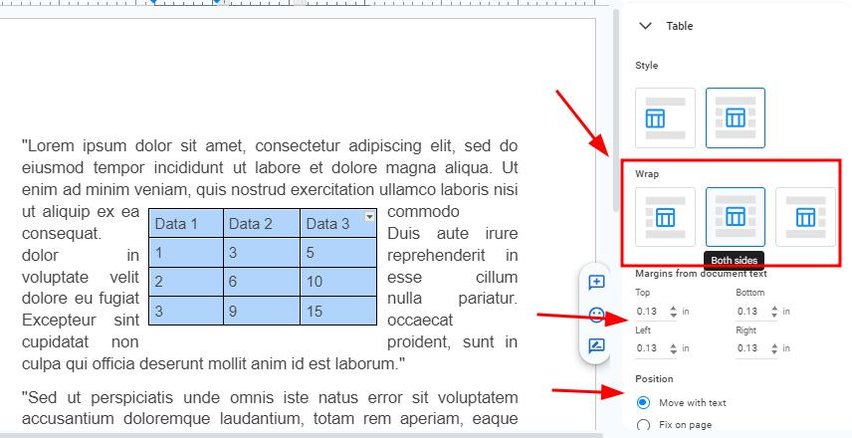
4. Choose the Wrapping Options You Want
Select “Left only,” “Both sides,” or “Right only” to set how the table will interact with the surrounding text. You can also specify the “margins from documented text” and the “position” as you please.
We hope that you now have a better understanding of how to wrap a Google Docs table. If you enjoyed this article, you might also like our articles on how to show table gridlines in Google Docs and how to show only heading 1 in Google Docs table of contents.