How to Add Bullet Points in Google Docs (Easiest Way in 2025)
In this article, we will show you exactly how to add bullet points in Google Docs. Simply follow the steps below.

How to Add a Bullet Point in Google Docs
Adding bullet points can be achieved in Google Docs using three effective methods: ‘By Typing’, ‘By Highlighting’, and ‘Via Keyboard Shortcut’. We will discuss how to use each method in the following sections.
Method 1: By Typing
Below are the steps on how to add a bullet in Google Docs by typing.
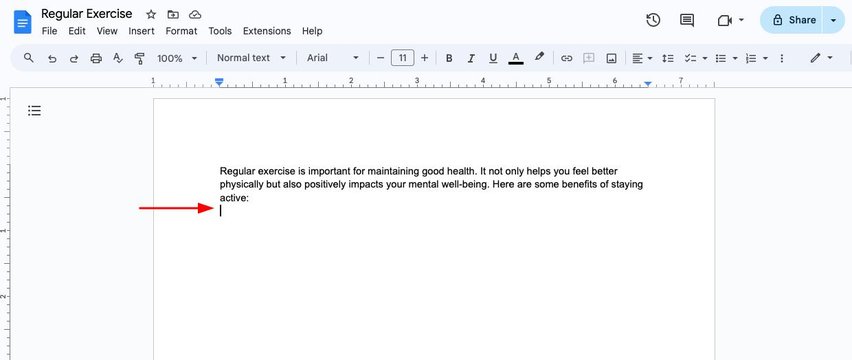
1. Click Where You Want to Add the Bullet Points
Place your cursor in the document where you want to start the bullet list. This will be the spot where the first bullet appears.
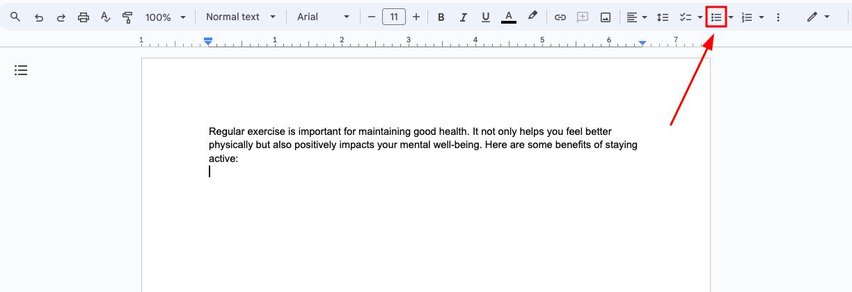
2. Click the “Bulleted List” Icon in the Toolbar
Look at the toolbar at the top of the screen. Find and click the “Bulleted list” button, which looks like three dots stacked vertically with lines next to them. A bullet will automatically appear where your cursor is.
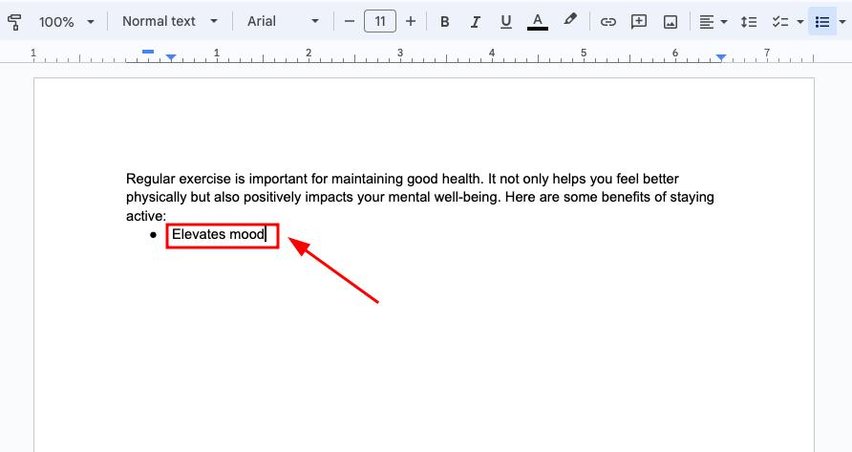
3. Start Typing the First Item
Begin typing the text you want for the first bullet. When you’re finished typing the item, press “Enter” on your keyboard to go to the next line.
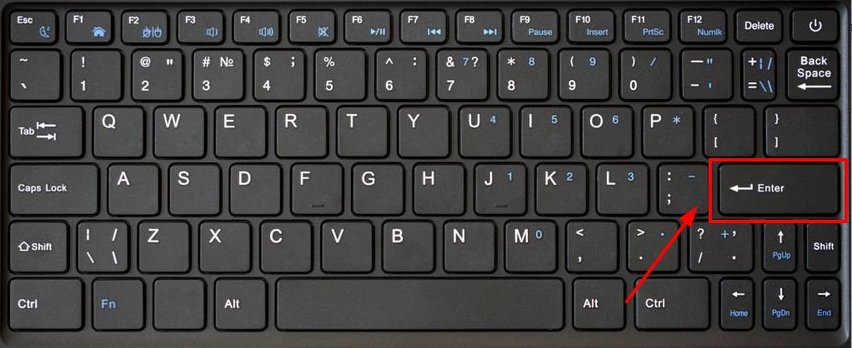
4. Press “Enter” to Create the Next Bullet
After pressing “Enter,” a new bullet point will appear.
Continue typing your next item. Repeat this process for each new bullet point, pressing “Enter” to create additional bullets.
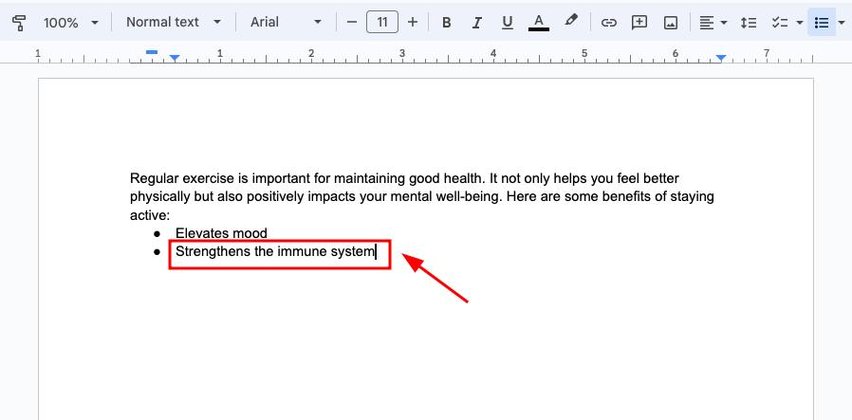
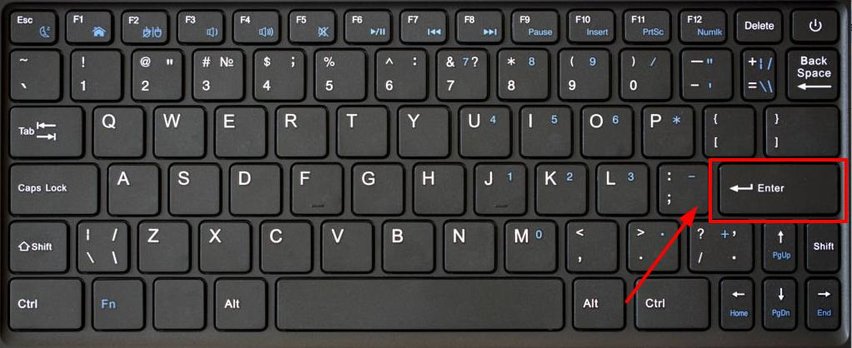
5. Press “Enter”, Then “Backspace” to End the Bullet List
When you’re finished with the list, press “Enter”.
This action reveals the empty bullet point.
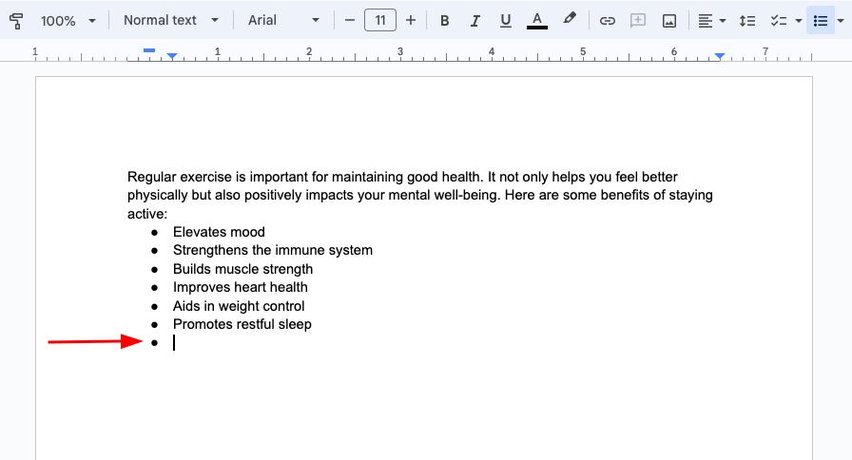
Then, press “Backspace” to remove the last bullet and exit the bullet list.

Method 2: By Highlighting
Here’s how to make bullets in Google Docs by highlighting and turning existing text into a bulleted list:
1. Highlight the Text You Want to Turn into Bullets
Click and drag your cursor to highlight the text that you want to convert into a bulleted list. Make sure all the lines you want to be bulleted are selected.
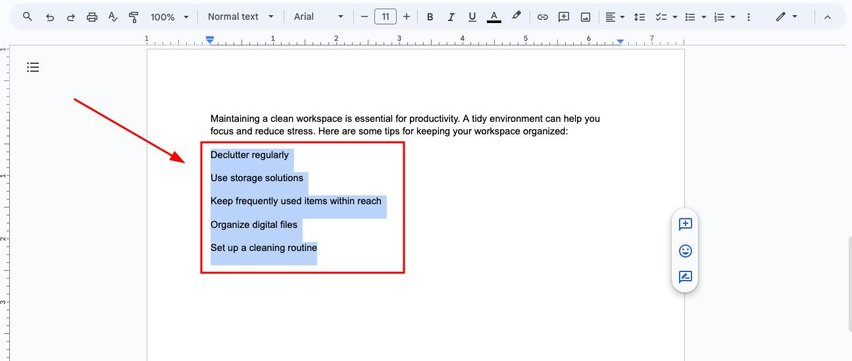
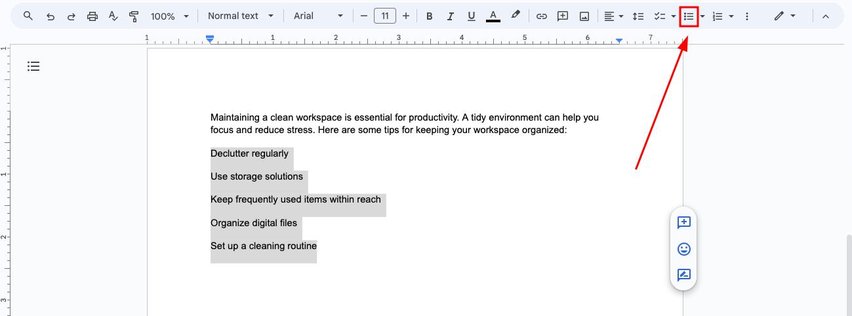
2. Click the “Bulleted List” Icon in the Toolbar
Look at the toolbar at the top of the document. Find and click the “Bulleted list” button, which looks like three dots stacked vertically with lines next to them.
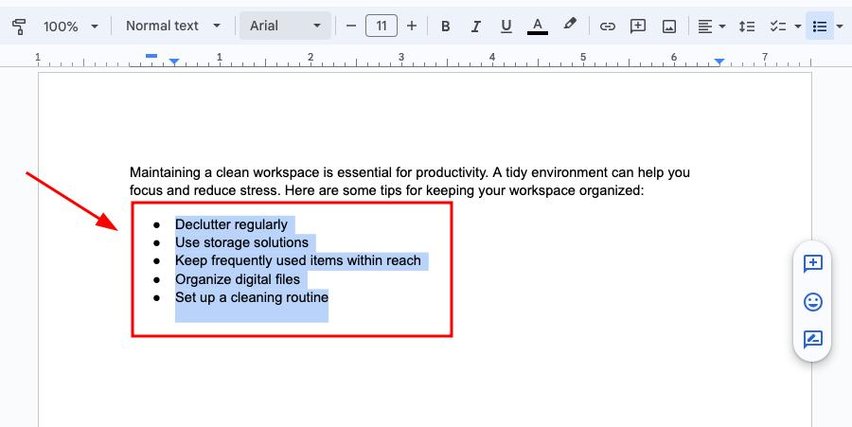
3. Text Is Automatically Converted into a Bulleted List
Once you click the “Bulleted list” button, the highlighted text will instantly be formatted into a bulleted list. Each line of text will become a separate bullet point.
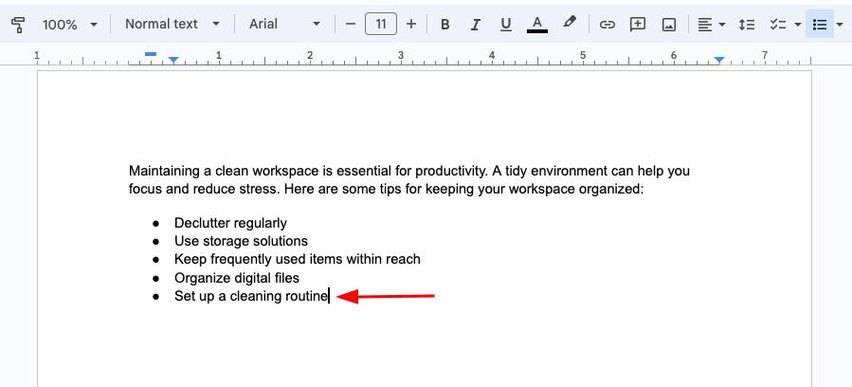
4. Click at the End of the Highlighted List, Then Press “Enter” to Add More Bullets
After the text is converted, click at the end of the last bullet point.
Then, press “Enter” to create a new bullet point where you can type the next item.
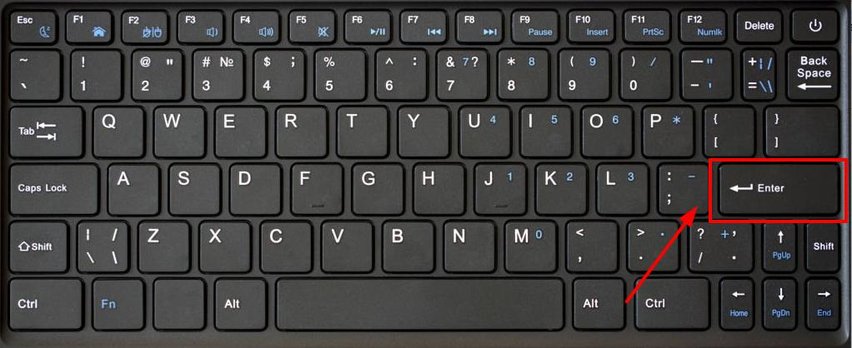
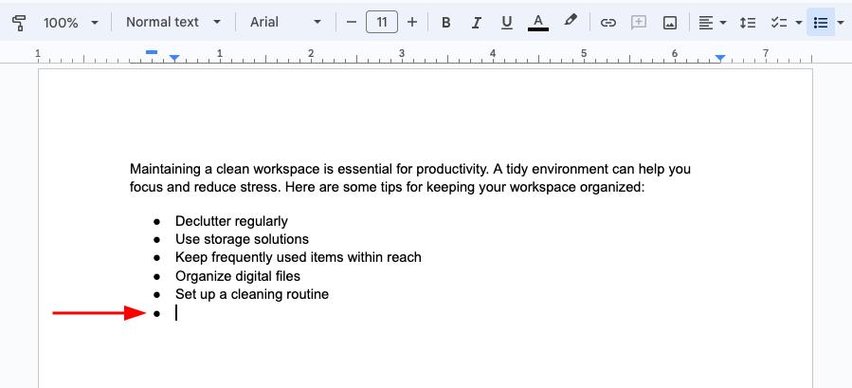
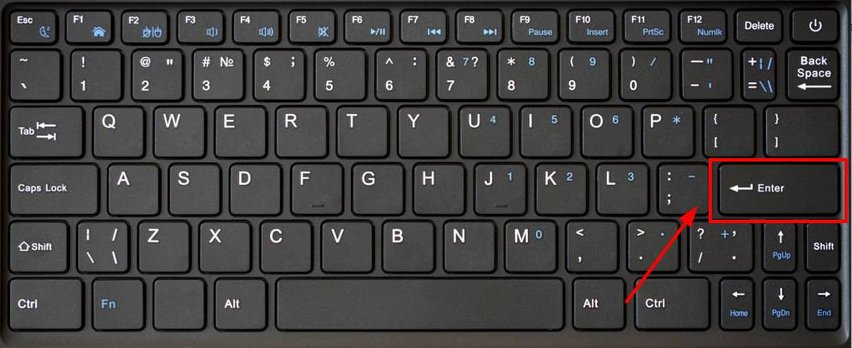
5. Press “Enter,” Then “Backspace” to End the List
When you’re finished with the list, press “Enter”.
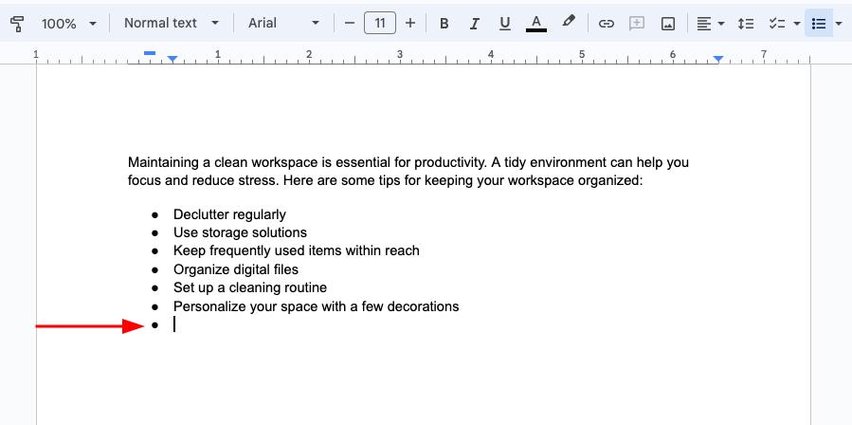
This action reveals the empty bullet point.
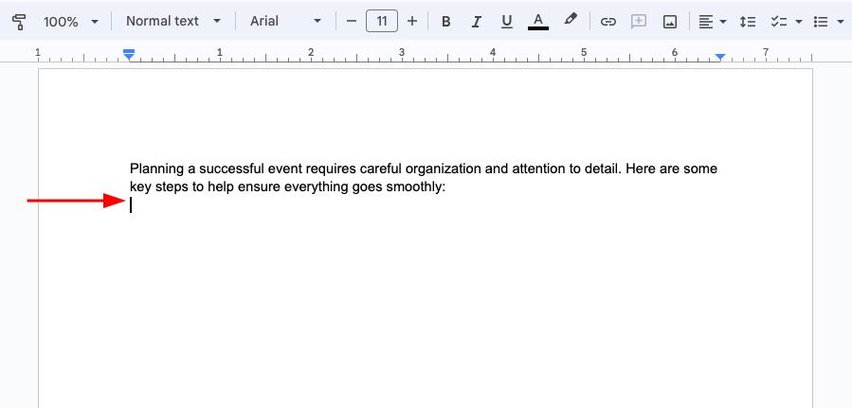
Then, press “Backspace” to remove the last bullet and exit the bullet list. You can now continue typing without bullets.

Method 3: Via Keyboard Shortcut
Follow the steps below to add bullet points using the keyboard shortcut.
1. Click Where You Want to Add the Bullet Points
Place your cursor in the document where you want to start the bullet list.
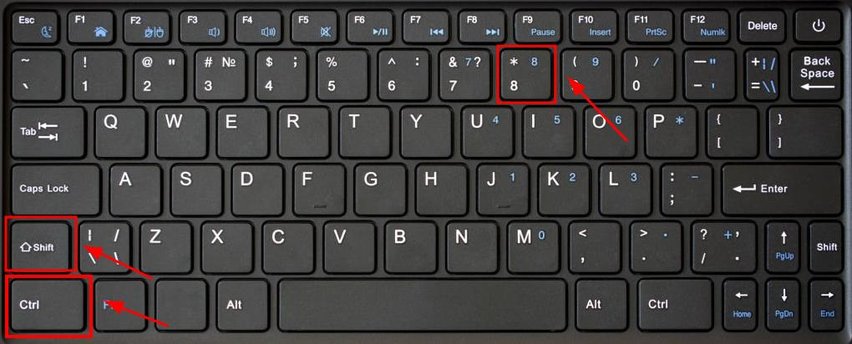
2. Press the Keyboard Shortcut
Press Ctrl + Shift + 8 on your keyboard to activate the bulleted list.
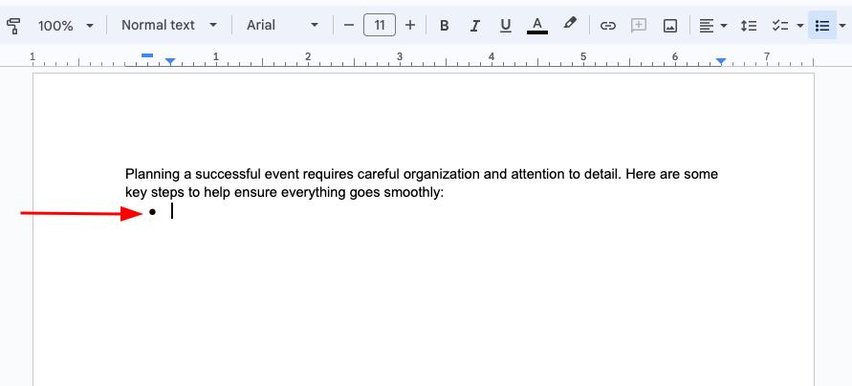
A bullet point will appear where your cursor is.
3. Start Typing, Then Press “Enter” to Add a New Bullet Point
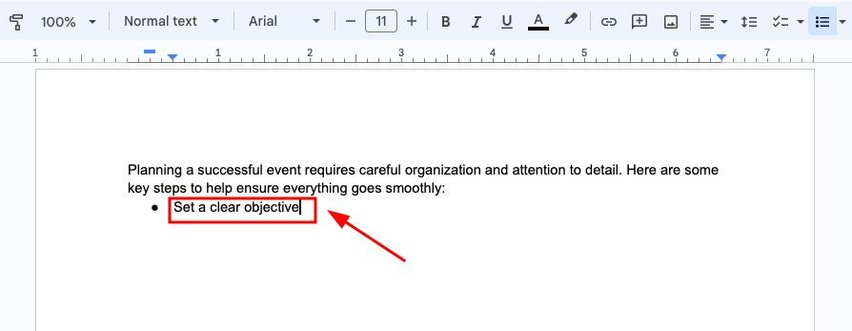
Begin typing the first item for your bullet list.
After finishing the first item, press “Enter”.
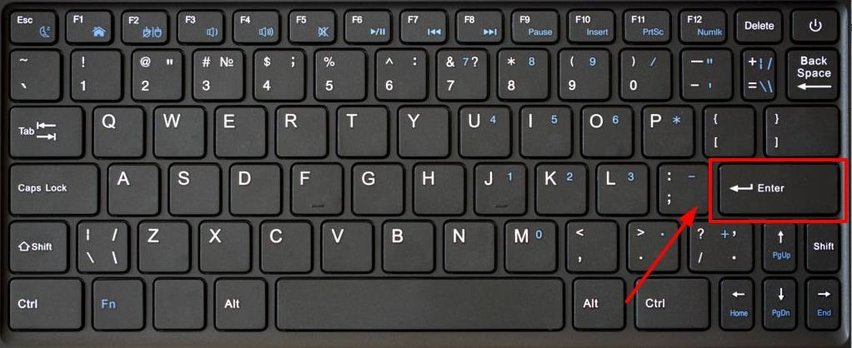
This is to create a new bullet point and type the next item.
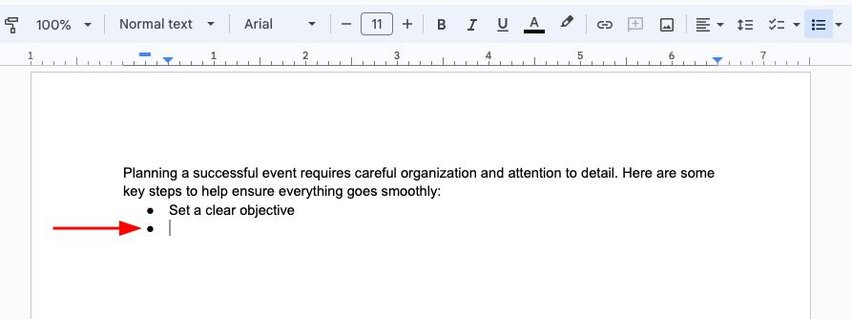
4. Press “Enter,” Then “Backspace” to End the List
When you’re done with the list, press “Enter”.
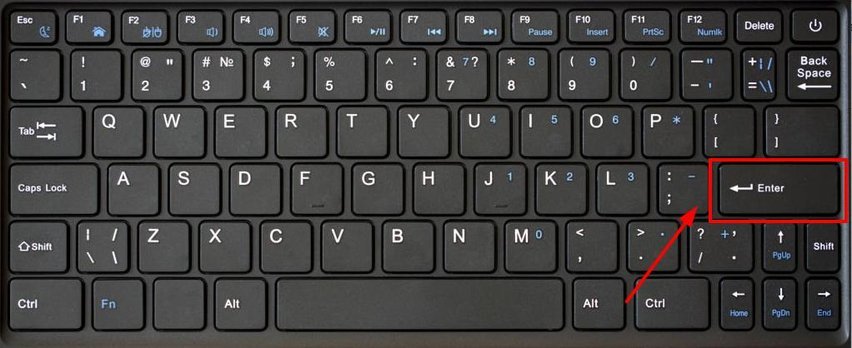
This will create an empty bullet point.
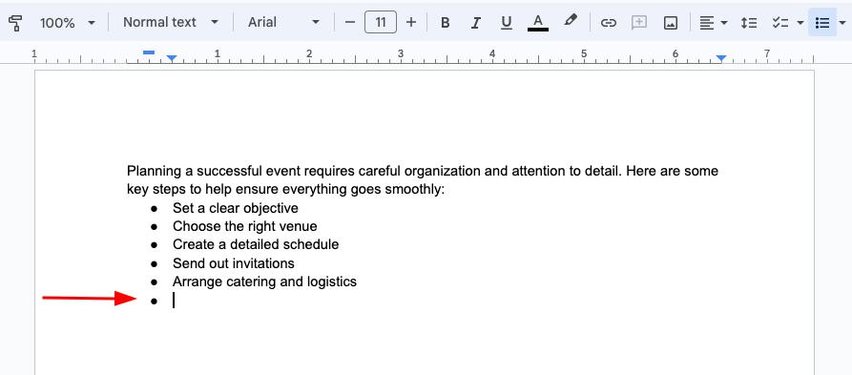
Next, press “Backspace” to delete the last bullet and end the bullet list. You can now continue typing normally without bullets.

We hope that you now have a better understanding of how to add bullets in Google Docs. If you enjoyed this article, you might also like our articles on how to make sub bullet points in Google Docs and how to remove bullet points in Google Docs.


