How to Put Images Side by Side in Google Docs (2025 Guide)
In this article, we will show you how to put images side by side in Google Docs. Simply follow the steps below.
How to Put Two Images Side by Side in Google Docs
To put images side by side in Google Docs, follow the steps below.
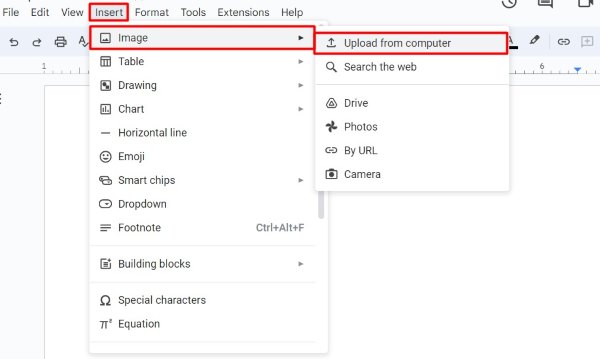
1. Insert the First Image in Google Docs
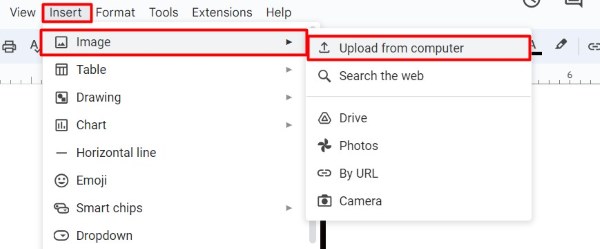
Place the cursor where you want the first image. Click on “Insert” in the menu bar, select “Image,” then choose “Upload from computer.”
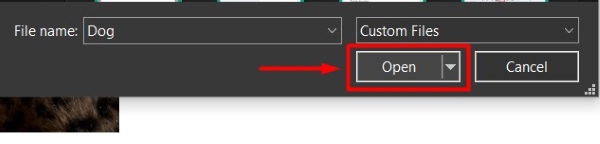
Navigate to the folder where your image is saved, select it, and click “Open.”
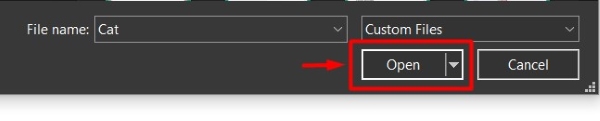
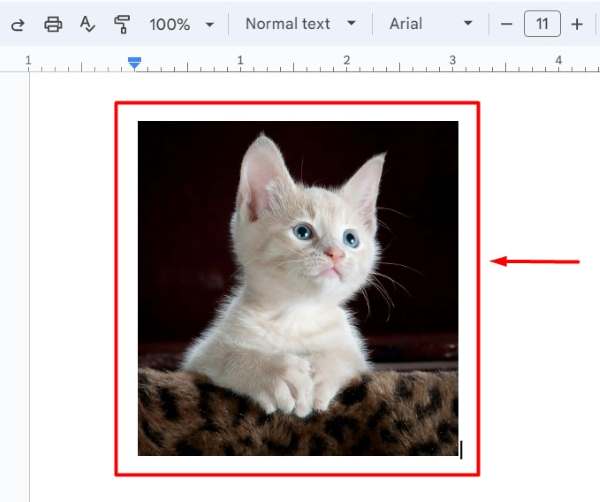
For example, if you are adding a picture of a cat, find the image file named “cat.jpg” and upload it. The image will appear in your document.
2. Insert the Second Image Next to the First One
Click next to the first image where you want the second image to appear. Go to “Insert” in the menu bar again, select “Image,” and choose “Upload from computer.”
Navigate to the folder where your image is saved, select it, and click “Open.”
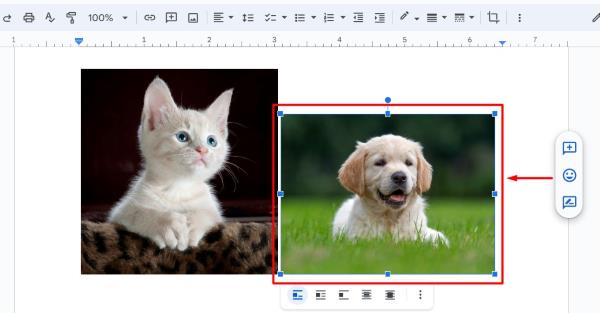
For instance, if you are adding a picture of a dog next to the cat, find the image file named “dog.jpg” and upload it. The second image will now appear next to the first image.
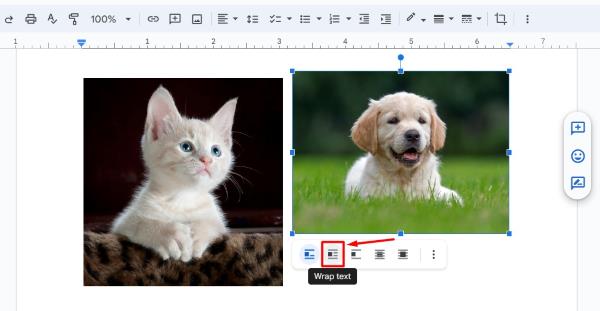
3. Enable Text Wrapping for Both Images
Select the first image by clicking on it. In the toolbar that appears below the image, click on the “Wrap text” option. This allows text to wrap around the image and enables you to move the image freely.
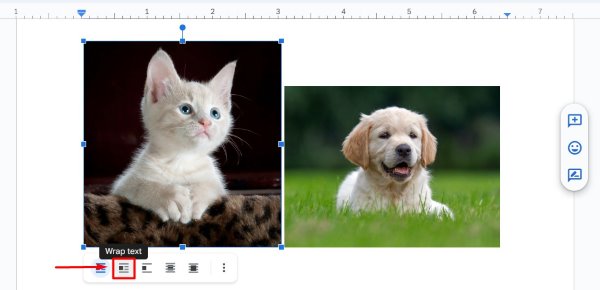
Do the same for the second image by clicking on it and selecting “Wrap text.” This step ensures both images can sit side by side.
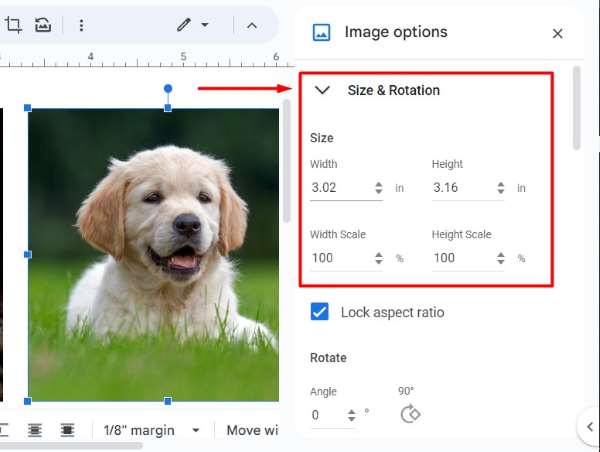
4. Resize Both Images to Fit Side by Side
Click on the first image to select it. Small blue squares will appear at the corners and edges of the image. Right-click and go to the Image Option. Then, select “Size & Rotation.” In this example, the width is 3.02 inches and the height is 3.16 inches.

Repeat the process for the second image, ensuring both images are of similar size. Resize the “dog.jpg” to be approximately the same height and width to fit neatly next to each other.
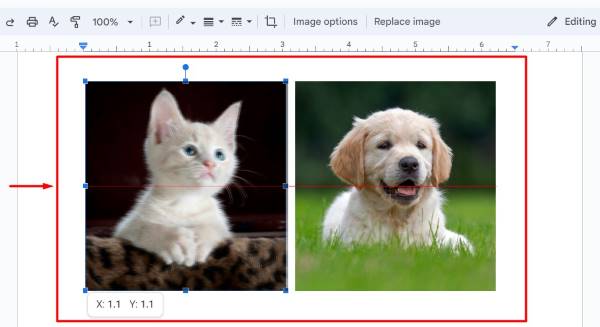
5. Align Both Images Properly Side by Side
Click and drag the first image to align it properly on the page. Use the gridlines that appear to help position the image. Repeat this for the second image, placing it directly next to the first one. Ensure both images are aligned at the top and bottom edges, side by side with their tops aligned for a clean look.
We hope you now have a better understanding of how to put images side by side in Google Docs. If you enjoyed this article, you might also like our article on how to bring an image to the front in Google Docs or our article on how to resize an image in Google Docs.