How to Center an Image in Google Docs (Easiest Way in 2025)
In this article, we will show you how to center an image in Google Docs. Simply follow the steps below.
Center an Image in Google Docs
To center an image in Google Docs, follow the steps below.
1. Insert an Image into Your Document
Click on the “Insert” menu at the top of the Google Docs interface. From the dropdown menu, select “Image” and then choose the source of your image. For example, if the image is on your computer, select “Upload from computer.”
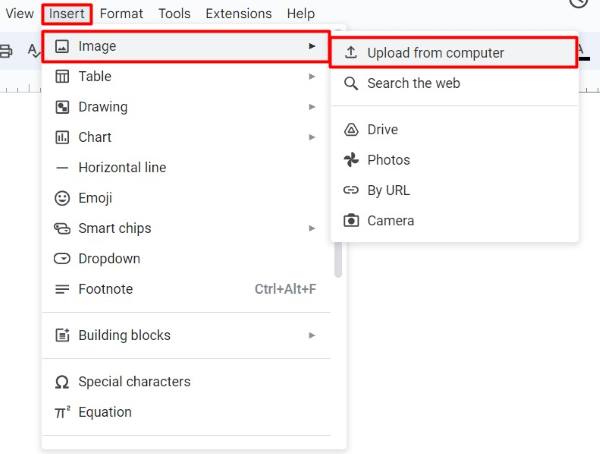
Browse your files, select the image you want to insert. In this case, select the file name is “Cat Image” and click “Open.”

2. Click to Select the Image
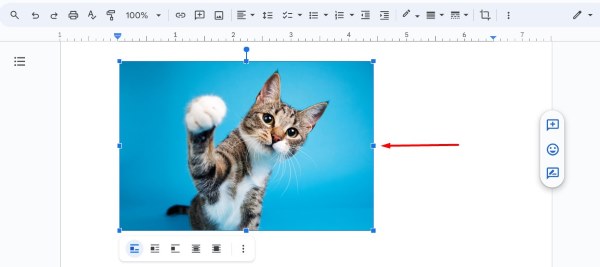
After the image appears in your document, click on it once to select it. You will see blue handles appear around the corners and edges of the image, indicating that it is selected. For instance, if you inserted a picture of a cat, click on the cat image to select it.
3. Right-Click and Open Image Options
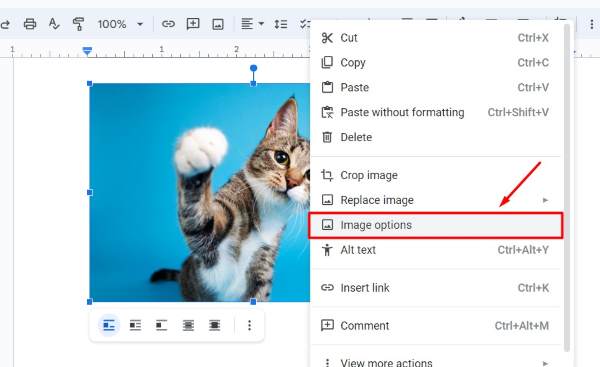
With the image selected, right-click on it to open the context menu. From the options presented, choose “Image options.” This will open a sidebar on the right side of your screen. For example, right-click on the cat image and select “Image options” to proceed.
4. Choose Wrap Text in the Text Wrapping Section
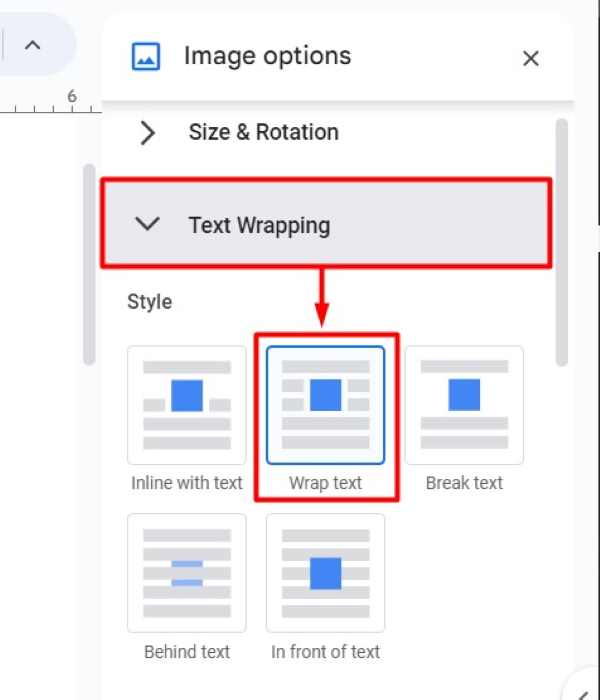
In the “Image options” sidebar, locate the “Text Wrapping” section. Click on “Wrap text” to enable text wrapping around the image.
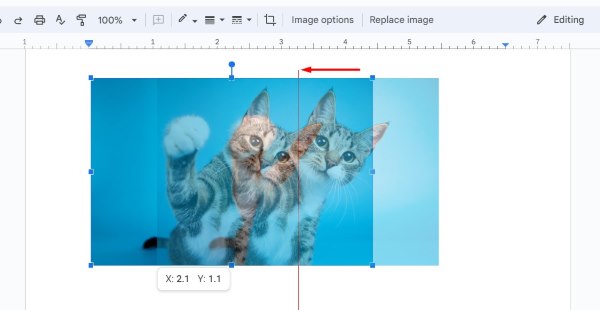
5. Adjust the Image Position Manually
Click and drag the image to fine-tune its position within the centered alignment. This allows you to move the image slightly up or down to achieve the perfect placement.
6. Review the Image Placement
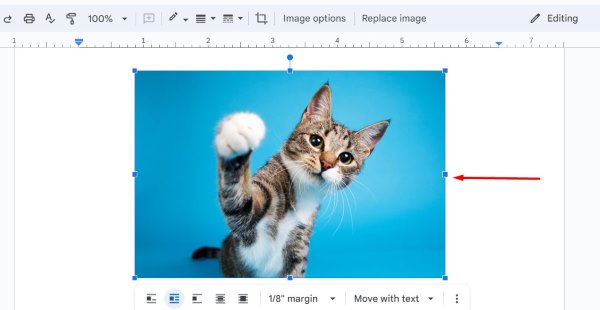
Check if the image is properly centered and the text wraps around it as you intended. Make any final adjustments if necessary.
We hope you now have a better understanding of how to center an image in Google Docs. If you enjoyed this article, you might also like our article on ways to rotate an image in Google Docs or our article on how to move an image to front in Google Docs.


