How to Rotate an Image in Google Docs (Easiest Way in 2025)
In this article, we will show you how to rotate an image in Google Docs. Simply follow the steps below.
Rotate an Image in Google Docs
To rotate an image in Google Docs, follow the steps below.
1. Click on the Image to Select It
Click on the image you want to rotate to select it. For instance, if your logo image is in the top right corner, click directly on that logo. Handles (small blue squares) will appear around the image, indicating it is selected and ready for editing.
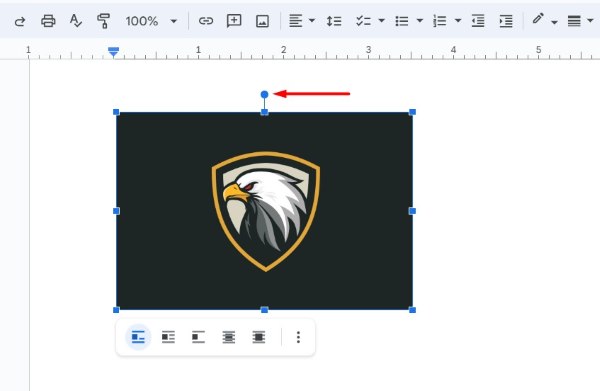
2. Open the Format Menu in the Toolbar
Navigate to the toolbar at the top of the screen, click “Image options.” This will open the Image options panel on the right side of the screen.
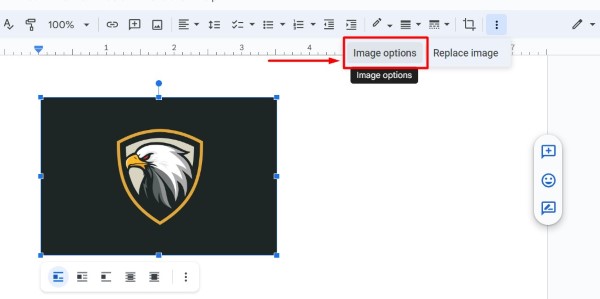
3. Locate the Rotation Section in Image Options
In the Image options panel, find the “Size & Rotation” section. Scroll down to find the “Rotate” section. Here you will see fields to enter specific rotation angles and a rotation handle icon for manual adjustments.
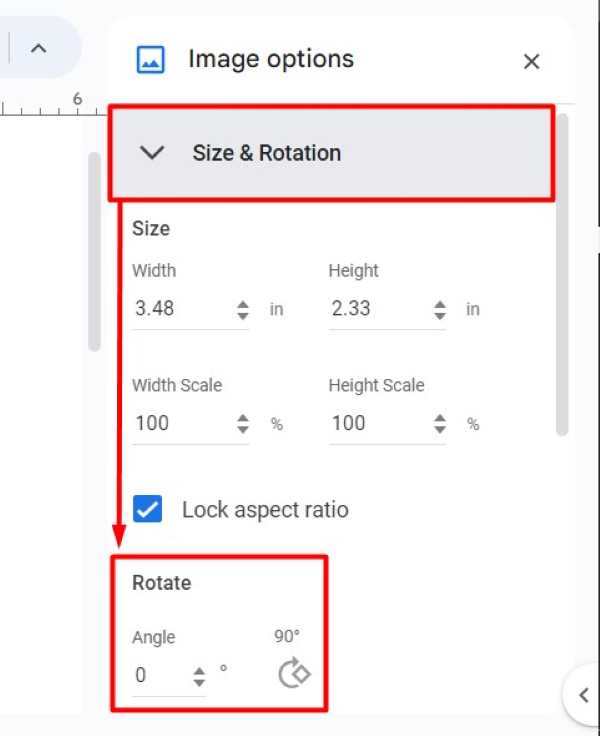
4. Enter Rotation Angle or Manually Rotate the Image
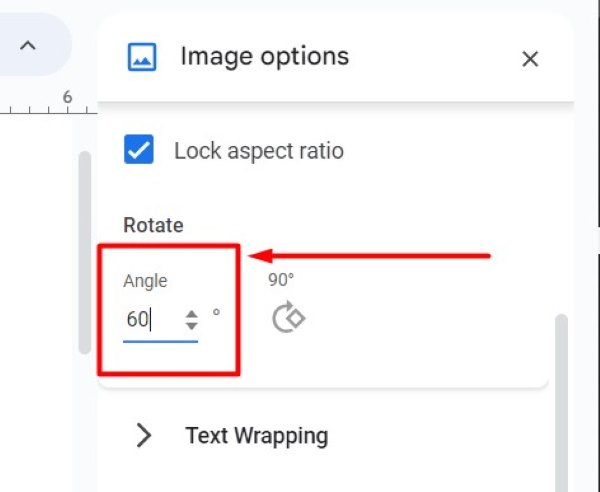
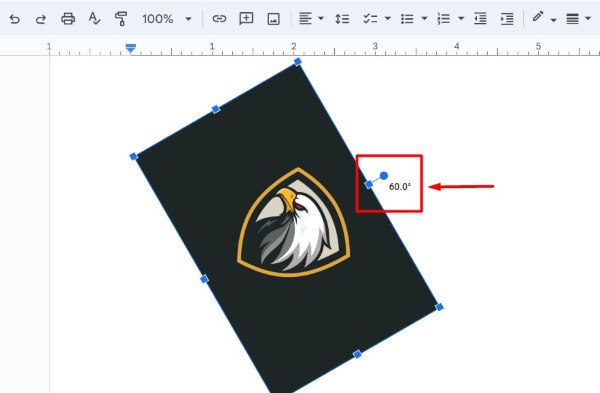
Type in the desired rotation angle or use the rotation handle to manually adjust the image. For example, if you want to rotate the logo by 60 degrees, enter “60” in the rotation field and press Enter.
Alternatively, you can click on the circular arrow icon (rotation handle) above the image and drag it to the left or right to manually rotate the image.
5. Verify and Save the Rotated Image
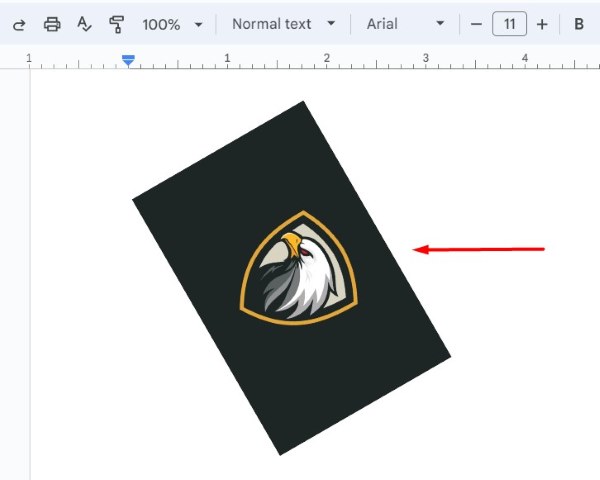
Ensure the image is rotated to your satisfaction and save your document. For instance, after rotating the logo to the correct angle, check if it looks right in its position. Your changes will be saved automatically in Google Docs, so you do not need to perform any additional save steps.
We hope you now have a better understanding of how to rotate an image in Google Docs. If you enjoyed this article, you might also like our article on ways to split a table in Google Docs or our article on how to center an image in Google Docs.


