How to Create Fillable Text Boxes in Google Docs (2025 Update)
In this article, we will show you how to create fillable text boxes in Google Docs. Simply follow the steps below.
Fillable Text Box in Google Docs
A fillable text box in Google Docs can be created using two of the most common methods: the Drawing Tool and Inserting a Table. We will discuss how to use each method in the following sections.
Method 1: Using the Drawing Tool
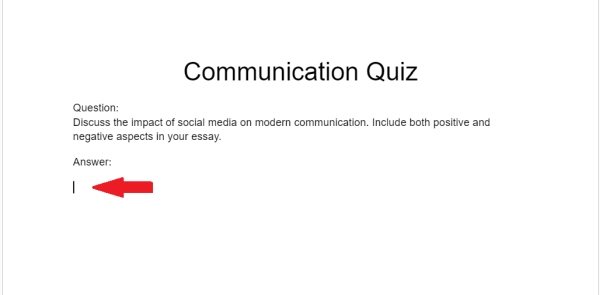
To create a fillable text box in Google Docs, we will use an example essay question for a “Communication Quiz,” where the answer must be placed in a fillable text box. Follow the steps below:
1. Position Your Cursor Where You Want the Text Box to Appear
Before adding a fillable text box, position your cursor in your Google Docs document where you want the text box to appear. In our example, we will place the cursor directly under the “Answer” section.
2. Open the Drawing Tool in Google Docs
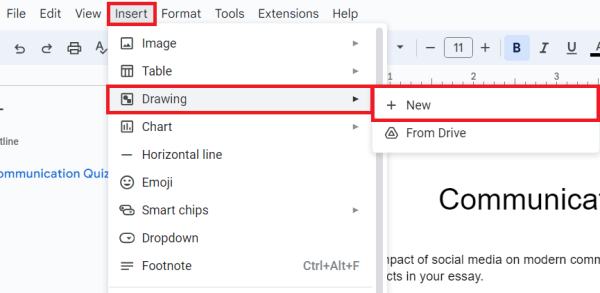
Click on Insert in the top menu, select Drawing, and then choose + New. This opens the drawing editor, where you can create various shapes, including text boxes.
3. Create and Draw the Text Box in the Drawing Tool
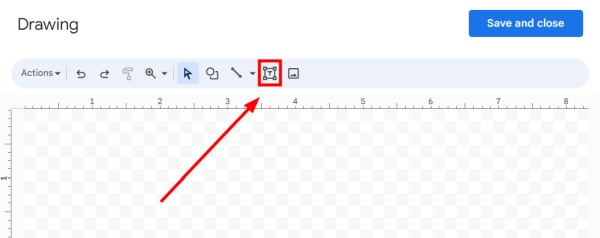
In the drawing editor, click on the text box icon.
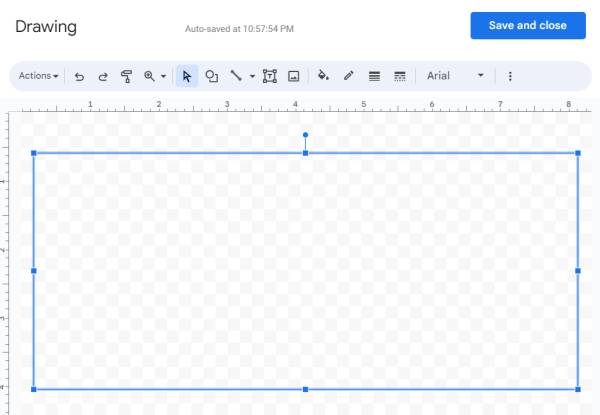
Click and drag on the drawing canvas to create a text box of the desired size. For our Communications Quiz example, we will create a text box large enough for students to enter their essay answers.
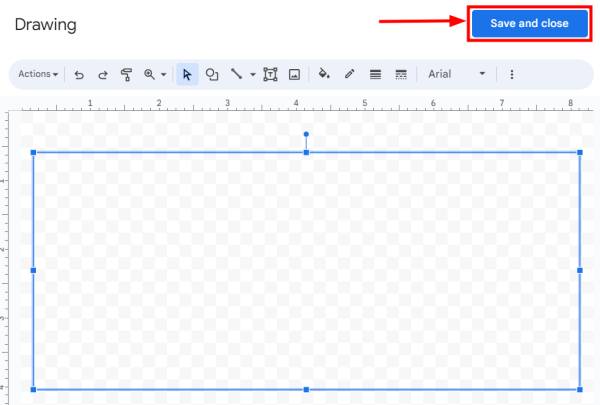
4. Save the Drawing and Insert It into the Document
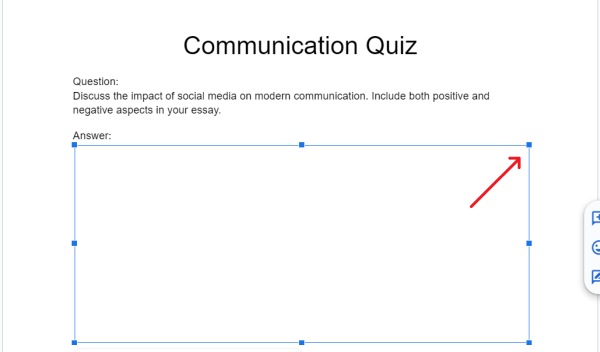
Once your text box is ready, click the Save and Close button to add the drawing to your document under the quiz question.
You can click on the drawing to move or resize it as needed.
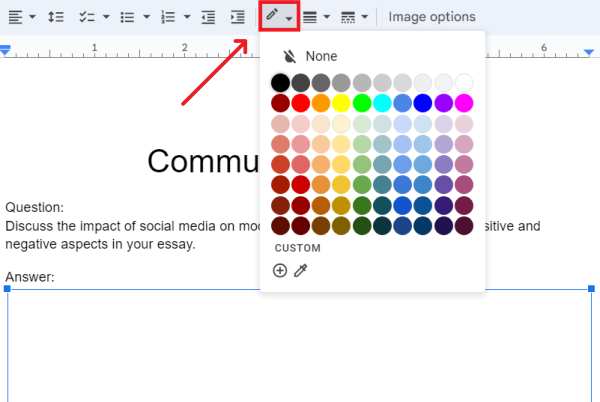
5. Add a Border to the Text Box (Optional)
After adding the text box, ensure that it is visible by adding a border. To do this, select the text box. Then, go to the toolbar above and click on Border color to choose a suitable color for the border.
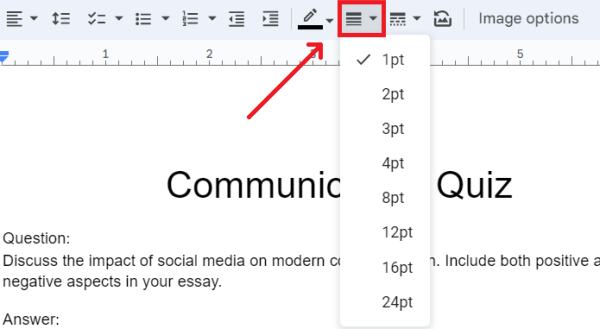
To adjust the thickness of the border, click on Border weight in the same toolbar and select the desired thickness.
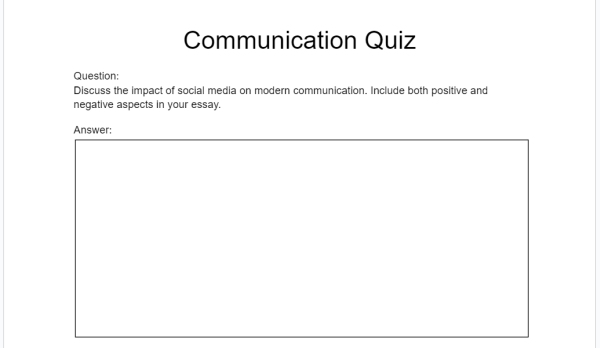
We will now see our example document with the border applied to the text box.
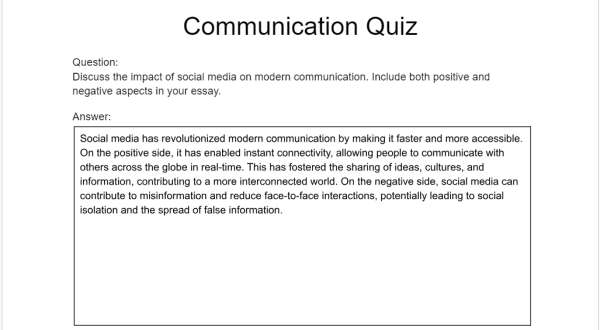
6. Add Text to Verify the Text Box
Click inside the text box and type some text to verify that it is fillable and functional.
Method 2: Inserting a Table
To create fillable text boxes in Google Docs, we will use the same document from our previous example titled “Communication Quiz.” Follow the steps below:
1. Insert a Table to Use as a Text Box
Navigate to the point in your document where you want the fillable text box to appear. In our example, we want to add a fillable text box under the ‘Answer’ section, so let’s place our cursor there.

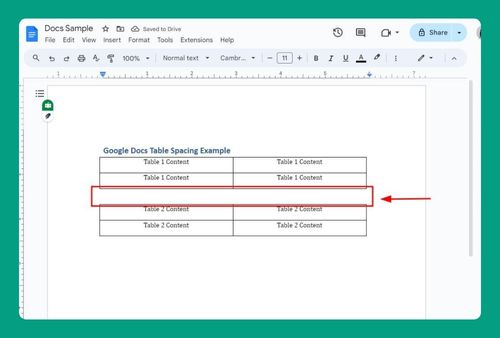
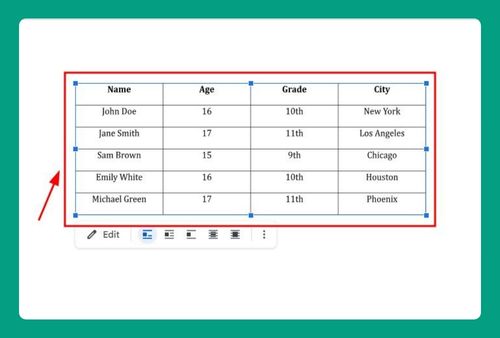
Click on Insert in the top menu, select Table, and choose a 1×1 table. This will create a single cell that acts like a text box.

2. Change Table Properties to Make Borders Invisible (Optional)
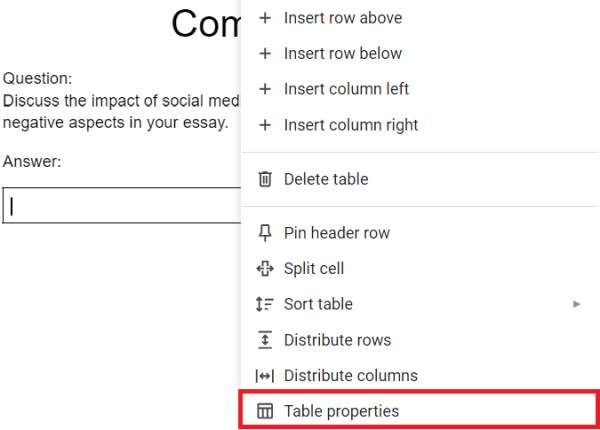
Right-click on the table and select Table properties‘
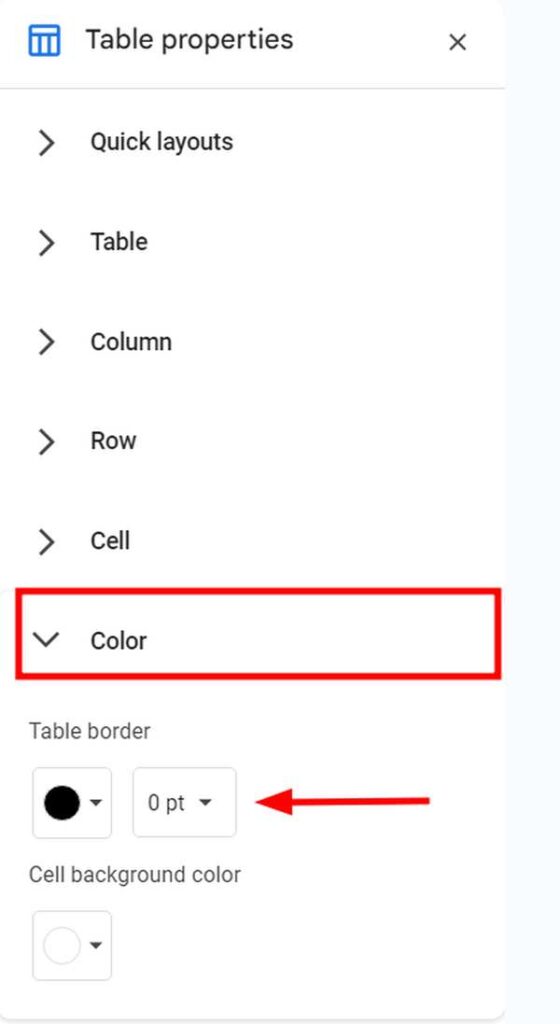
In the Table Properties window, go to Color and set the table border to 0 pt to make it invisible.
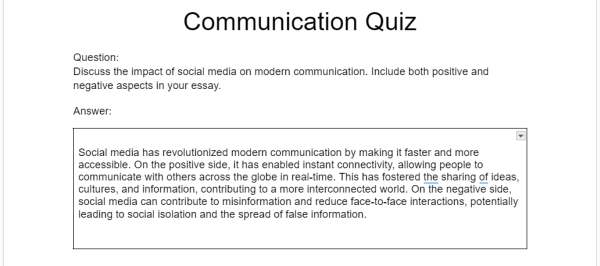
3. Test the Fillable Text Box to Ensure Functionality
Click back inside the cell to test if you can easily enter and edit text. Make any necessary adjustments to the formatting to ensure the text box works as intended.
We hope that you now have a better understanding of how to create fillable text boxes in Google Docs. If you enjoyed this article, you might also like our article on how to highlight text in Google Docs or our article on how to get rid of highlighted text in Google Docs.