How to Adjust Row Height in a Google Docs Table (2025 Guide)
In this article, we will show you how to adjust row height in Google Docs table. Simply follow the steps below.
Change Row Height in Google Docs Table
To adjust row height in Google Docs table, follow the steps below.
1. Click to Select the Entire Row Table
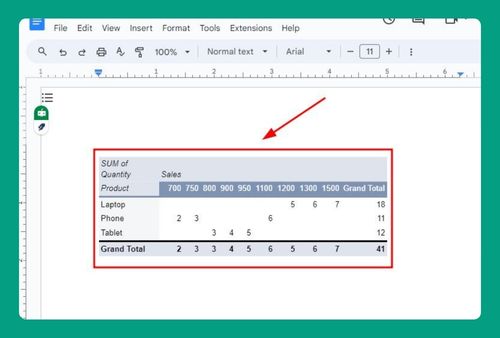
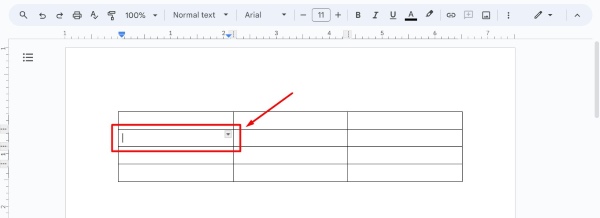
Click on the table to select it. The table will be highlighted, indicating that it is selected. For example, if your table has four rows and three columns, clicking anywhere inside the table will highlight it.
2. Right-Click to Open Table Properties
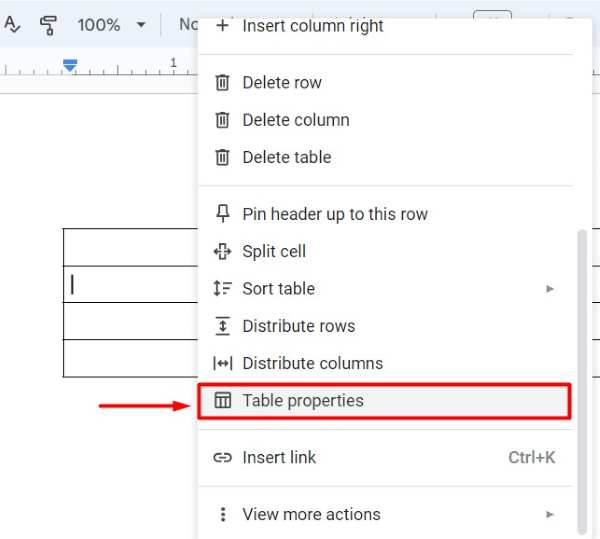
Right-click on the selected table to open a context menu. From the context menu, choose Table properties. This will open the Table Properties dialog box.
3. Find the Row Height Section
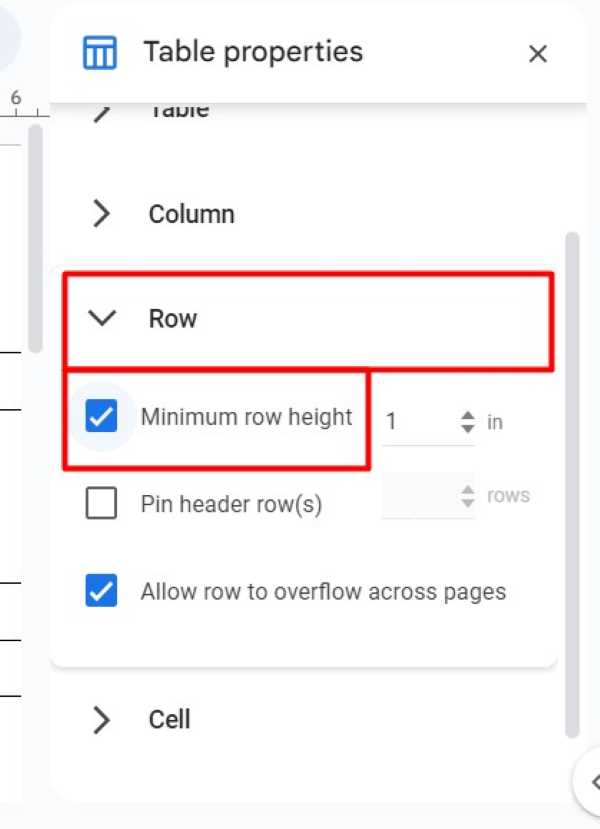
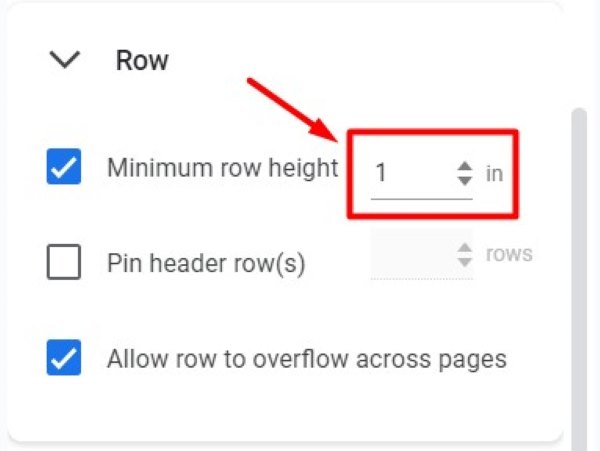
In the Table Properties dialog box, locate the “Row height” section. This section allows you to specify the height of the rows in your table. For example, you might see a box labeled Row with an option to enter a value in inches or centimeters.
4. Enter and Apply Row Height
Enter the desired height for your rows in the “Row height” box. For instance, you might enter “1 inch” to make each row 1 inch tall. After entering the height, click “Enter” to apply the changes. This will adjust the row height in your table accordingly.
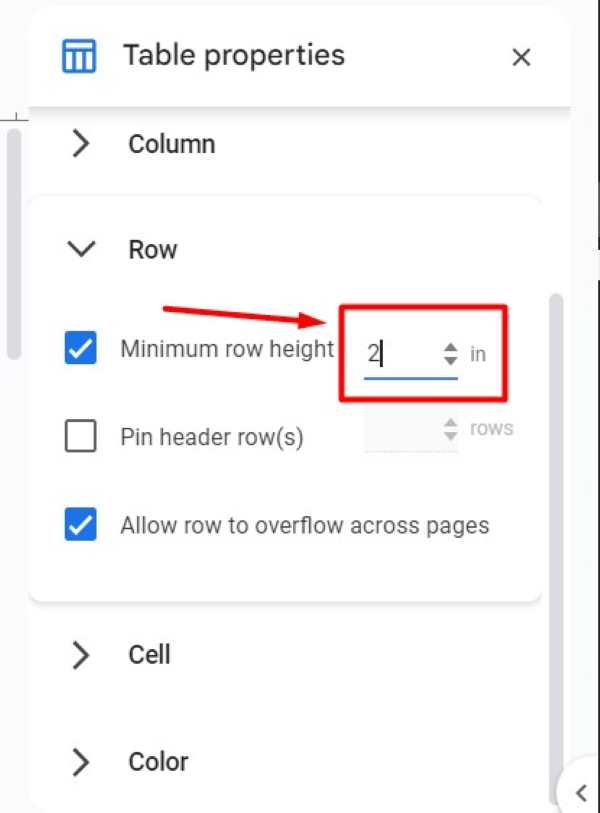
5. Check the Table for Adjustments
Look at your table to ensure the row height has been adjusted as needed. If the rows are not the correct height, repeat the steps to make further adjustments. For example, if the rows are still too short or too tall, you can go back to “Table properties” and enter a different height such as “2 inches” or just click the arrow up and down.
Google Docs Table Row Height Won’t Change
If the Google Docs table row height won’t change, follow the steps below.
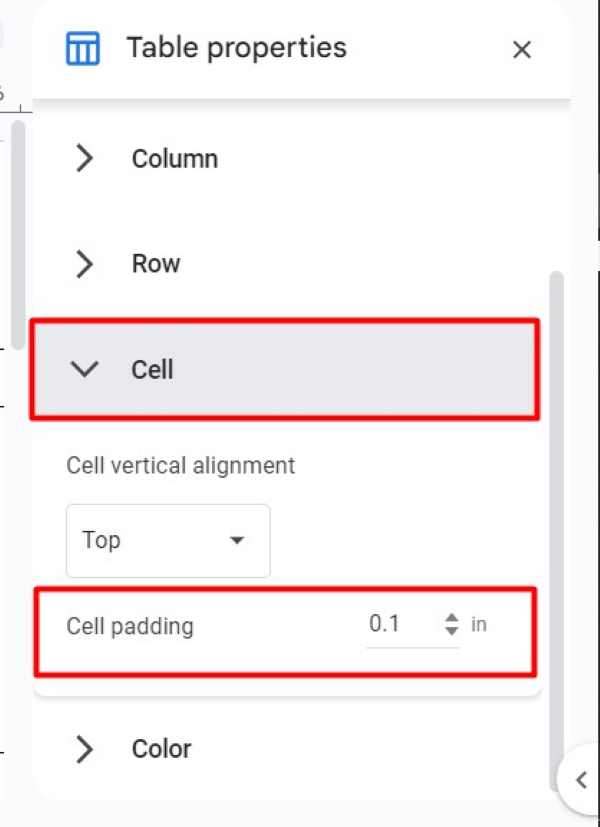
1. Check and Adjust Table Margins
If the row height won’t change, check the table margins. In the Table Properties dialog box, look for Cell padding. Adjust these values to ensure they are not restricting the row height. For instance, set the padding to “0.1 inch” and see if this resolves the issue.
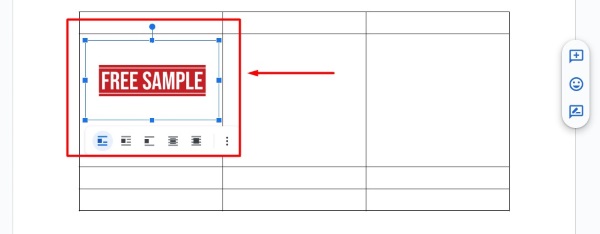
2. Ensure Content Inside Rows is Not Causing Issues
Make sure the content inside the rows is not causing the issue. Large images or long text may prevent the row height from changing. Resize or adjust the content as needed. For example, if a cell contains a large image, try resizing the image to fit within the desired row height.
3. Save Document and Refresh Page
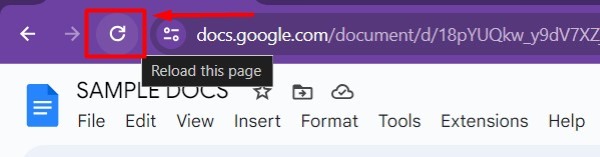
Sometimes, changes don’t apply immediately. Save your document and refresh the page. Check the table again to see if the row height has changed. After saving, press “F5” or click the “reload” button in the browser to refresh the page.
4. Open Document in a Different Browser
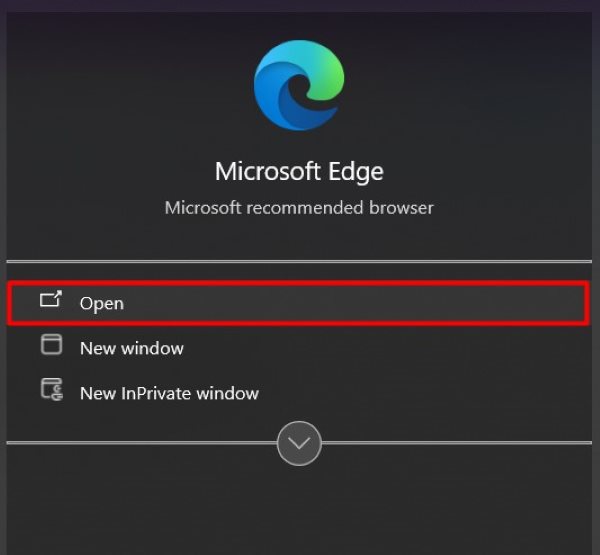
If the issue persists, try opening the document in a different web browser. Some browser settings might affect Google Docs’ functionality. For example, if you are using Chrome, try opening the document in Firefox or Edge. In our example, we will use Edge. Try to type “Edge” on your search bar icon in the desktop and select “Open.”
5. Update Google Docs and Browser
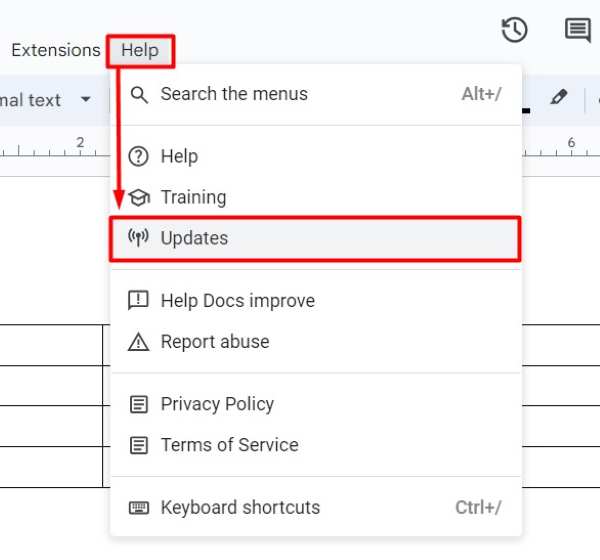
Ensure that your Google Docs is up to date. Sometimes, updates fix issues like row height adjustments. Check for updates in your browser or Google Docs settings. For instance, go to your browser’s settings in the toolbar and look for updates under Help and click Updates.
We hope you now have a better understanding of how to fill a table with color in Google Docs. If you enjoyed this article, you might also like our article on how to change the size of a table in Google Docs or our article on how to rotate a table in Google Docs.